

Easter Dirt Cake is an easy no bake dessert recipe perfect for feeding a crowd.

This fun and colourful dessert is made with crushed Oreo cookies, vanilla pudding, cream cheese, white chocolate, Cool Whip and loaded with sprinkles, mini Oreos and mini eggs.
Why This Recipe is a Winner!
- Fun & Festive Presentation – The cute, spring-themed decorations make it perfect for Easter gatherings.
- No-Bake Dessert – Easy to make without turning on the oven!
- Kid-Friendly – Both fun to make and eat – kids love helping decorate!
- Make-Ahead Friendly – Can be made the night before, saving time on busy Easter mornings.
- Customizable – Add pastel candies, coconut grass, or even chocolate bunnies to make it your own.
This Easter Dirt Cake is the ultimate no-bake dessert layered with a creamy vanilla pudding, cream cheese and Cool Whip mixture, crushed Oreos, and loaded with pastel Easter candy – a sweet treat that’s as cute as it is delicious!
It’s the kind of dessert both kids and adults will go crazy for – who can resist Oreos and mini eggs?!
Prep Time:
20 minutes
Chill Time:
3 hours
Yield:
12 servings

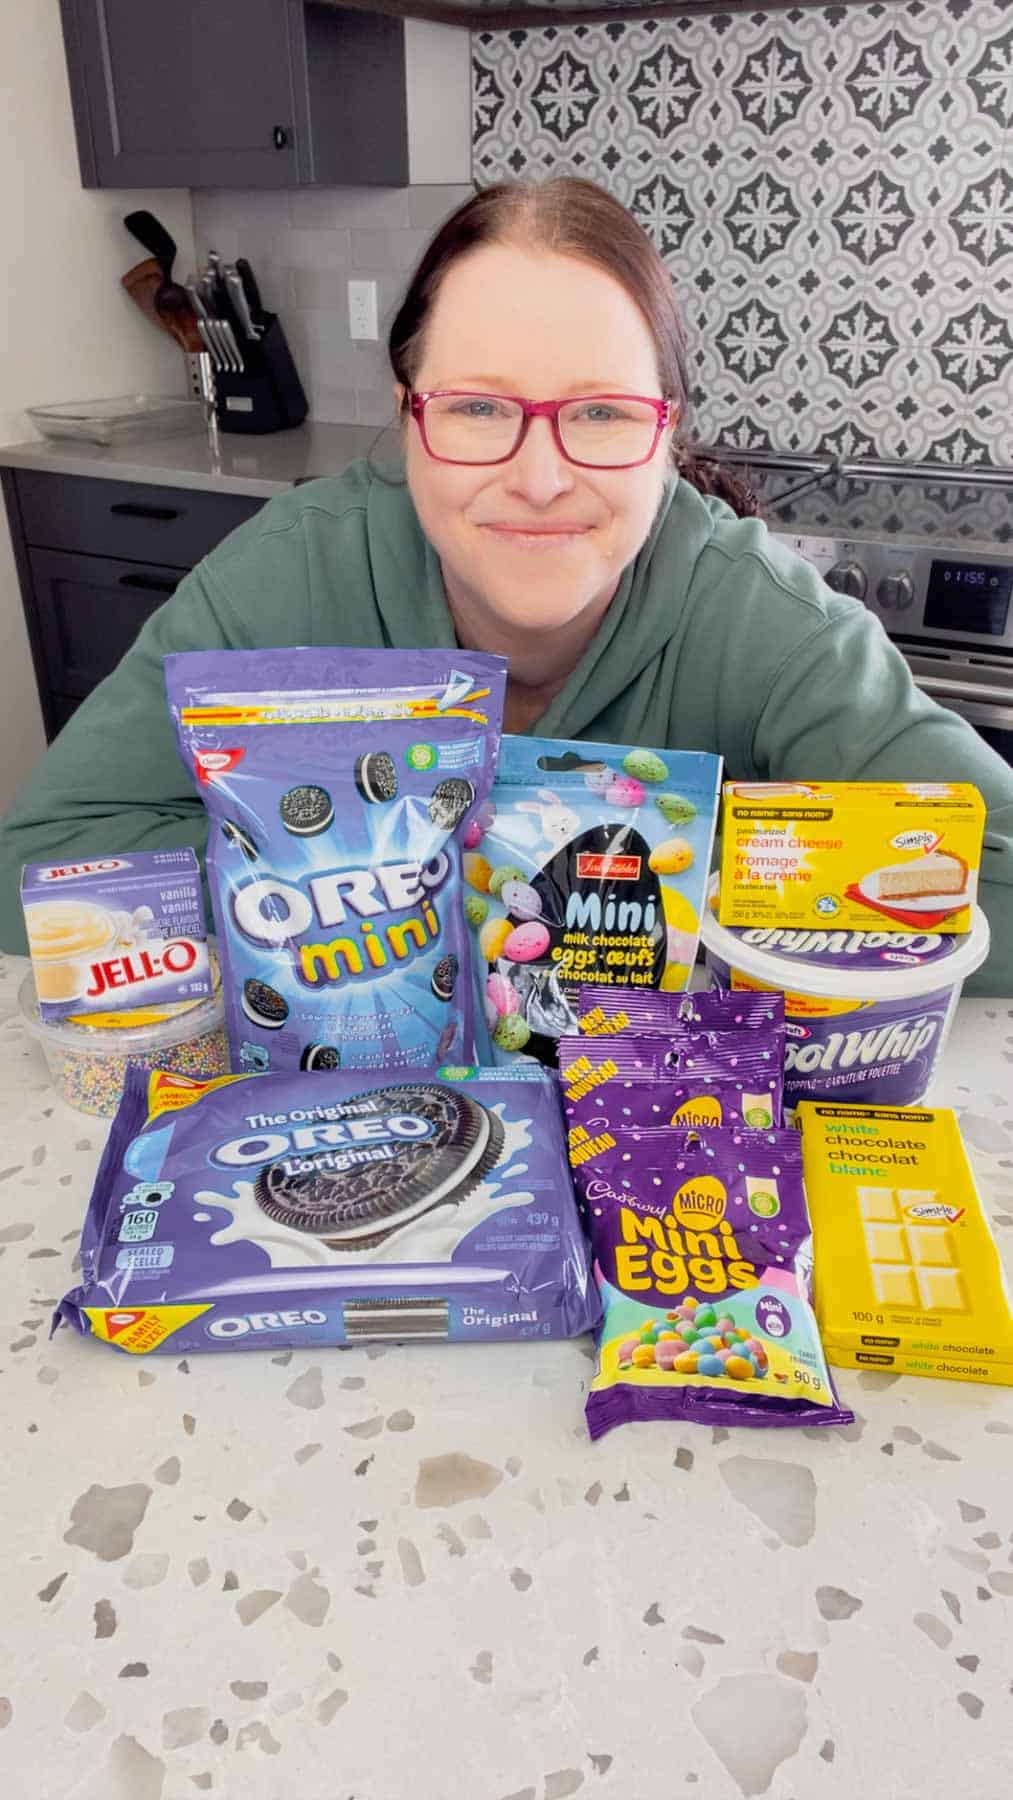
Ingredients You’ll Need for Easter Dirt Cake
- 13.29 oz package Oreo cookies
- 3.4 oz instant vanilla pudding mix
- 1 cup cold milk
- 8 oz softened cream cheese
- 7 oz white chocolate for melting ( I used 2 thin white chocolate bars )
- 12 oz Cool Whip, thawed
- 1 cup micro mini eggs ( if you can’t find micro mini eggs you could crush regular mini eggs or Easter M&Ms)
- ⅓ cup colourful pastel sprinkles
Toppings
- mini Oreo cookies
- pastel sprinkles
- mini eggs
- micro mini eggs
Printable Recipe Card with a Full List of Ingredients and Instructions is Located at the Bottom of the Post.
Be sure to read through the entire post so that you don’t miss out on any important tips and tricks!
Step by Step Instructions for Making Easter Dirt Cake
STEP 1:
To make this dirt cake, I started by pouring a package of Oreo cookies into my food processor.
I pulsed the cookies until they were well crumbled.


STEP 2:
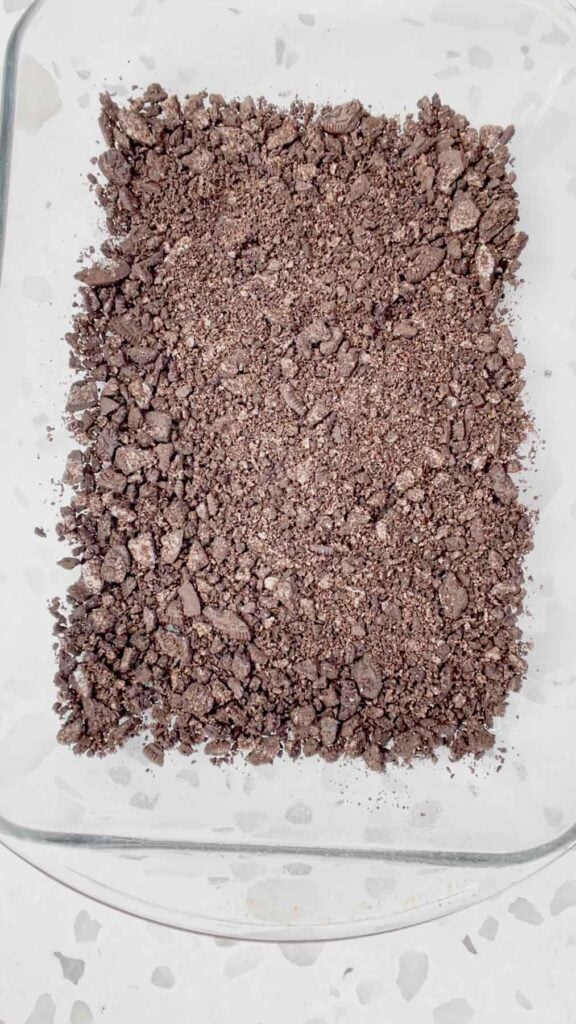
I sprayed a 9 x 13 inch glass baking dish with cooking spray.
I set aside ¼ cup of the crushed Oreos for later.
I poured half of the remaining crushed Oreos into the baking dish and spread them out evenly.

STEP 3:
I poured a packet of instant vanilla pudding mix into a bowl and added some cold milk.
I used an electric mixer to the whip the ingredients together until the mixture began to thicken.


STEP 4:
I added a block of softened cream cheese to the bowl.
I used the electric mixer to cream the cream cheese and pudding mixture together until no large lumps remained.


STEP 5:
I placed some white chocolate in a microwave safe dish.
I microwaved the white chocolate in 30 second intervals, stirring every time, until it was fully melted.


STEP 6:
I added the melted white chocolate to the bowl with cream cheese and pudding mixture.
I used the electric mixer to stir the white chocolate into the mixture and used a rubber spatula to scrape down the sides of the bowl well.


STEP 7:
I added a container of Cool Whip to the bowl.
I used the rubber spatula to fold the Cool Whip into the cream cheese mixture.


STEP 8:
I added some micro mini eggs to the bowl and stirred them into the mixture.


STEP 9:
I also added some colourful pastel sprinkles to the bowl.
I stirred the sprinkles into the mixture but was careful not to over stir because the dye from the sprinkles bleeds.


STEP 10:
I spooned half of the cream cheese mixture over the crushed Oreos in the baking dish and then spread it out evenly.


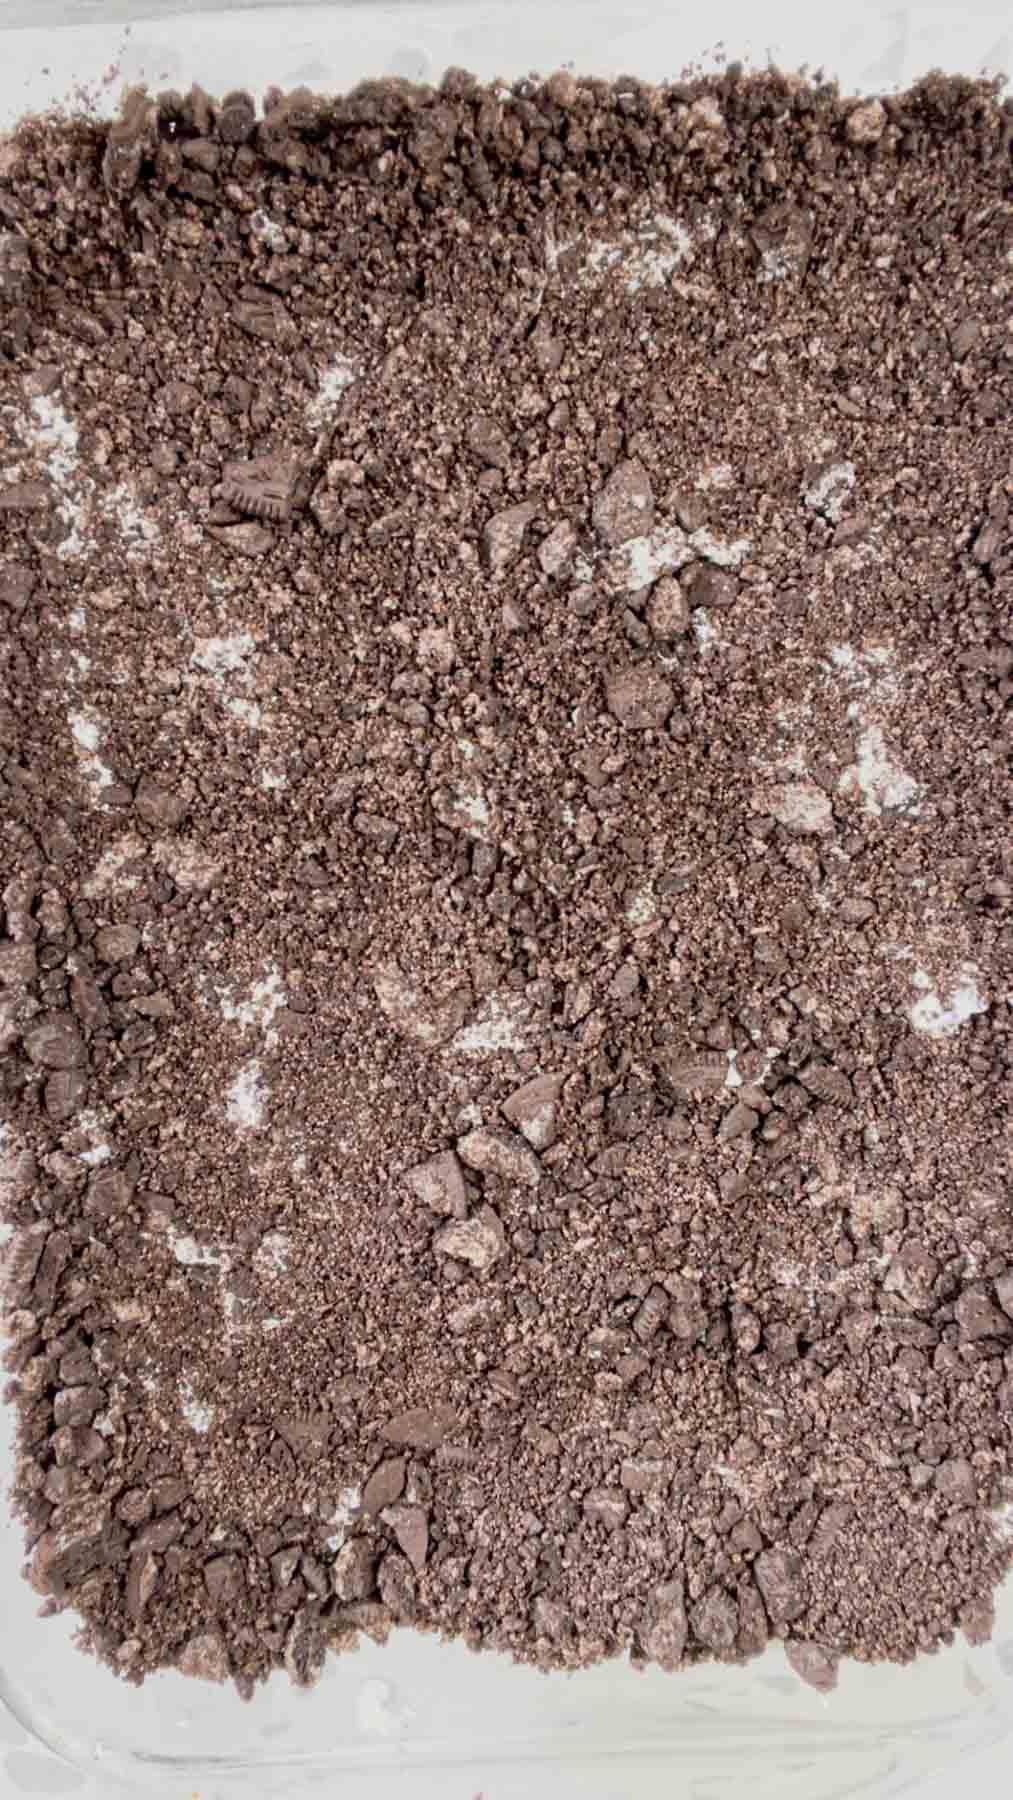
STEP 11:
I sprinkled the remaining half of the crushed Oreos over the cream cheese mixture.
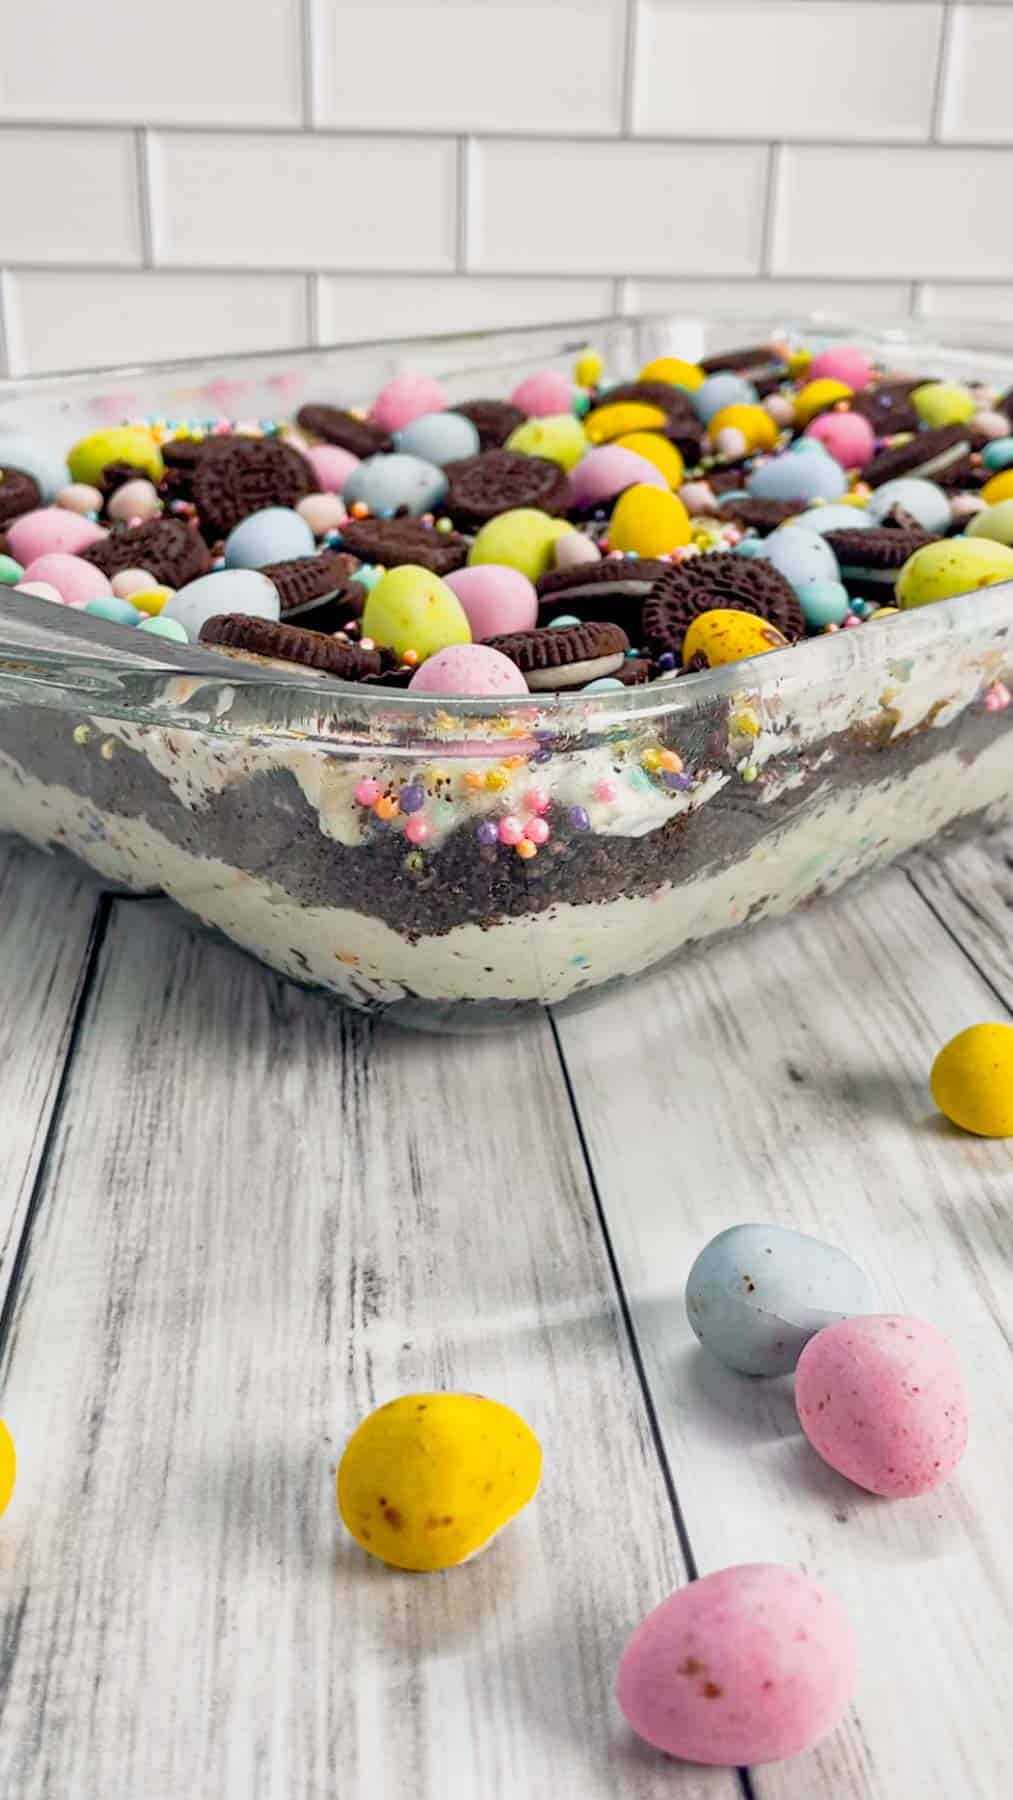
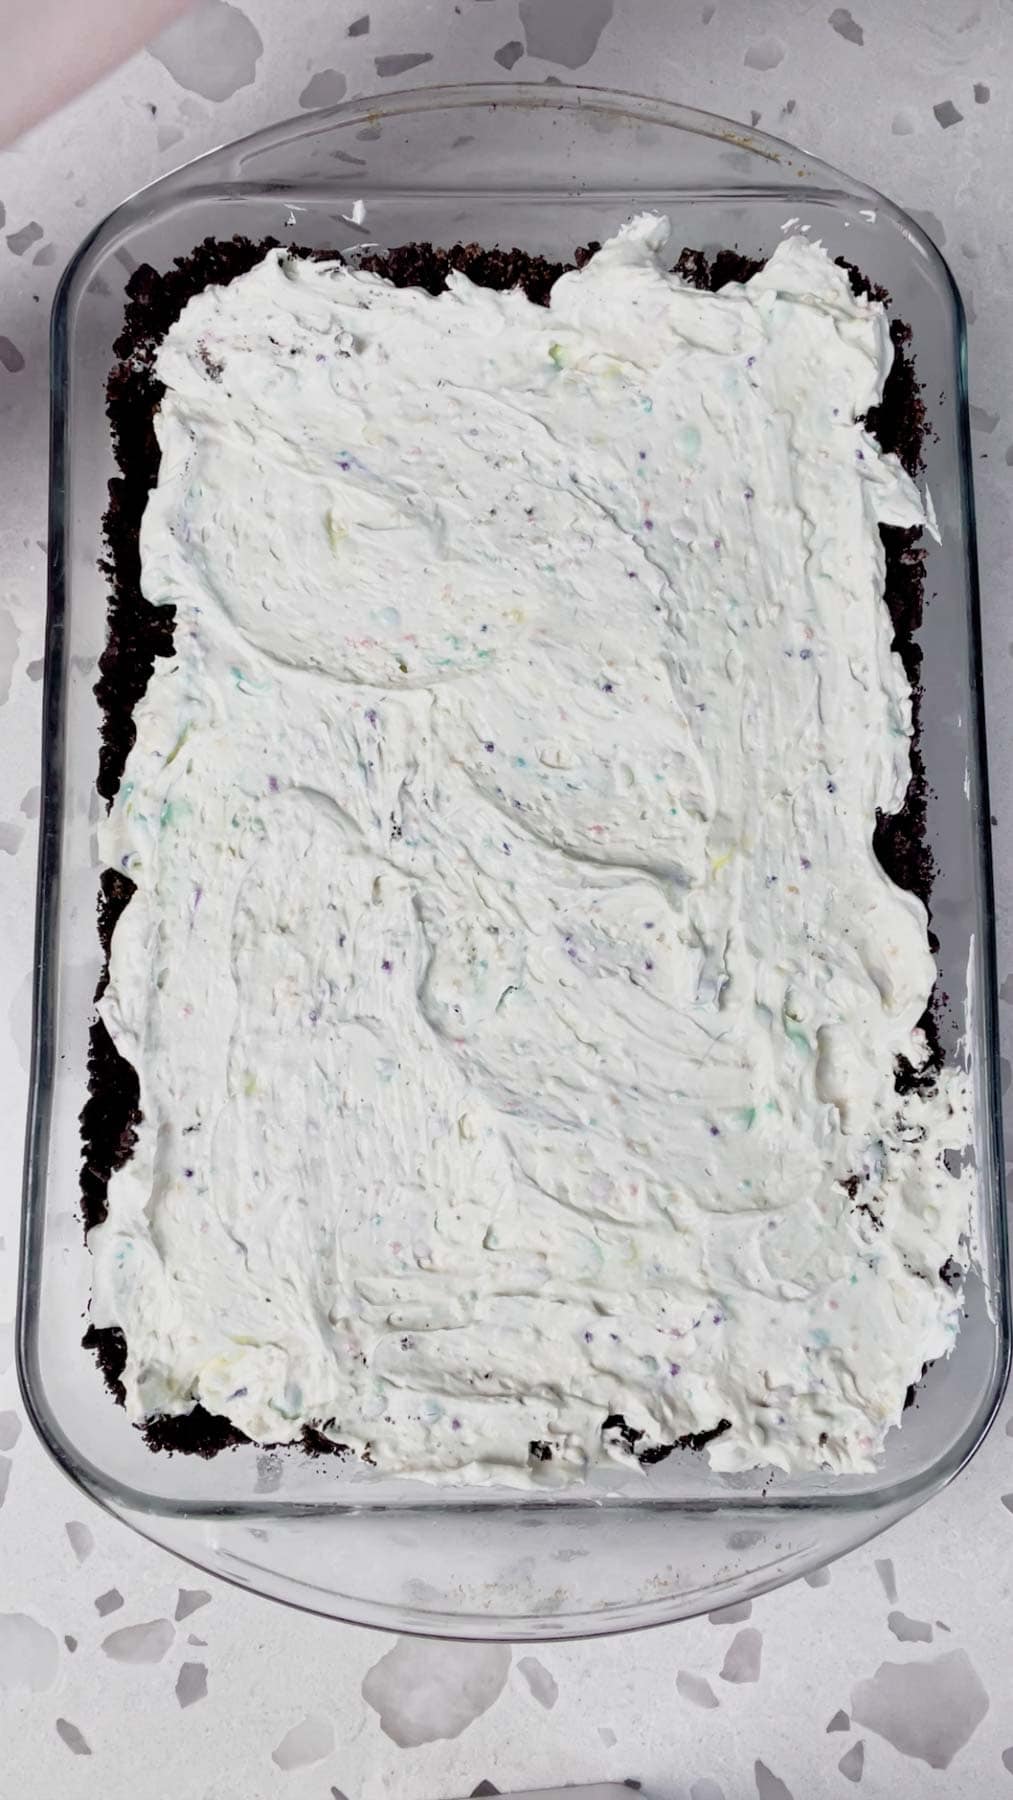
STEP 12:
I spread the remainder of the cream cheese mixture over the crushed Oreos.
Then I covered the dish and placed it in the refrigerator to chill for 3 hours.
STEP 13:
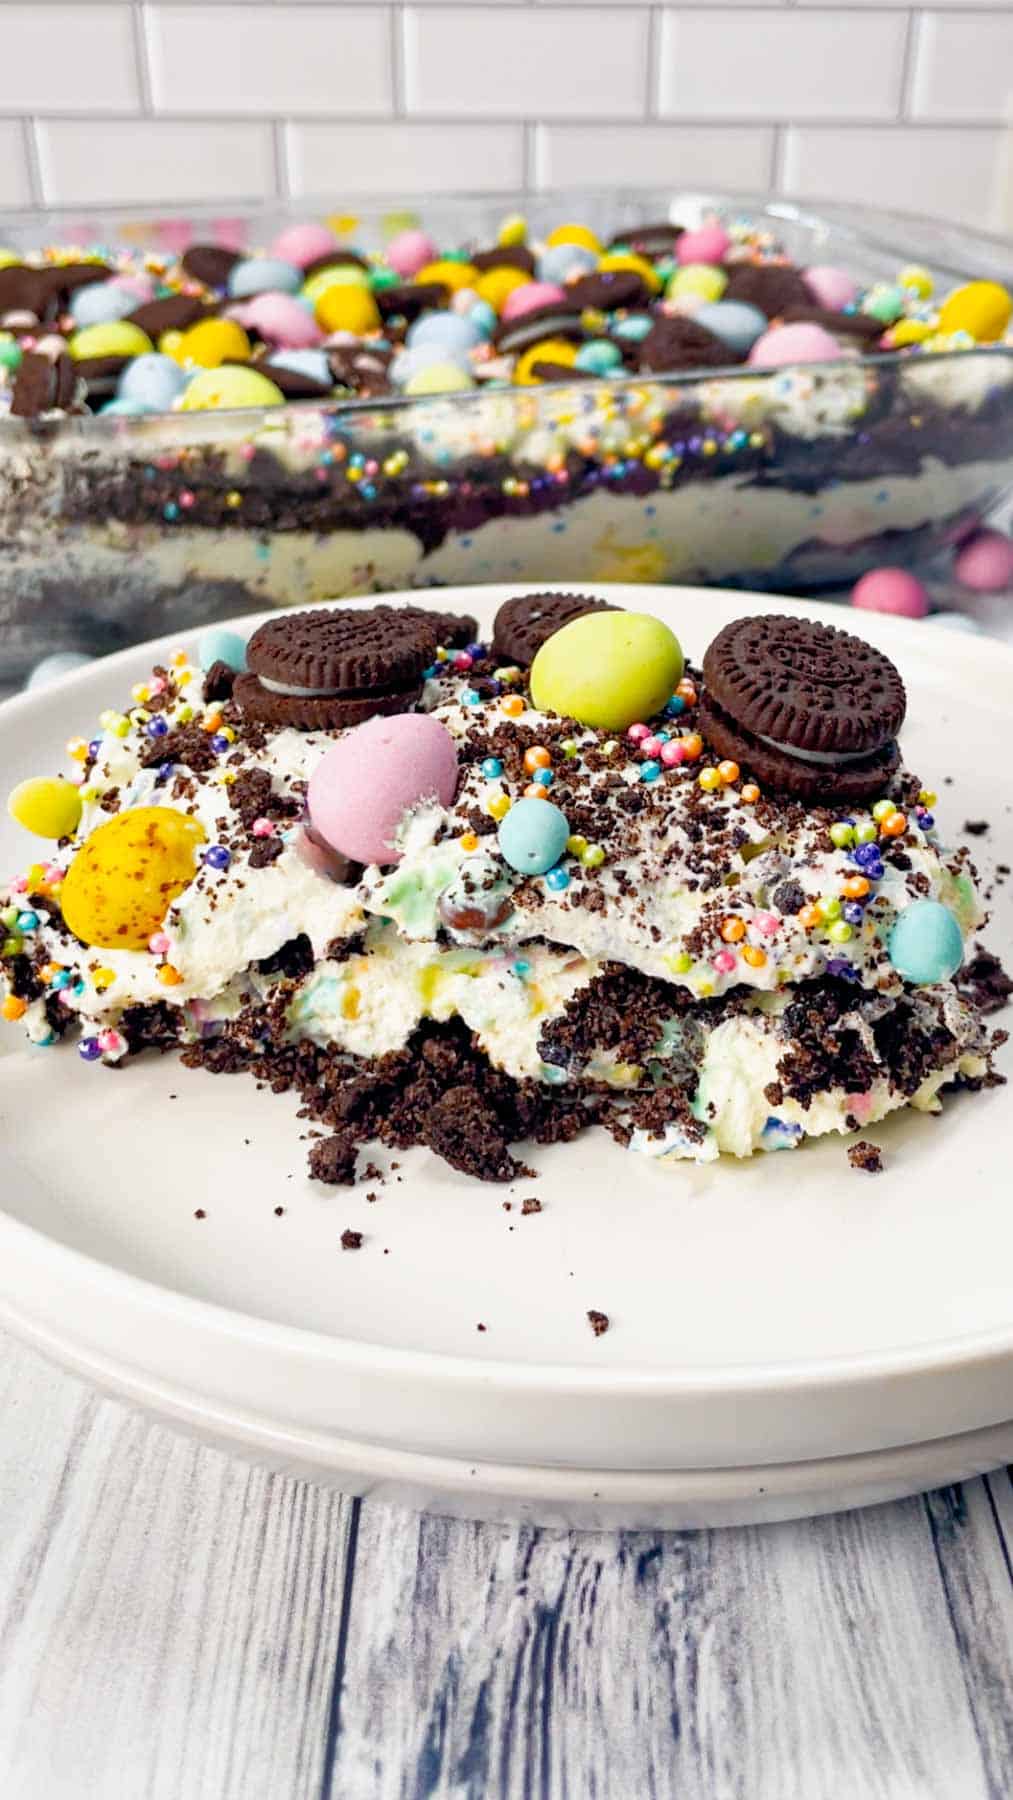
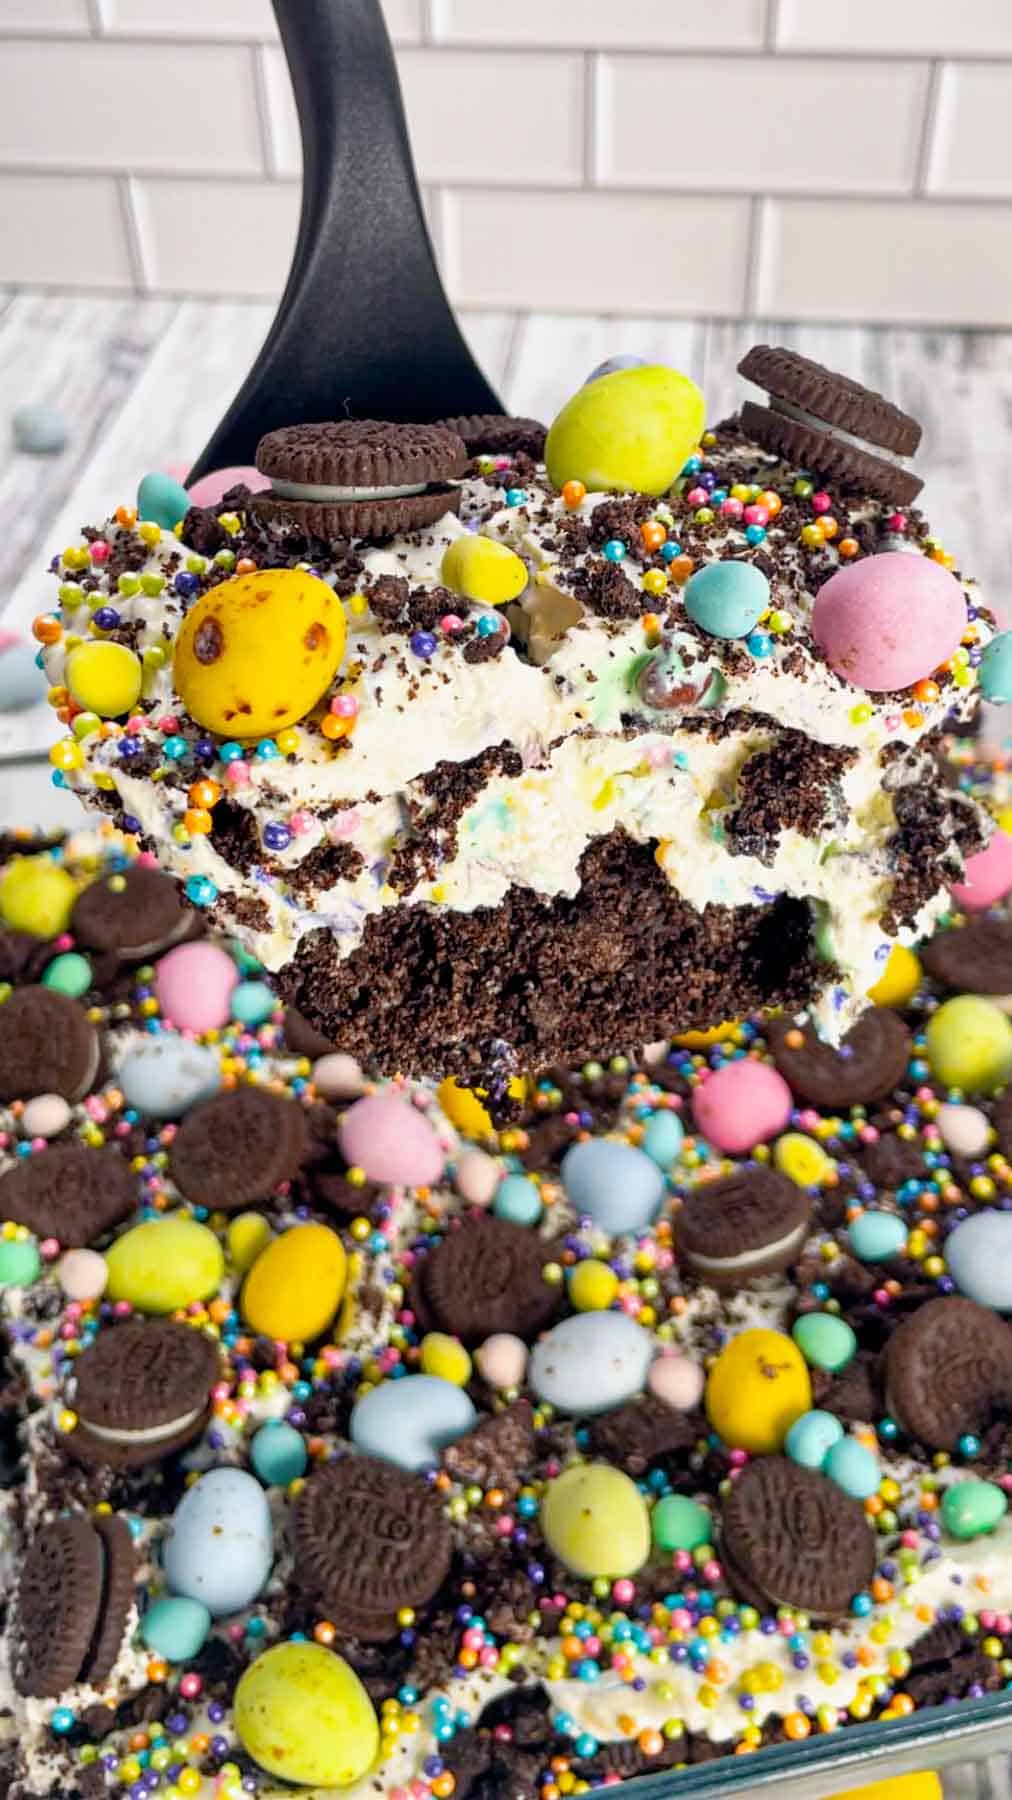
After 3 hours I removed the dish from the fridge and sprinkled the reserved ¼ cup of crushed Oreos on top.
I also sprinkled some mini Oreos, mini eggs, micro mini eggs and pastel sprinkles on top.


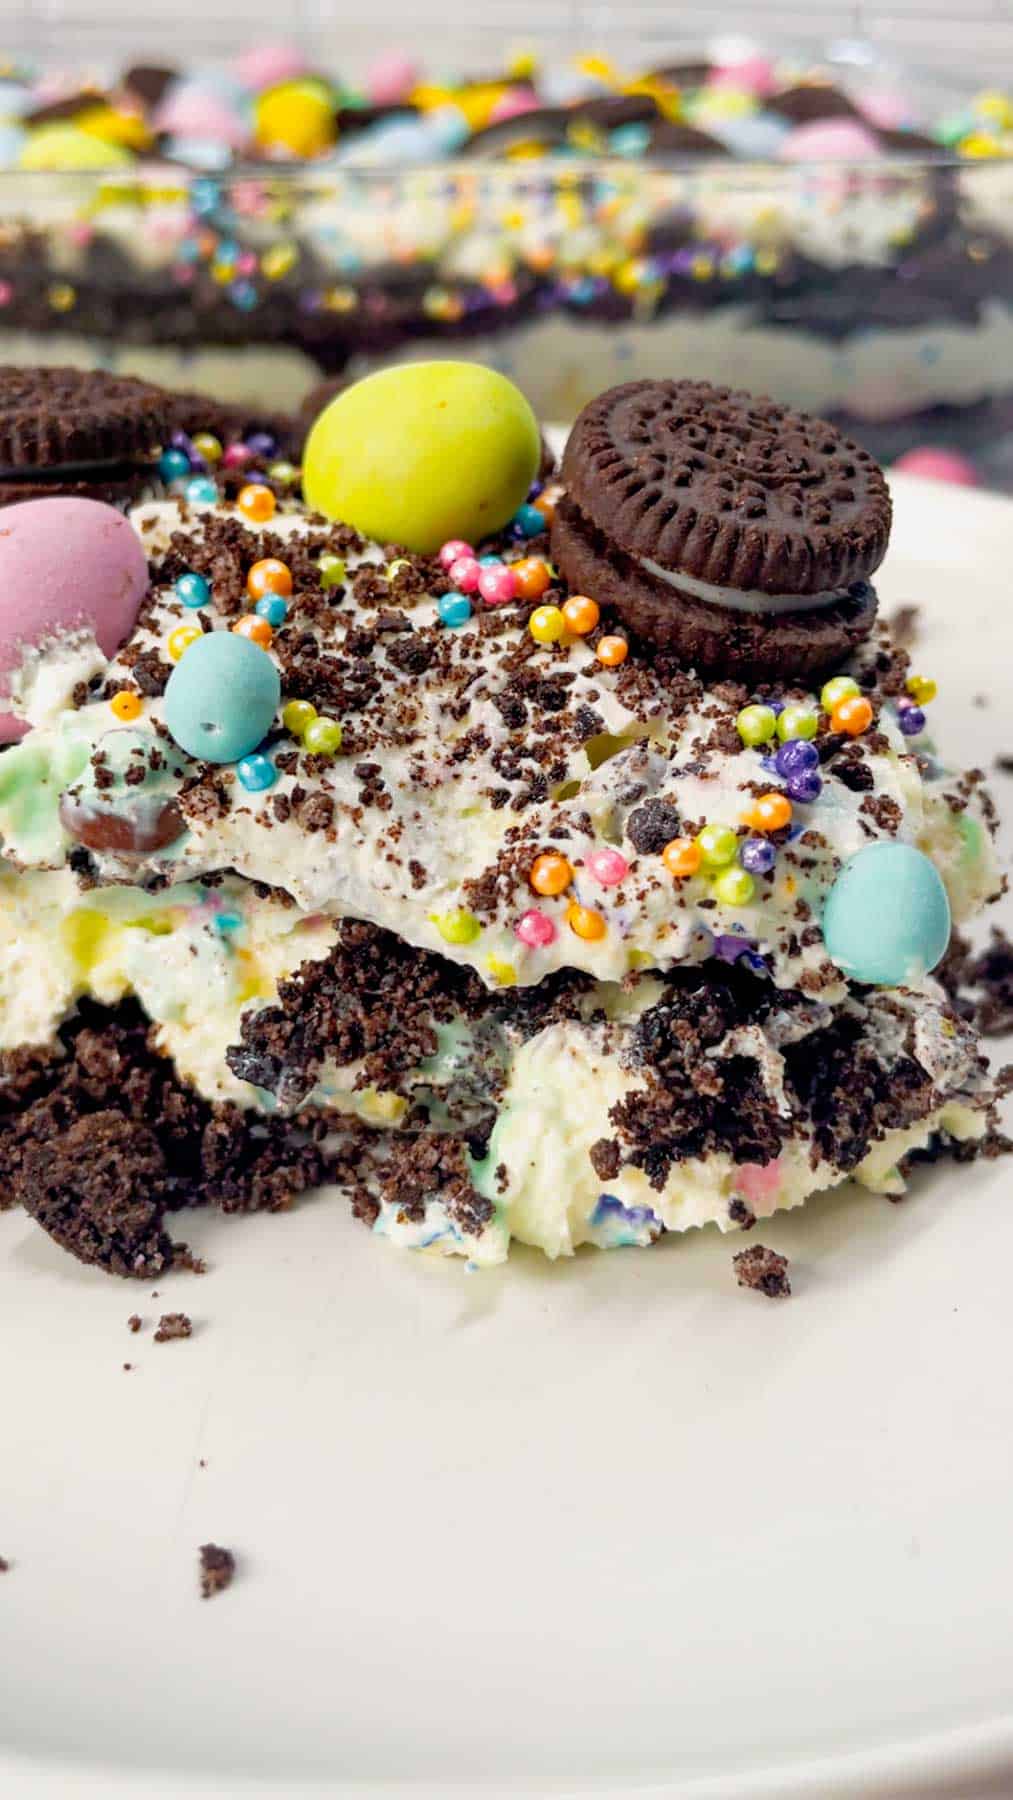
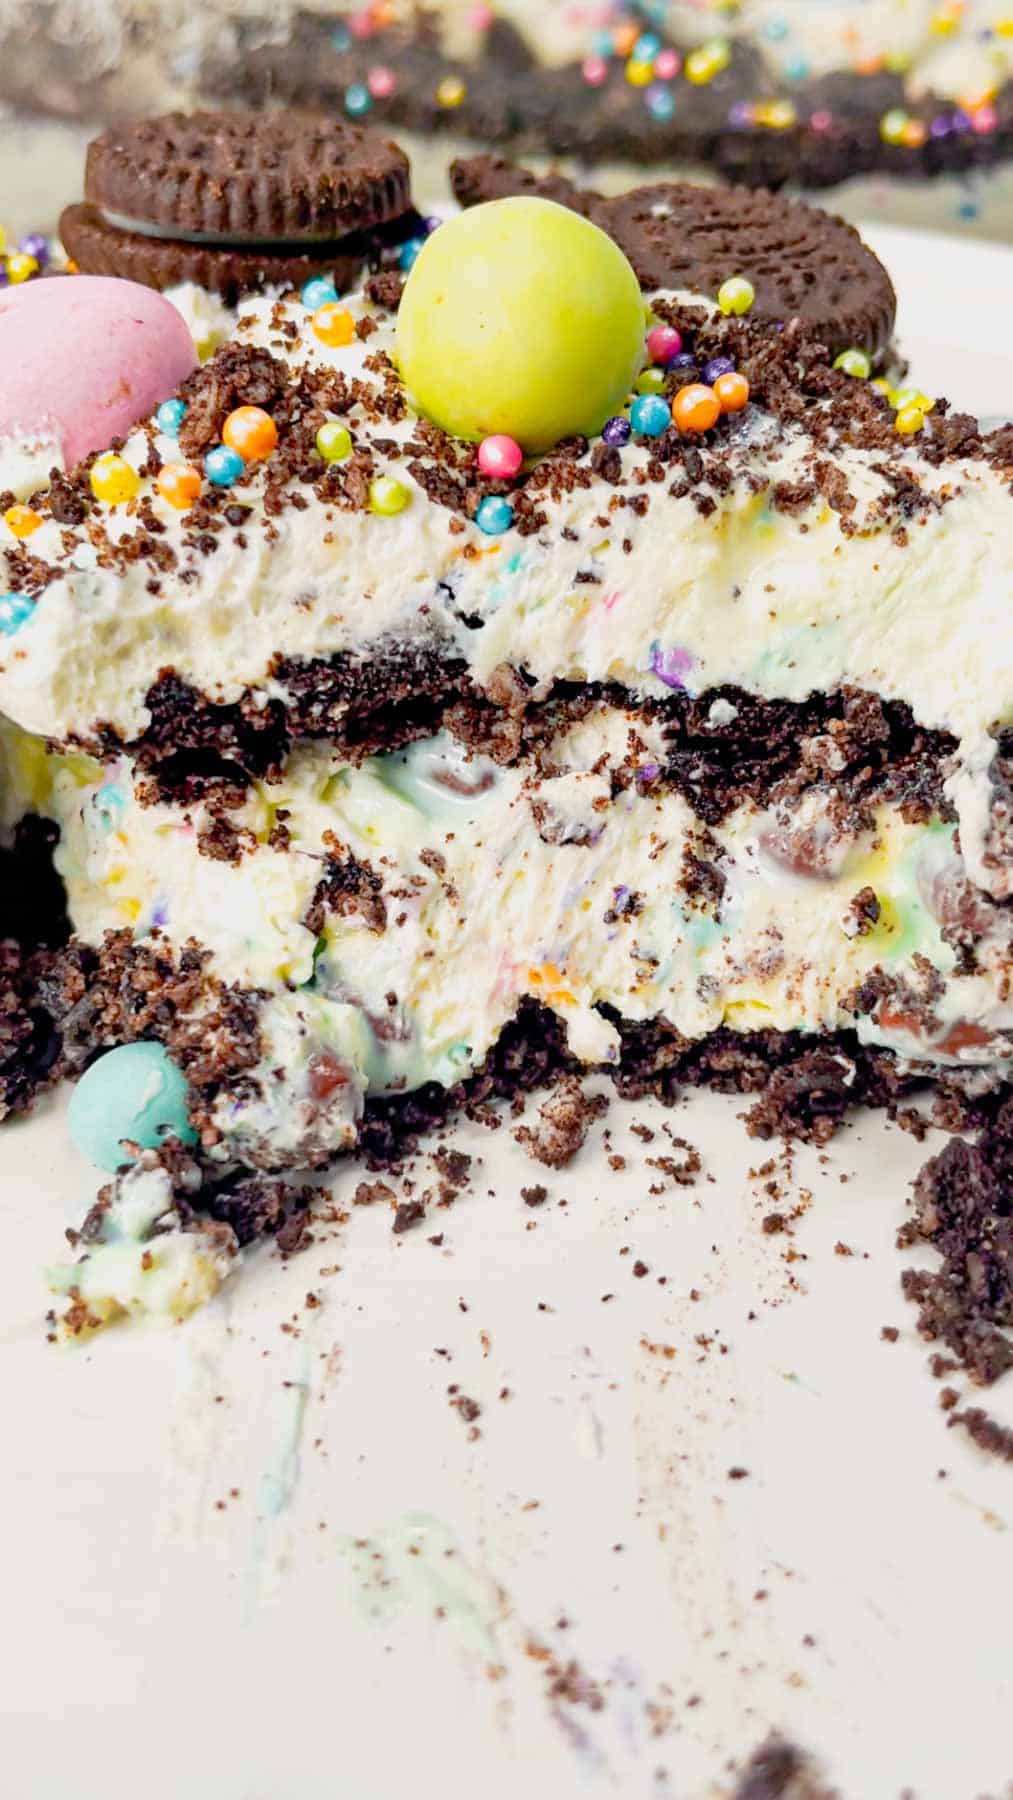
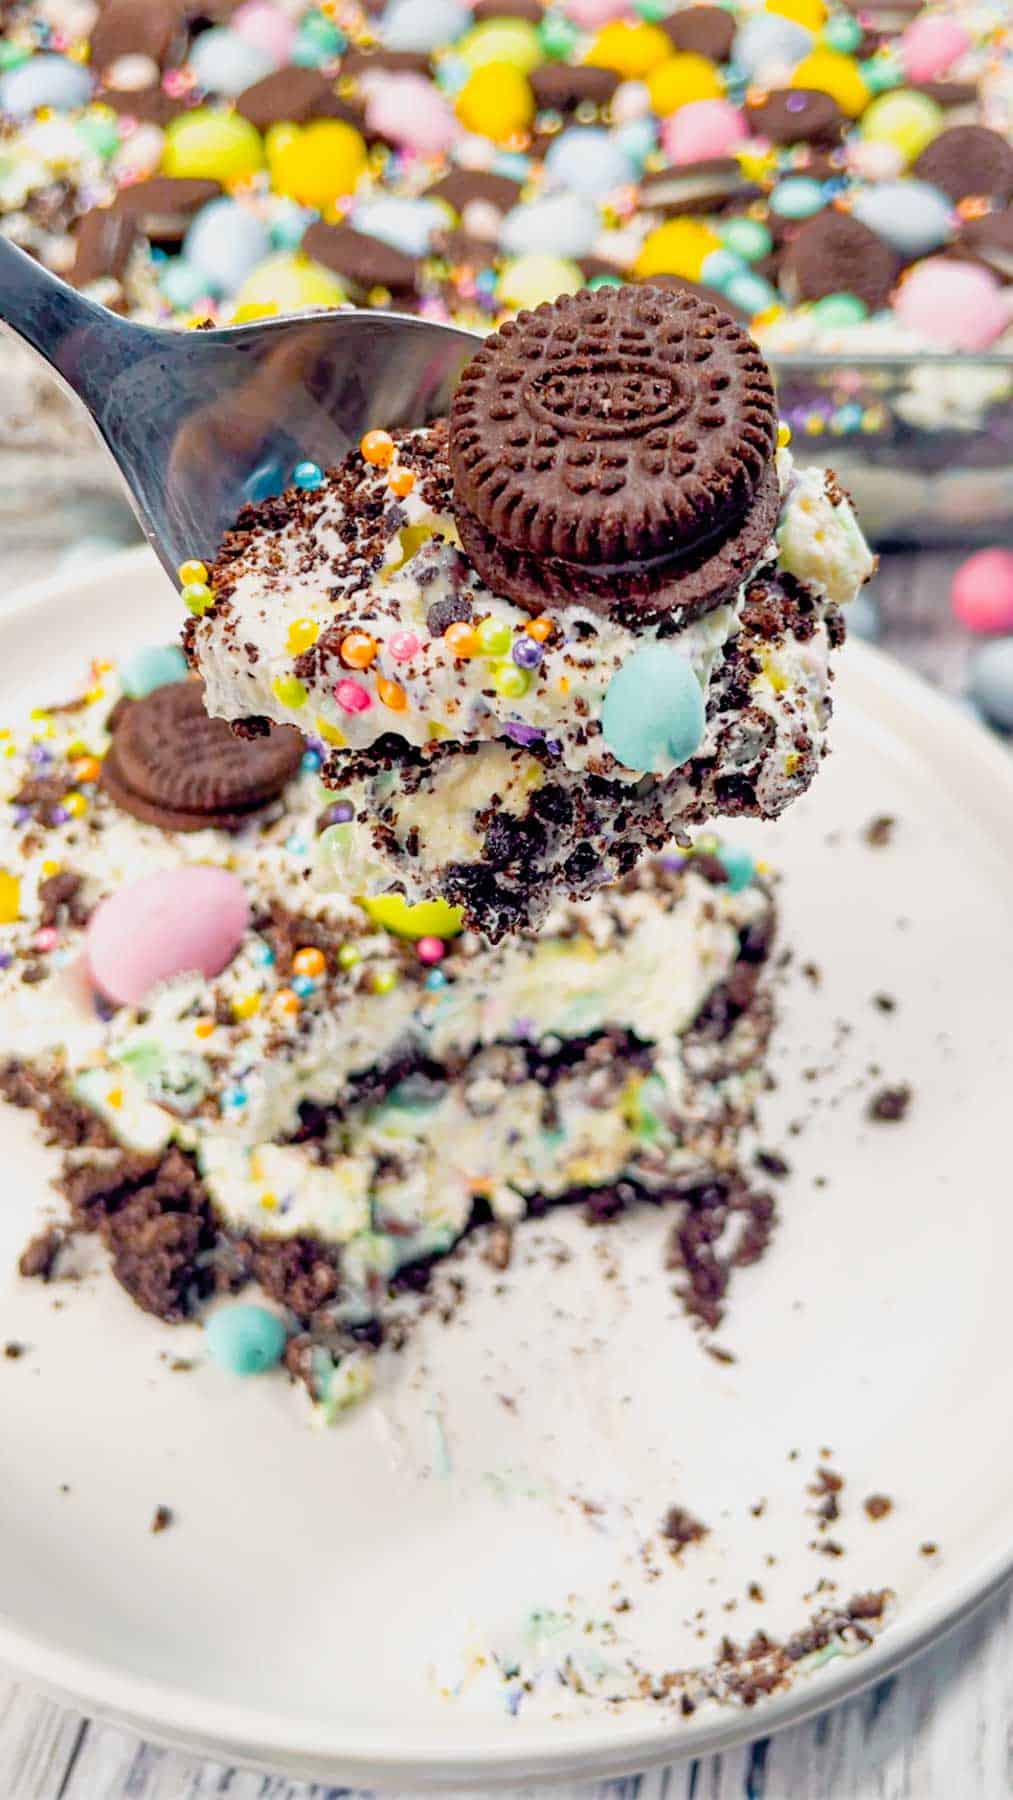
Then the no bake Oreo dessert was ready to slice and serve!

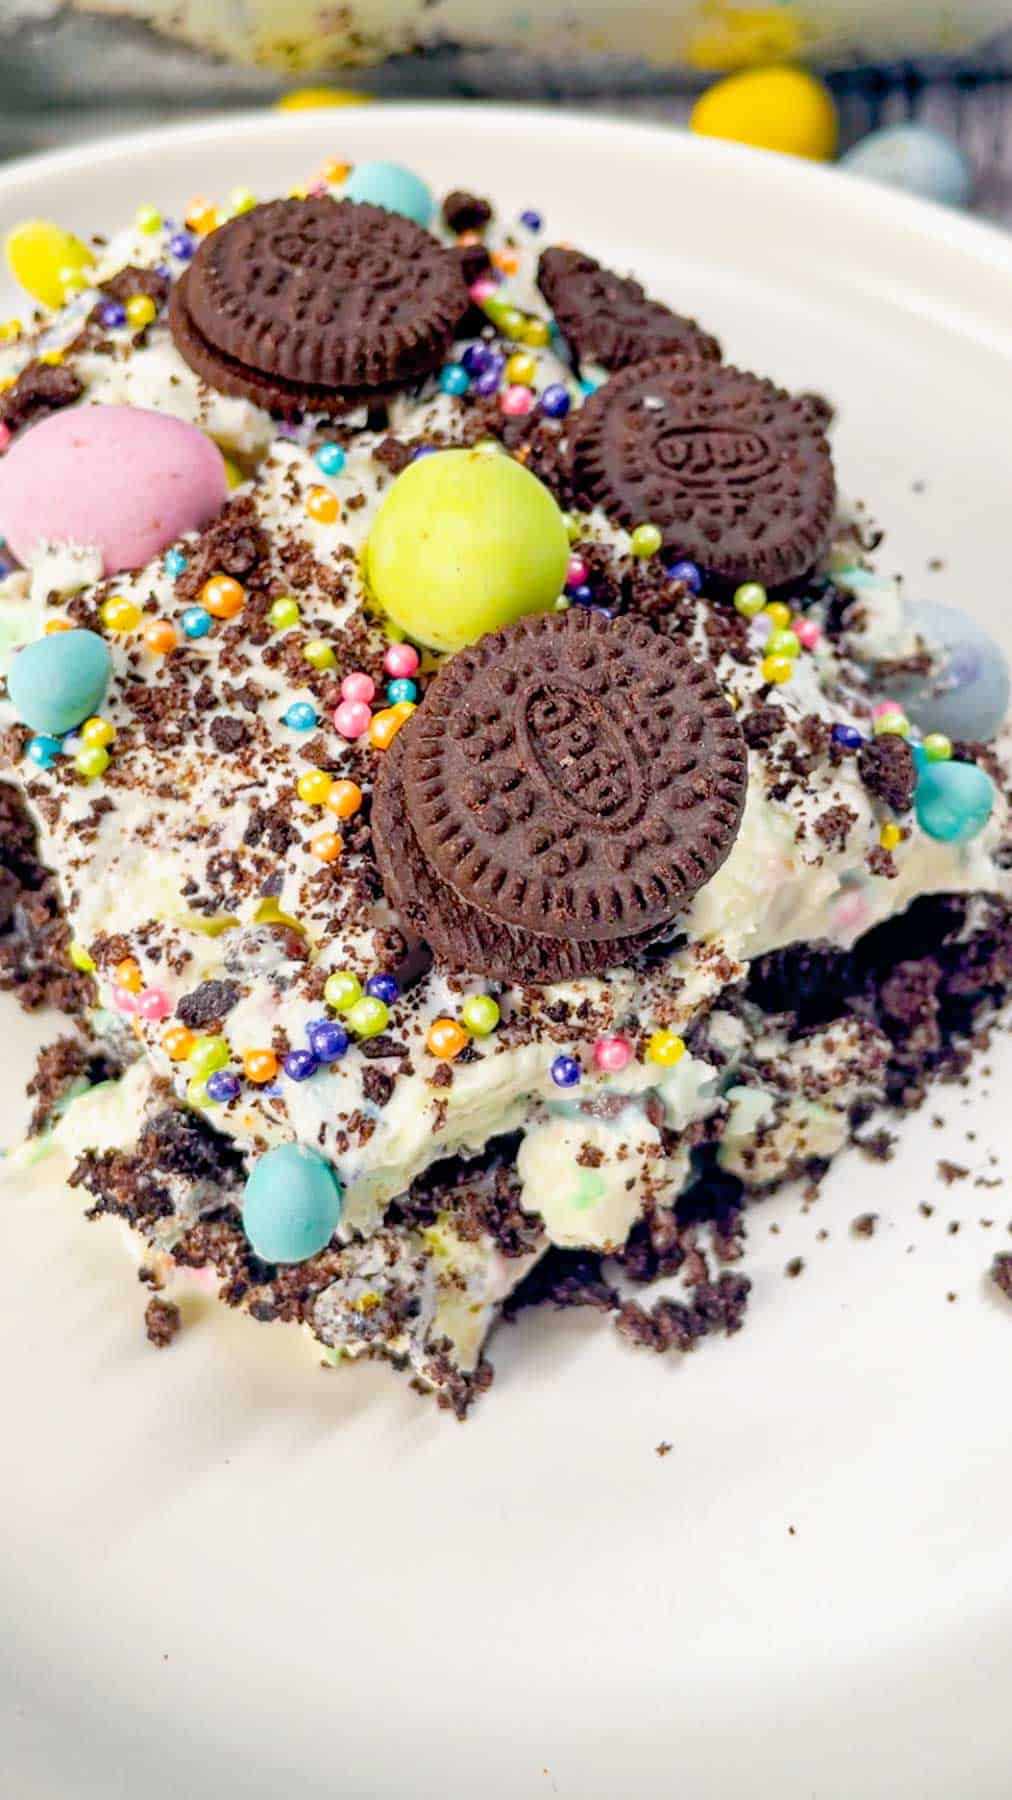
The crushed Oreo “dirt” paired with the smooth cream cheese and Cool Whip mixture creates the perfect balance of crunchy, creamy, and sweet in every bite.
Whether you’re hosting Easter brunch or looking for a fun dessert to make with the kids, this Easter Dirt Cake will steal the show!

This is one of those desserts that looks impressive but couldn’t be easier to make!
Make it ahead, pop it in the fridge, and let the Easter magic happen!
It’s the kind of dessert that makes you feel like a kid again – Oreos, pudding, and candy eggs – what’s not to love?
If you are looking for a quick and easy Easter dessert that’s sure to impress, then you need to try this Easter Dirt Cake!

FREQUENTLY ASKED QUESTIONS
Can I make Easter Dirt Cake ahead of time?
- Absolutely! This dessert is perfect for making ahead. You can assemble it up to 24 hours in advance and keep it covered in the fridge until you’re ready to serve.
- Just add the toppings right before serving so they stay fresh and colorful.
How long does Easter Dirt Cake last in the fridge?
- It will stay fresh in the fridge for 3-4 days if stored in an airtight container – but chances are, it won’t last that long!
What can I use instead of Oreos?
- If you’re not an Oreo fan, try using Golden Oreos, vanilla wafers, or graham crackers for a lighter flavor.
Can I freeze Easter Dirt Cake?
- Freezing is not recommended because the Cool Whip and cream cheese mixture can separate and the texture will not be the same.

Easter Dirt Cake
Easter Dirt Cake is an easy no bake dessert recipe perfect for feeding a crowd.
This fun and colourful dessert is made with crushed Oreo cookies, vanilla pudding, cream cheese, white chocolate, Cool Whip and loaded with sprinkles, mini Oreos and mini eggs.
Ingredients
- 13.29 oz package Oreo cookies
- 3.4 oz instant vanilla pudding mix
- 1 cup cold milk
- 8 oz softened cream cheese
- 7 oz white chocolate for melting ( I used 2 thin white chocolate bars )
- 12 oz Cool Whip, thawed
- 1 cup micro mini eggs ( if you can't find micro mini eggs you could crush regular mini eggs or Easter M&Ms)
- ⅓ cup colourful pastel sprinkles
Toppings
- mini Oreo cookies
- pastel sprinkles
- mini eggs
- micro mini eggs
Instructions
- Crush the Oreo cookies in a food processor or place them in a large Ziploc bag and use a rolling pin.
- Set aside ¼ of the crushed Oreos to use as a topping.
- Spray a 9 x 13 inch baking dish with cooking spray.
- Pour half of the crushed Oreos into the baking dish and spread them out evenly.
- Pour the vanilla pudding mix and milk into a large mixing bowl. Use an electric mixer to whip the ingredients together until the mixture thickens.
- Add the softened cream cheese to the bowl and continue mixing with the electric mixer until no large lumps remain.
- Place the white chocolate in a microwave safe bowl. Microwave in 30 second intervals, stirring each time, until the chocolate is completely melted.
- Pour the melted chocolate into the bowl with the cream cheese mixture and continue mixing with the electric mixer. Use a rubber spatula to scrape down the sides of the bowl.
- Add the Cool Whip to the bowl and use a rubber spatula to fold it into the cream cheese mixture.
- Add the micro mini eggs to the bowl and stir them into the mixture.
- Add the sprinkles to the bowl and stir them in being careful not to overmix as the dye will bleed.
- Spoon half of the mixture over the crushed Oreos in the baking dish and spread it out evenly.
- Sprinkle the remaining half of the crushed Oreos over top.
- Spoon the remainder of the Cool Whip mixture over the crushed Oreos and spread it out evenly.
- Cover the dish and refrigerate it for at least 3 hours.
- Right before serving remove the dish from the fridge and sprinkle the reserved ¼ cup of crushed Oreos on top.
- Sprinkle the mini Oreos, sprinkles, mini eggs and micro mini eggs on top.
- Serve and enjoy!
Nutrition Information:
Yield: 12 Serving Size: 1Amount Per Serving: Calories: 589Total Fat: 35gSaturated Fat: 20gTrans Fat: 0gUnsaturated Fat: 13gCholesterol: 27mgSodium: 374mgCarbohydrates: 67gFiber: 3gSugar: 52gProtein: 7g
This post contains affiliate links. Read our disclosure here.
As an Amazon Associate I earn from qualifying purchases.

Hi! My name is Erin and I have been here since 2016 sharing simple family friendly recipes that can be prepared by any home cook. Get ready to whip up delicious meals in no time!