Christmas Cool Whip Candy

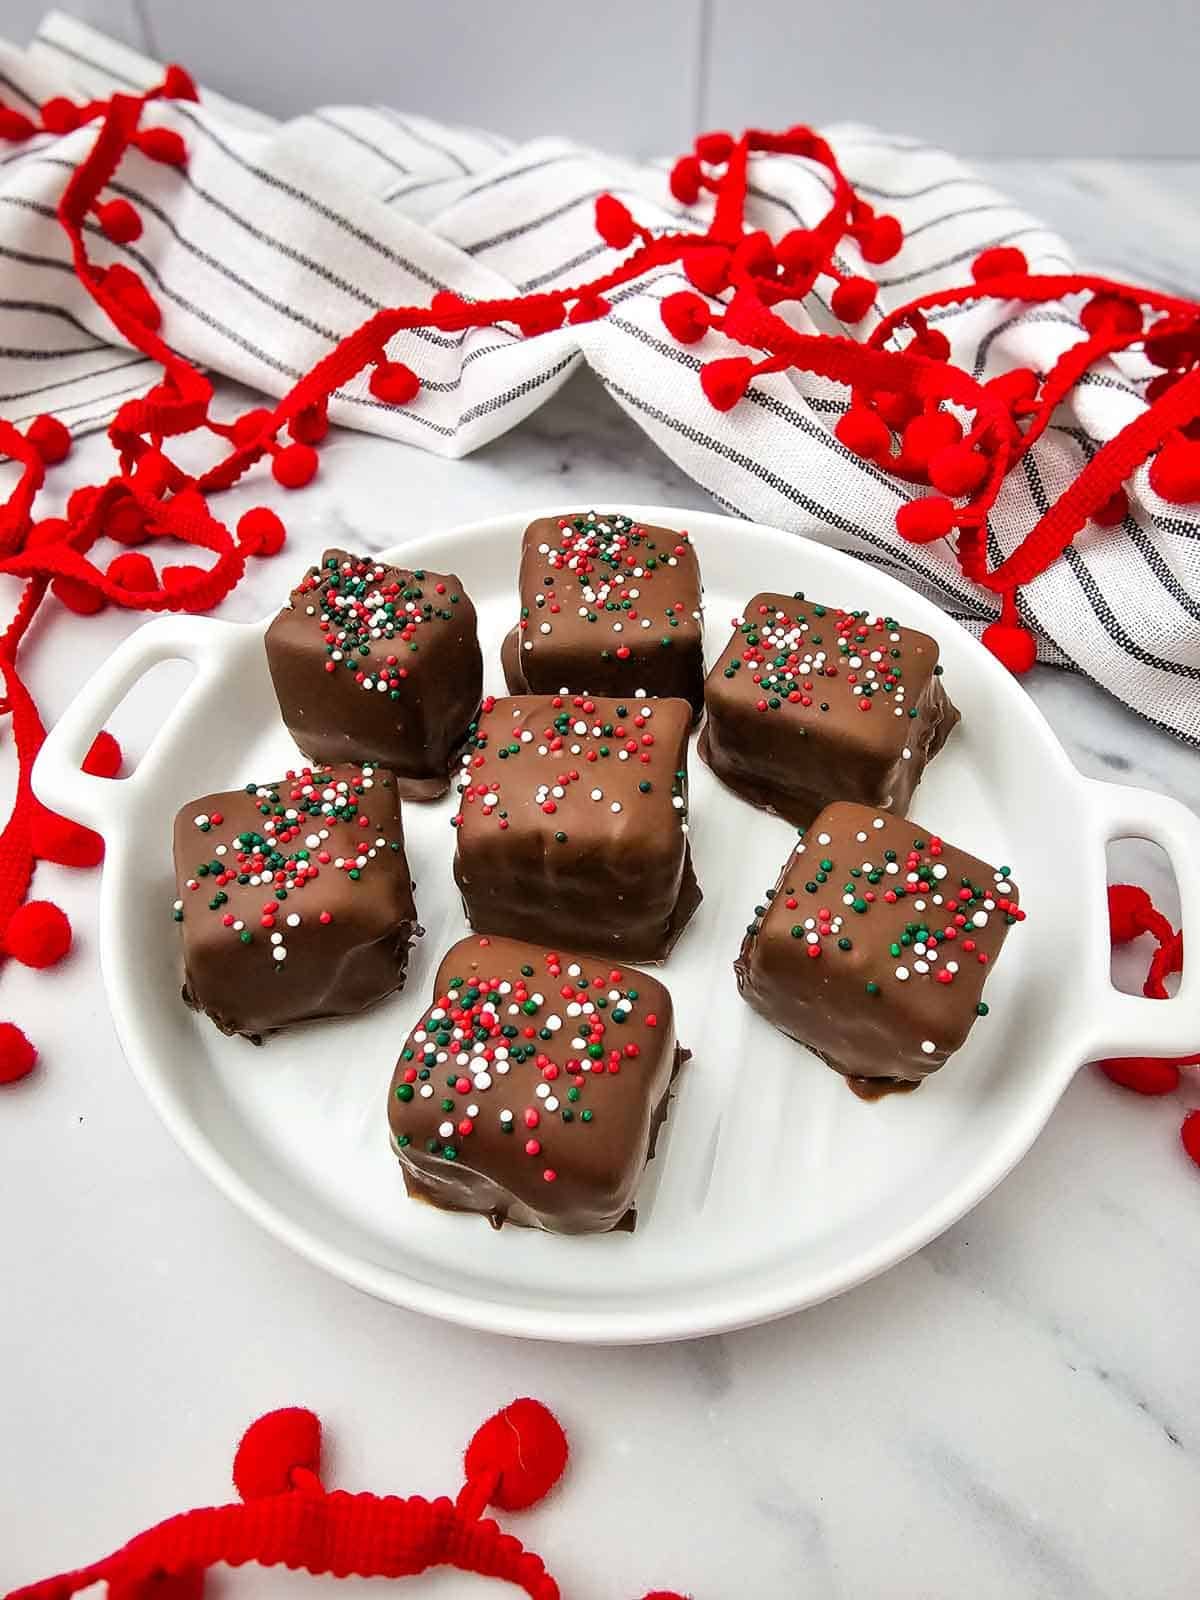
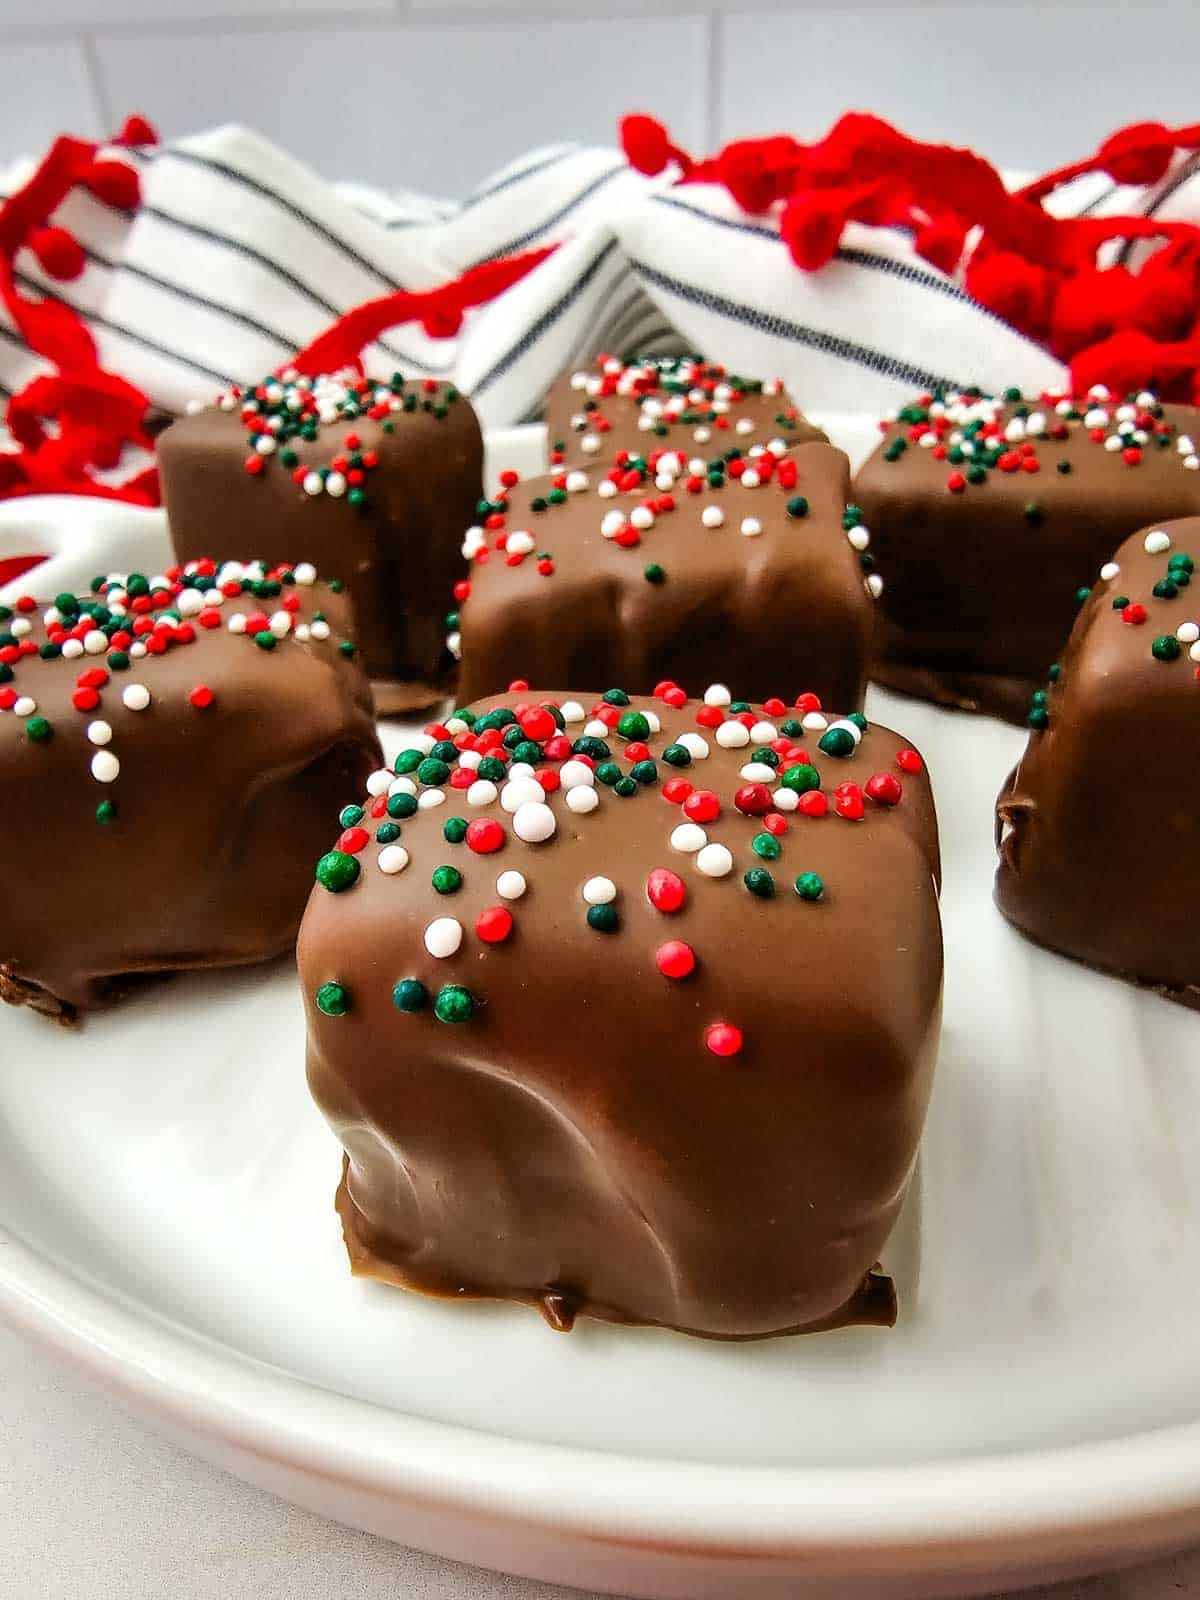
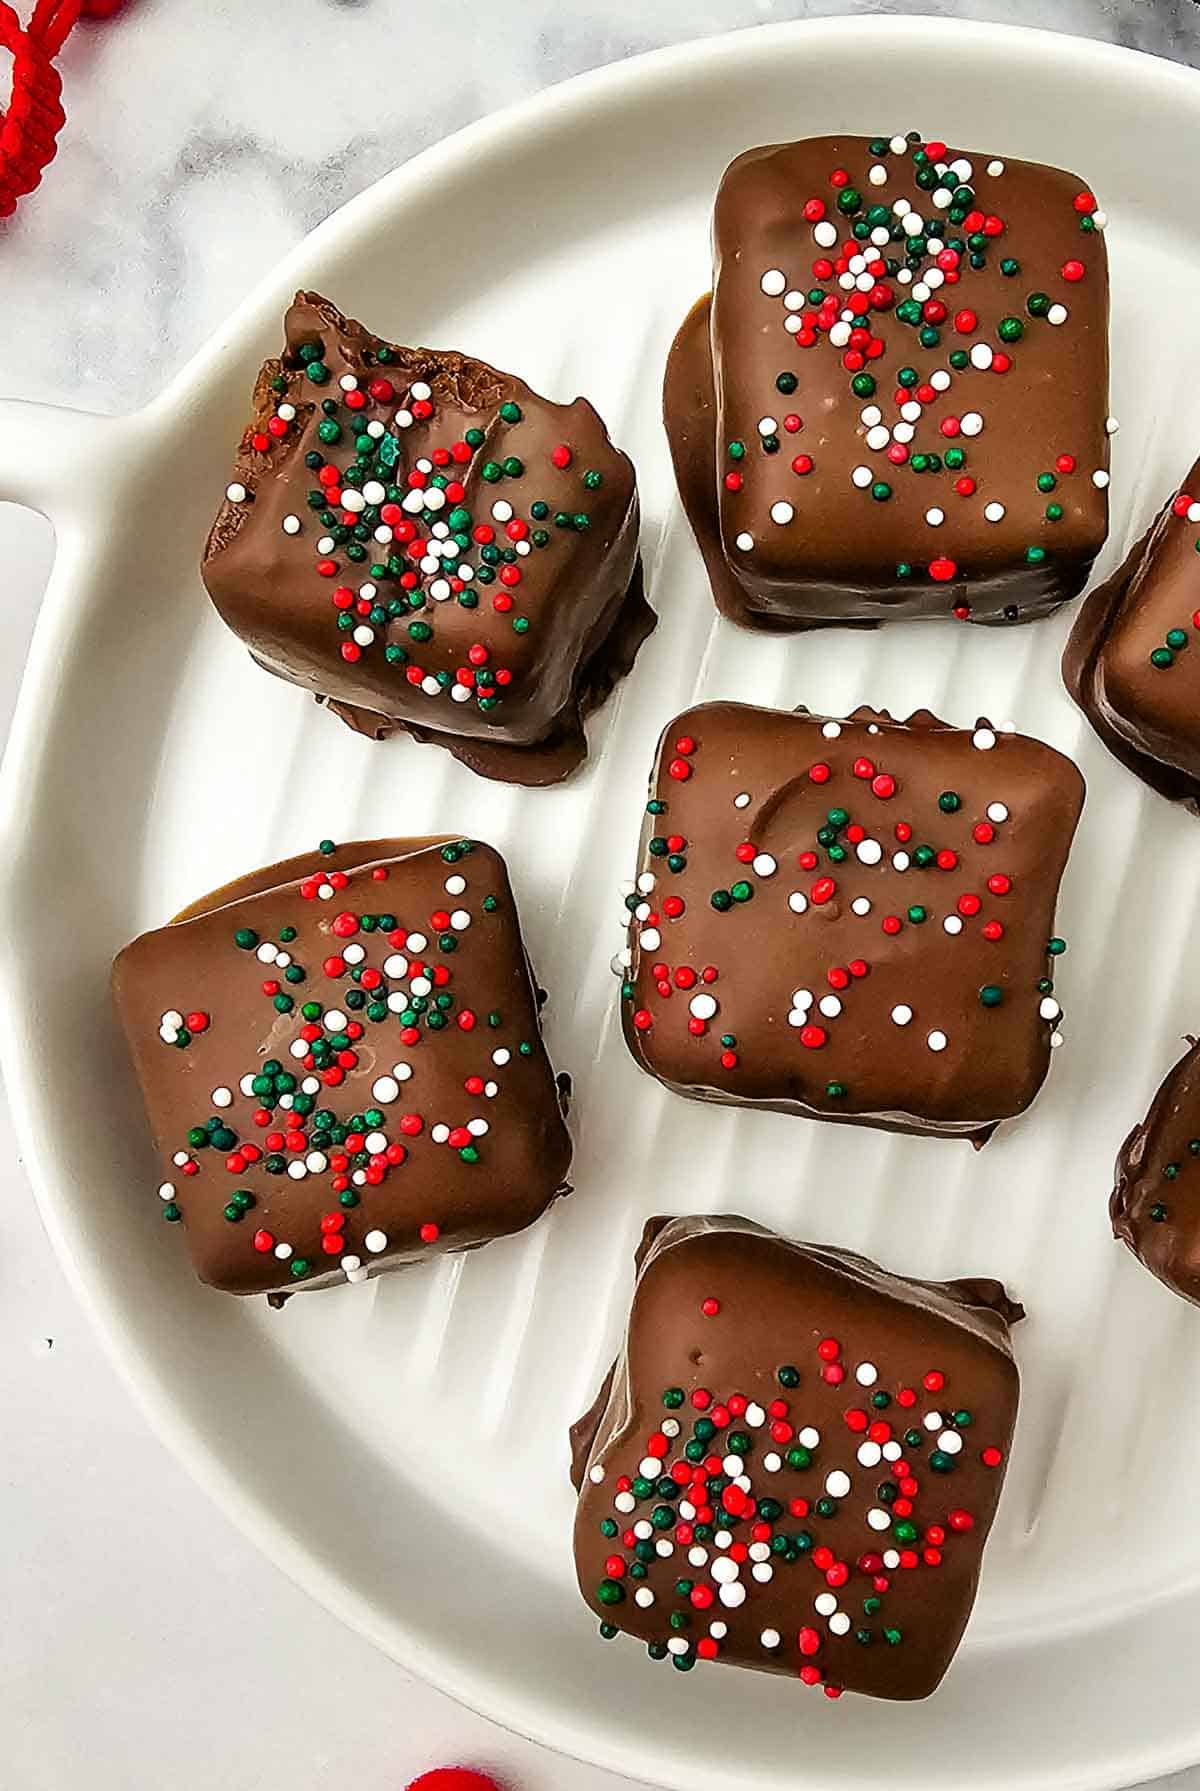
Christmas Cool Whip Candy is a rich and creamy no-bake holiday treat with a light, fluffy chocolate center and a smooth milk chocolate coating.
Made with just a handful of simple ingredients, these bite-sized candies are surprisingly easy to prepare and taste like little pieces of chocolate heaven.

Topped with festive Christmas sprinkles, they're a fun addition to holiday dessert trays, Christmas parties, and homemade candy gift boxes.
If you're looking for an easy Christmas candy recipe that doesn't require turning on the oven, these decadent chocolate treats are sure to be a hit!
Why This Recipe is a Winner!
- Only 4 Ingredients: All you need is Cool Whip, chocolate chips, chocolate melting wafers, and festive sprinkles to make these delicious holiday candies.
- No Baking Required: No need to turn on the oven for these easy homemade chocolate treats.
- Perfect for Christmas Gifting: These homemade candies make adorable additions to holiday treat boxes and edible Christmas gifts.
- Great for Holiday Dessert Trays: The bite-sized squares are perfect for Christmas cookie platters, parties, and festive gatherings.
- Easy to Make Ahead: Prepare a batch in advance and keep the candies in the freezer until you're ready to serve.
- Makes 36 Pieces: One batch produces plenty of chocolate candies for sharing with family and friends.
- Fun to Decorate: Customize the candies with Christmas sprinkles, colored chocolate drizzle, or crushed candy canes.
- Minimal Hands-On Prep: With just a few minutes of prep and some freezing time, these treats are surprisingly simple to make.
Prep + Cook Time:
10 minutes
Setting Time:
2 hours
Yield:
36 pieces
Ingredients You'll Need
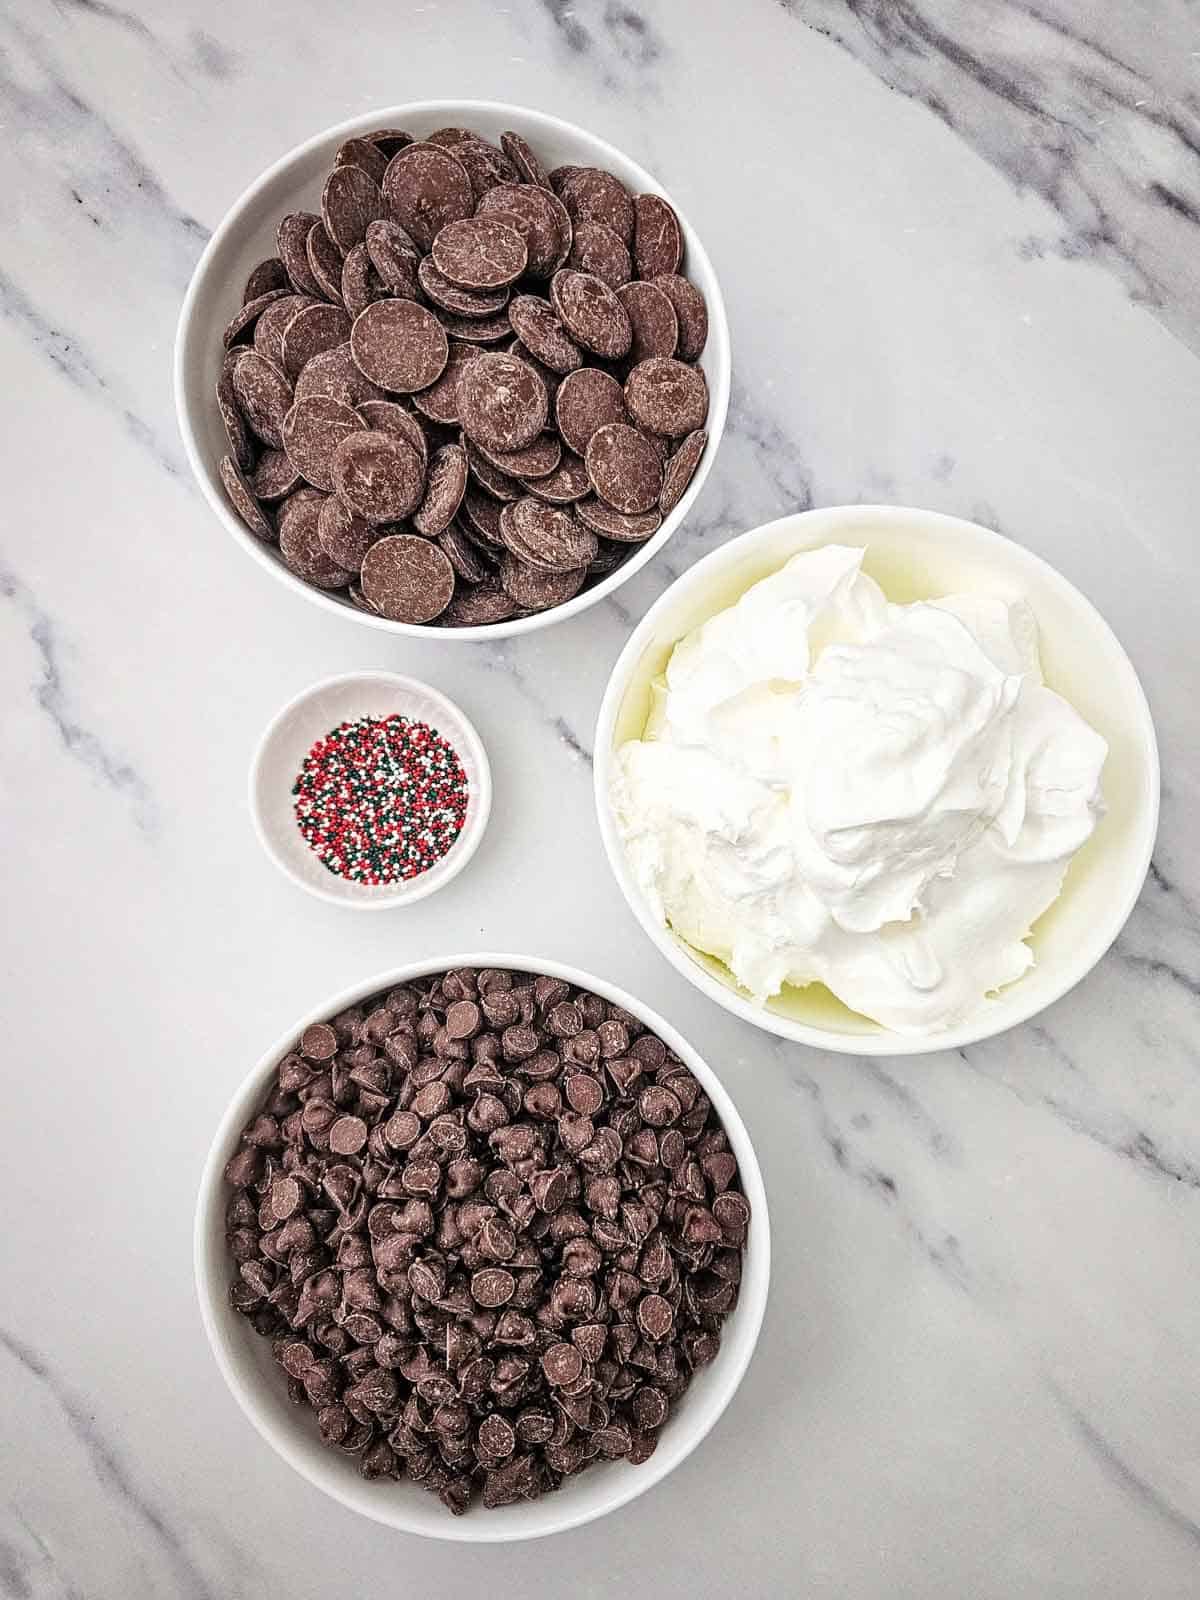
- Milk Chocolate Chips: Form the rich, chocolatey base of the candy's light and fluffy filling.
- Cool Whip: Thawed whipped topping gives the candy its soft, airy, melt-in-your-mouth texture.
- Milk Chocolate Melting Wafers: Create a smooth, decadent chocolate coating around each candy square.
- Christmas Sprinkles: Add a fun, festive finishing touch to these bite-sized holiday treats.
Printable Recipe Card with a Full List of Ingredients and Instructions is Located at the Bottom of the Post.
Be sure to read through the entire post so that you don't miss out on any important tips and tricks!
Step By Step Instructions
STEP 1:
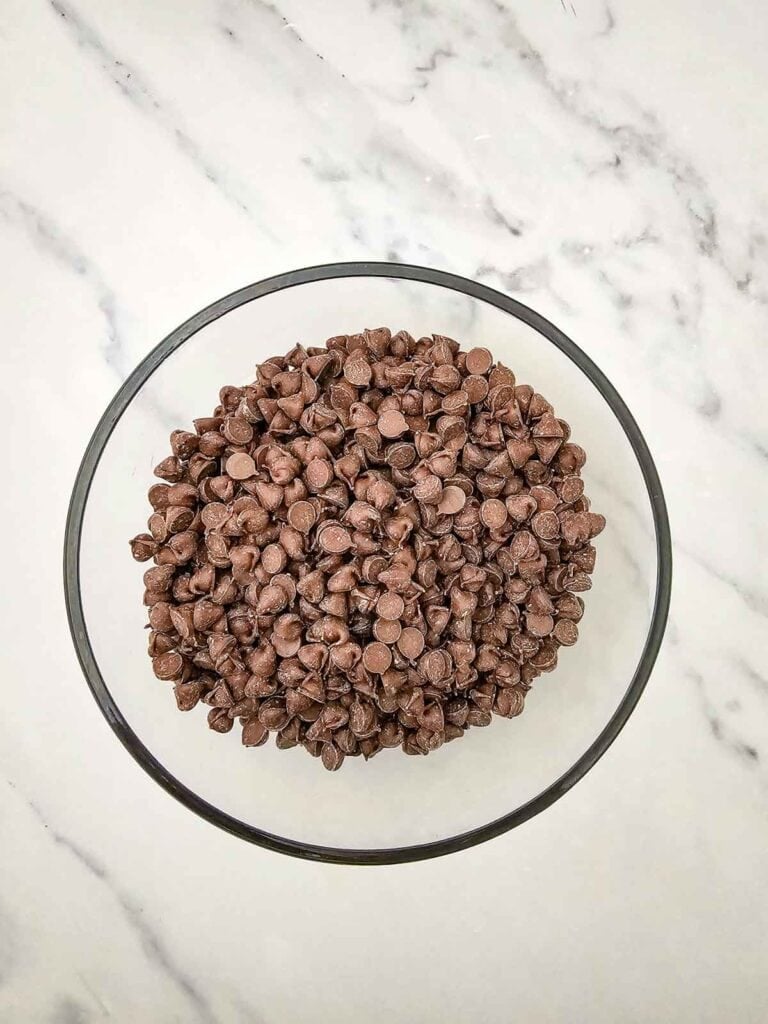
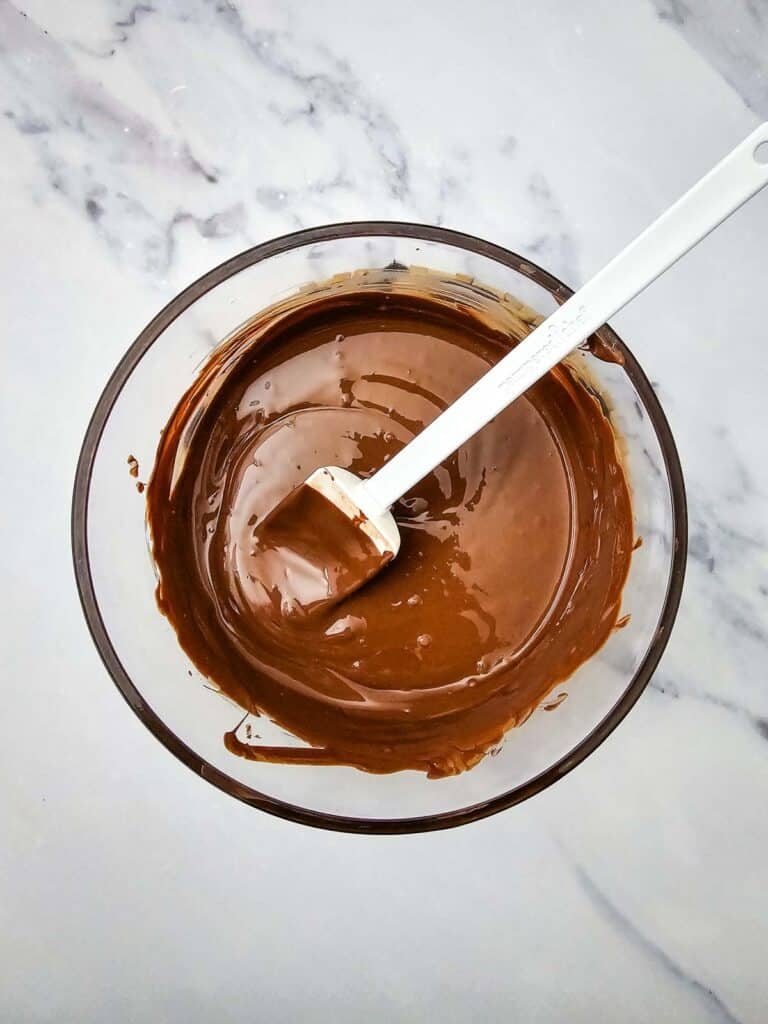
I poured milk chocolate chips into a microwave safe bowl and heated them in 30 second intervals, stirring in between, until they were fully melted.
I left the melted chocolate to cool to room temperature.
STEP 2:
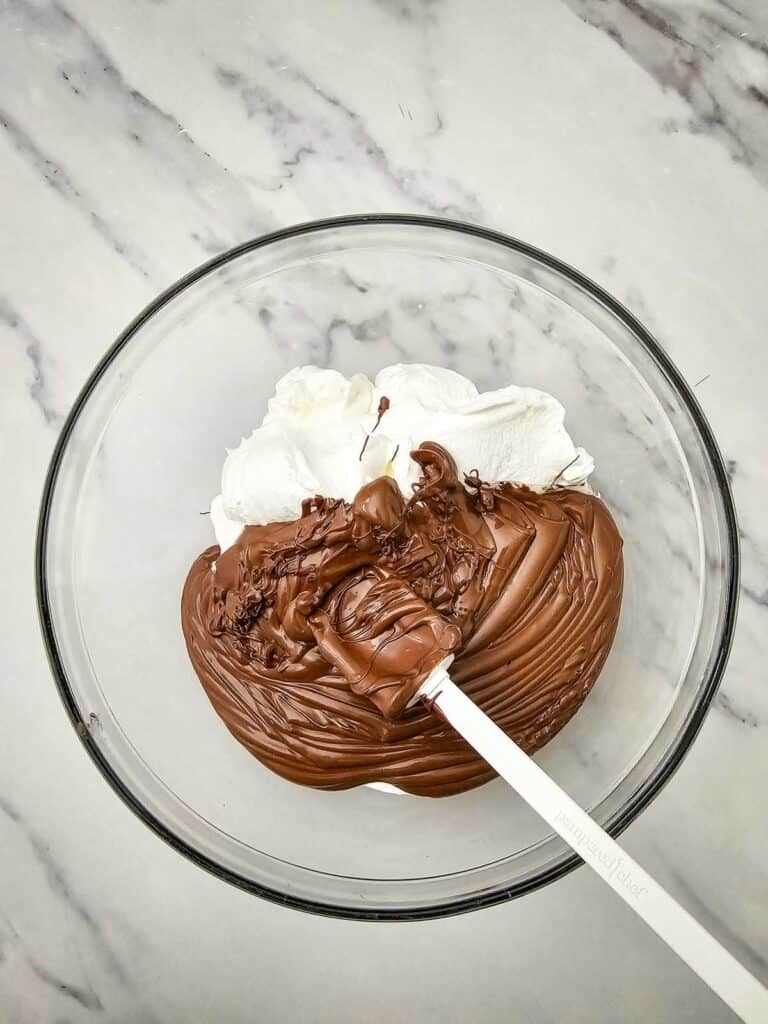
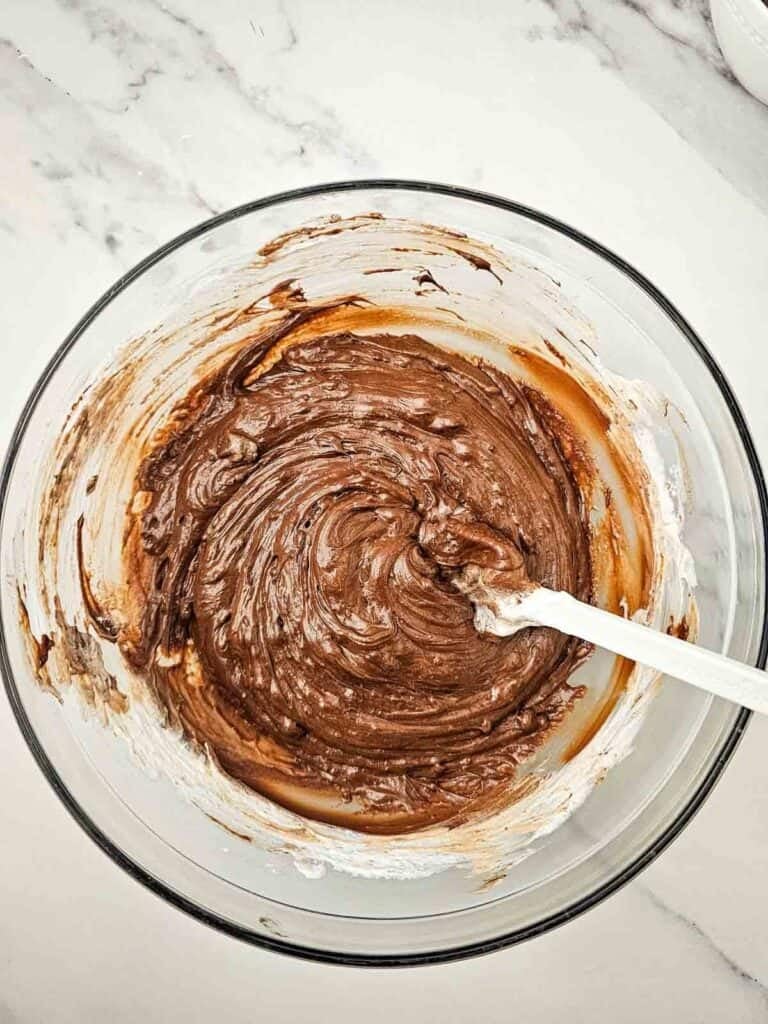
I scooped Cool Whip into a large mixing bowl and added the melted chocolate.
I stirred until they are fully combined.
STEP 3:
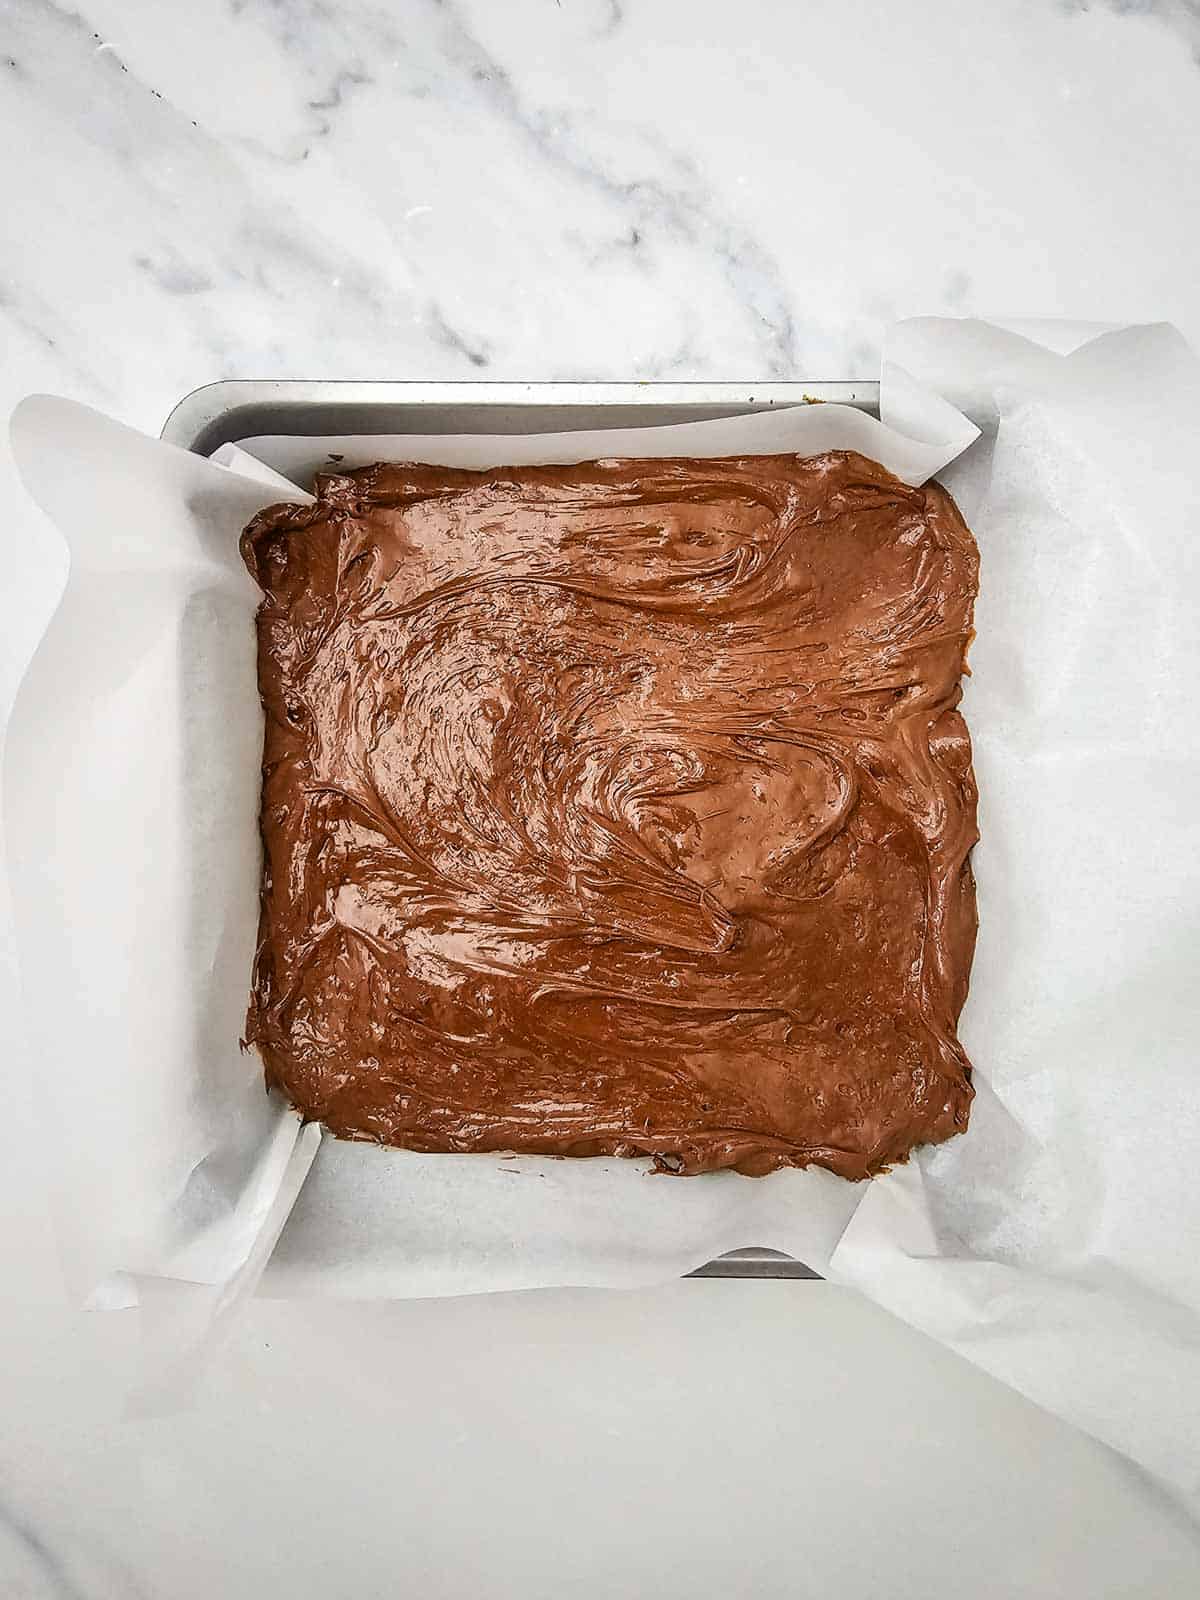
I poured the mixture into an 8x8 pan lined with parchment paper and spread it out evenly.
I plaecd the pan in the freezer for 30 minutes so that the chocolate could set.
STEP 4:
After 30 minutes I removed the pan from the freezer and used the parchment to lift the chocolate from the pan.
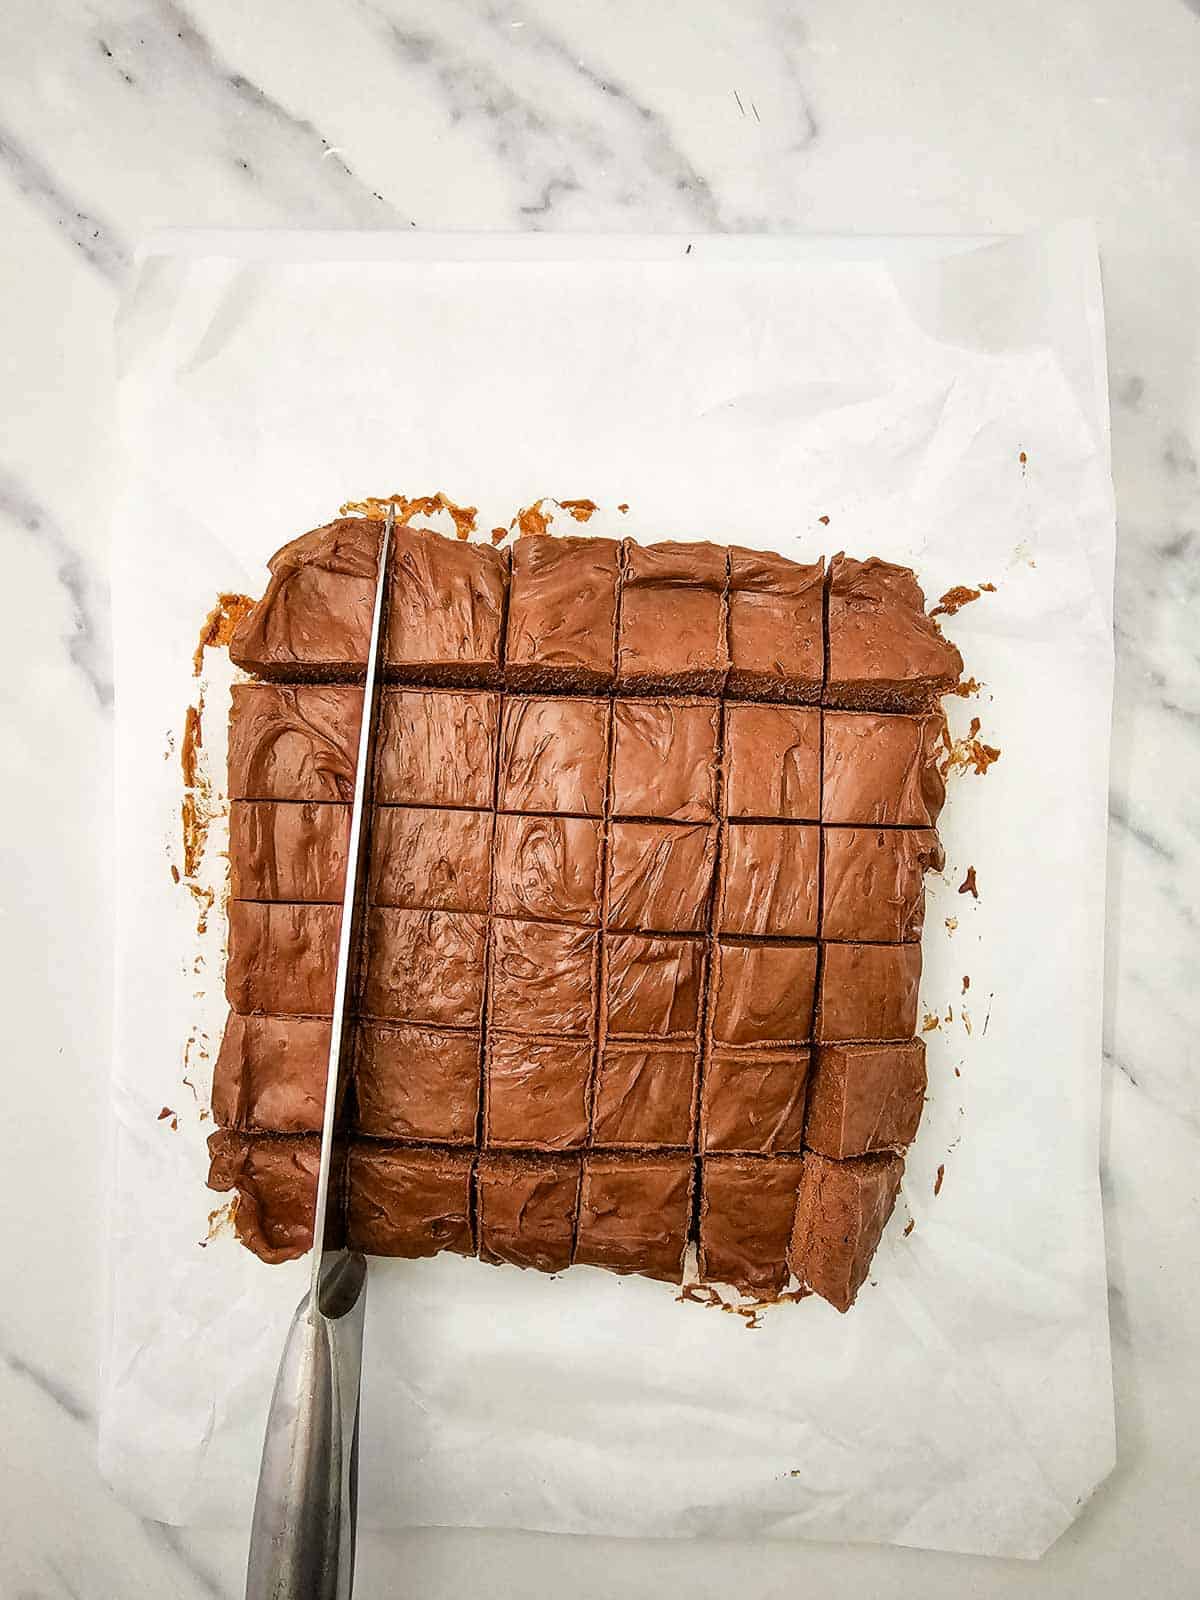
I sliced it into 36 squares and placed them on a parchment lined baking sheet.
I placed the baking sheet in the freezer for 30 minutes.
STEP 5:
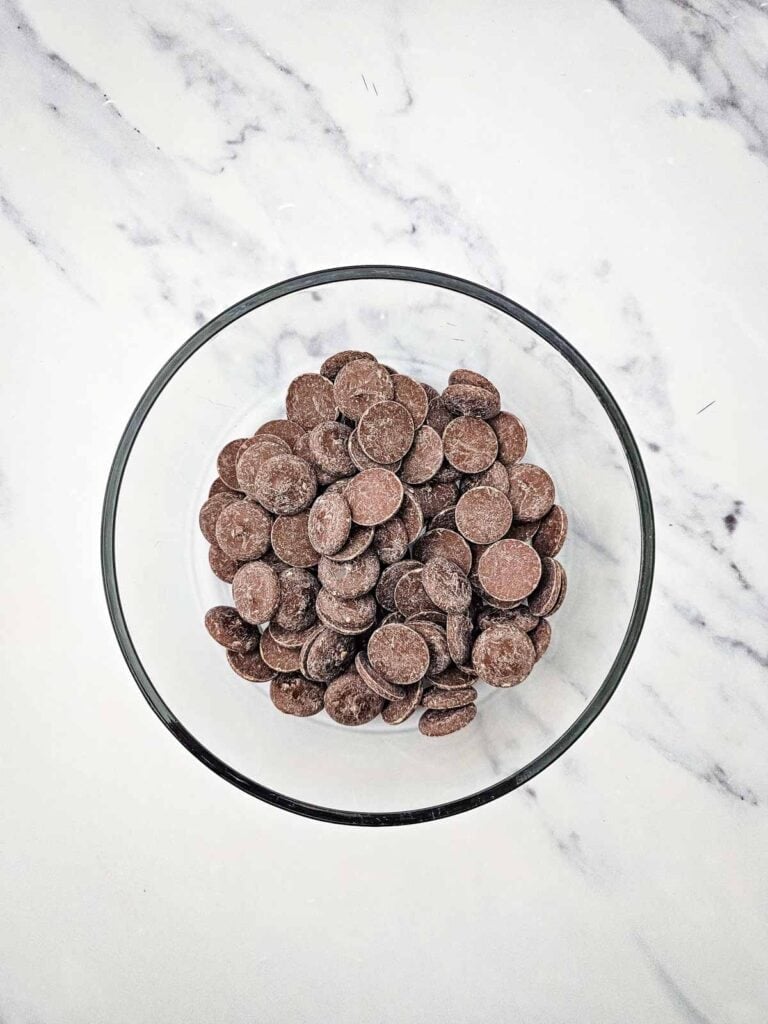
After 30 minutes, I heated chocolate wafers in a microwave safe bowl until fully melted and smooth.
STEP 6:
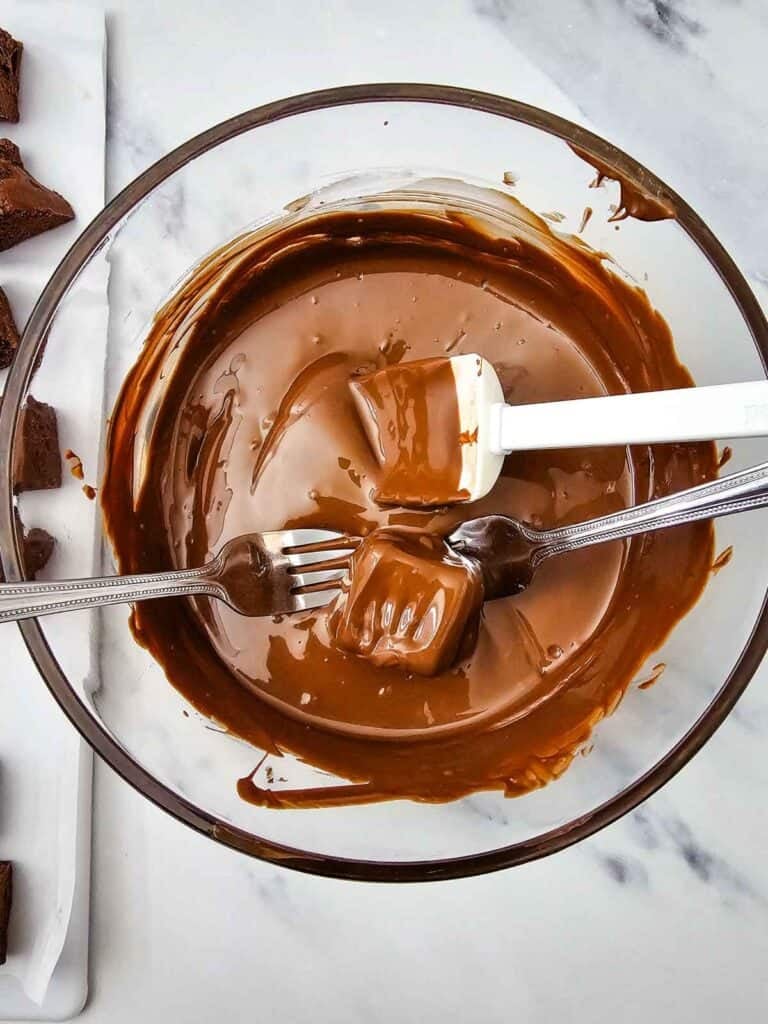
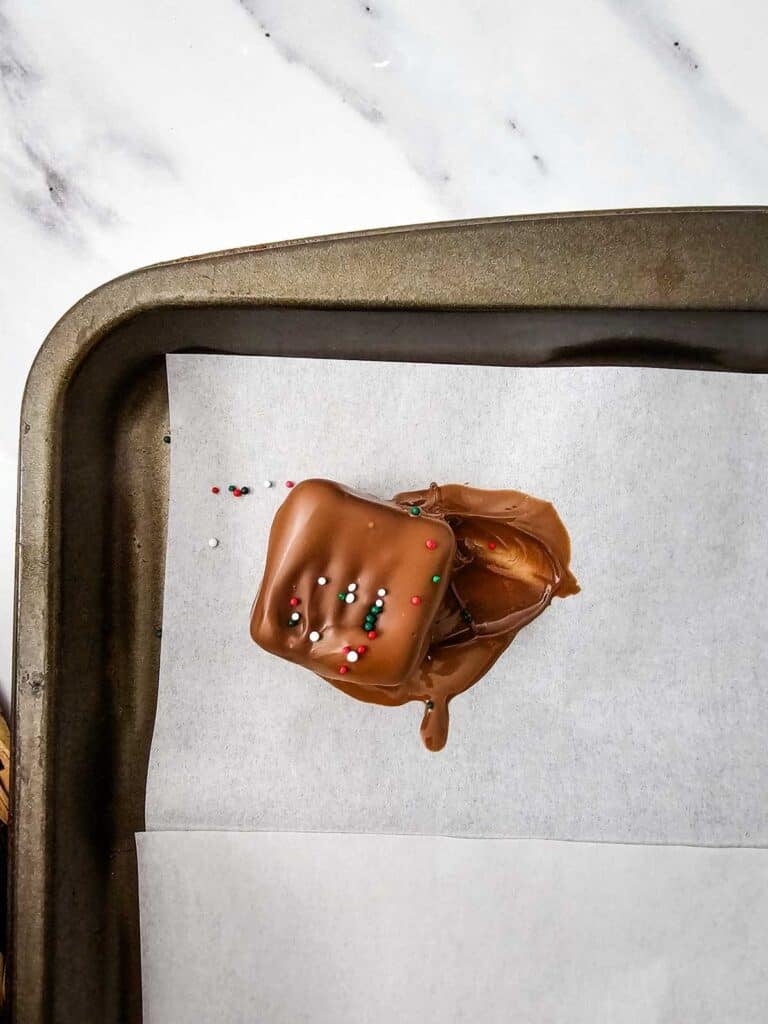
I dipped the squares of cool whip candy in the melted chocolate and placed them on a parchment lined baking sheet.
I immediately topped them with Christmas sprinkles while the chocolate was still wet.
Every bite of this Christmas Cool Whip Candy starts with a satisfying snap of rich milk chocolate before giving way to a soft, fluffy, melt-in-your-mouth chocolate center.
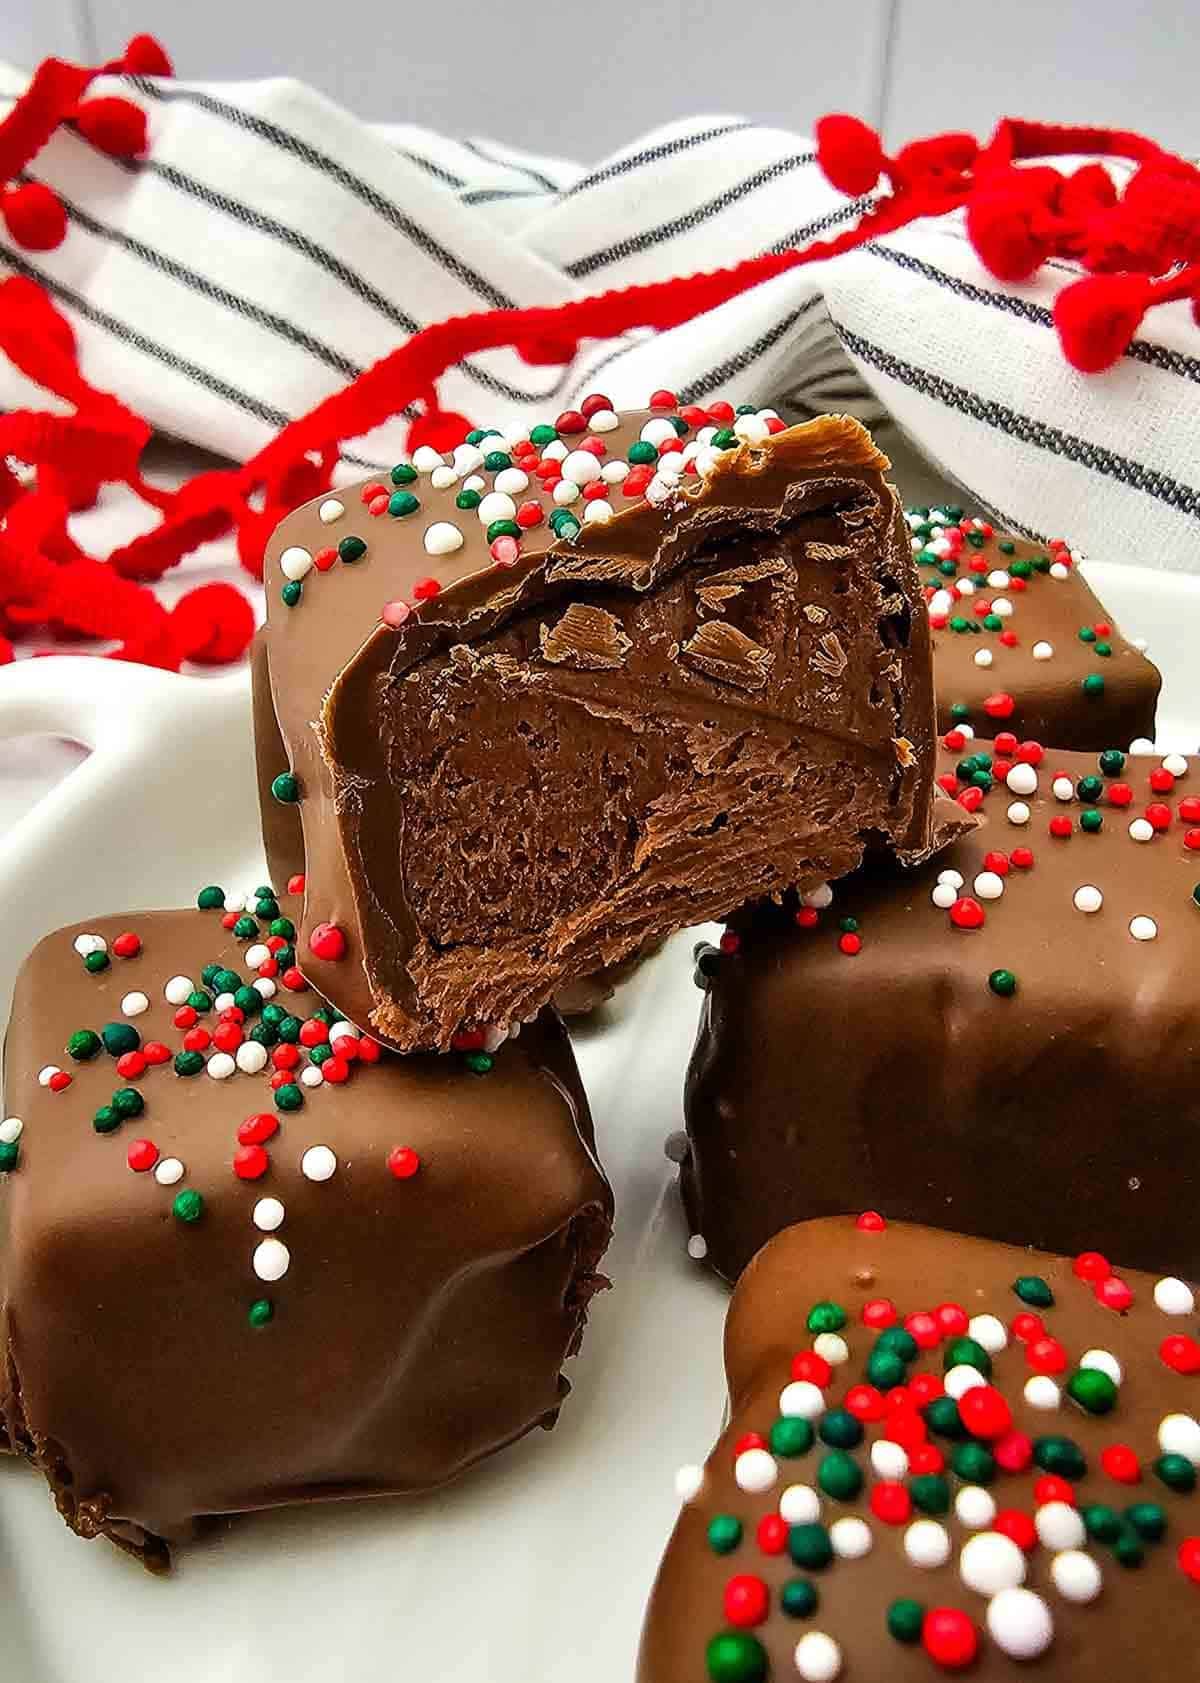
These decadent little treats are dangerously easy to pop one after another, so don't be surprised if your holiday candy tray disappears in record time!
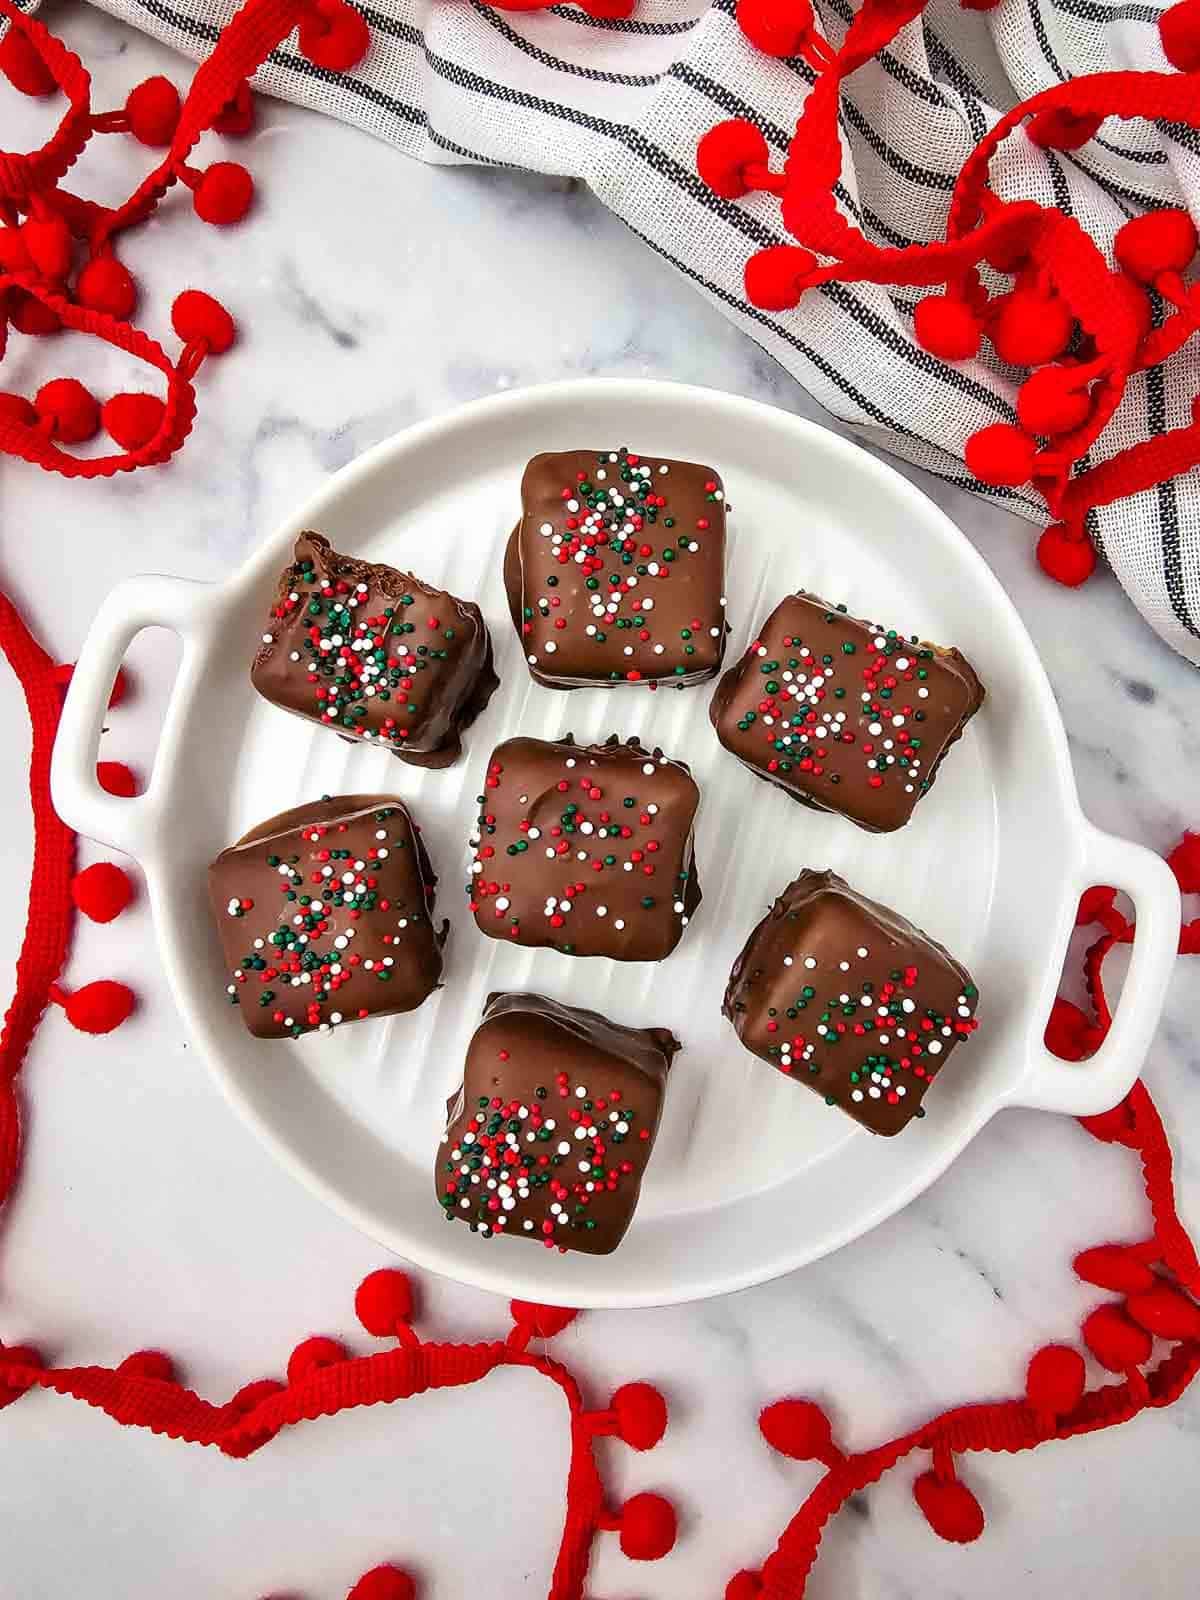
If you are looking for an easy no bake dessert recipe perfect for the holidays, then you need to try this Christmas Cool Whip Candy!


Erin's Tips for the Best Christmas Cool Whip Candy
- Thaw the Cool Whip Completely: Make sure your Cool Whip is fully thawed before mixing it with the melted chocolate for a smooth, fluffy filling.
- Let the Chocolate Cool: Allow the melted chocolate chips to cool to room temperature before adding them to the Cool Whip. Hot chocolate can cause the whipped topping to deflate and affect the texture.
- Don't Overmix the Filling: Stir the chocolate and Cool Whip together gently until combined to help maintain that light, airy texture.
- Use Parchment Paper: Line your baking pan and trays with parchment paper to prevent sticking and make removing the candies easier.
- Don't Skip the Freezing Time: Freezing the chocolate mixture before cutting and dipping helps the squares hold their shape.
- Use a Sharp Knife: Cut the chilled filling into squares with a sharp knife, wiping the blade between cuts for cleaner edges.
- Work in Small Batches: Keep some of the candy squares in the freezer while dipping the others so they don't soften too much.
- Use Melting Wafers for Dipping: Chocolate melting wafers create a smooth, even coating and are easier to work with than regular chocolate chips.
- Tap Off Excess Chocolate: Gently tap your dipping fork against the side of the bowl to remove extra chocolate and prevent thick, uneven coatings.
- Add Sprinkles Immediately: Decorate each candy right after dipping, before the chocolate coating sets.
- Keep Them Chilled: Store the finished candies in an airtight container in the freezer and serve them chilled for the best texture.
- Make Them Ahead: These candies are perfect for preparing in advance, making holiday entertaining and Christmas treat trays a little less stressful.
Substitutions and Variations
- Semi-Sweet Chocolate: Swap the milk chocolate chips for semi-sweet chocolate chips if you prefer a richer, less sweet candy filling.
- Dark Chocolate Coating: Use dark chocolate melting wafers instead of milk chocolate for a more intense chocolate flavor.
- White Chocolate Coating: Dip the candies in white chocolate melting wafers for a pretty contrast with the chocolate filling.
- Peppermint Cool Whip Candy: Add a small amount of peppermint extract to the filling for a festive chocolate mint flavor. Start with ¼ teaspoon and adjust to taste.
- Crushed Candy Canes: Replace the Christmas sprinkles with finely crushed candy canes for a crunchy peppermint topping.
- Chocolate Drizzle: Drizzle the finished candies with melted white chocolate or contrasting dark chocolate for a decorative finish.
- Different Sprinkles: Switch up the sprinkles to match other holidays, birthdays, or special occasions.
- Nutty Chocolate Candy: Sprinkle finely chopped pecans, walnuts, or peanuts over the freshly dipped candies for added crunch.
- Toasted Coconut: Top the candies with toasted shredded coconut instead of sprinkles for a delicious chocolate coconut combination.
- Mini Candy Bars: Cut the filling into small rectangles instead of squares to create homemade chocolate candy bars.
- Extra Festive Candy: Use red and green candy melts to drizzle over the chocolate coating for a colorful Christmas finish.
Frequently Asked Questions
What does Cool Whip Candy taste like?
- Cool Whip Candy has a rich milk chocolate flavor with a light, fluffy center that melts in your mouth. The smooth chocolate coating adds a satisfying snap that contrasts perfectly with the soft filling.
Do I need to thaw the Cool Whip before using it?
- Yes! The Cool Whip should be completely thawed before combining it with the melted chocolate. This helps the ingredients mix together evenly and creates a smoother filling.
How should I store Christmas Cool Whip Candy?
- Store the finished candies in an airtight, freezer-safe container in the freezer. Place parchment paper between layers to prevent the candies from sticking together.
How long does Christmas Cool Whip Candy last in the freezer?
- For the best flavor and texture, enjoy the candies within 1 to 2 months when stored properly in an airtight, freezer-safe container.
Can I leave Cool Whip Candy out at room temperature?
- These candies are best served chilled because the fluffy filling can soften as it warms up. Keep them in the freezer until shortly before serving, and return any leftovers to the freezer promptly.

Christmas Cool Whip Candy
Christmas Cool Whip Candy is an easy, no-bake holiday treat with a light, fluffy center and a delicious chocolate coating.
Made with just a few simple ingredients, these bite-sized candies are perfect for Christmas parties, cookie trays, and homemade gifts.
Ingredients
- 23 oz bag milk chocolate chips
- 8 oz Cool Whip, thawed
- 24 oz package milk chocolate melting wafers
- Christmas sprinkles
Instructions
- Line an 8x8 inch baking pan with parchment paper. Now line a baking sheet or tray with parchment paper.
- Add the chocolate chips to a microwave safe bowl and heat for one minute, then stir and heat in 30 second heat sessions, stirring between, until fully melted.
- Allow the chocolate to set for about 15 minutes or so to come to room temperature.
- Meanwhile, add the Cool Whip to a large bowl.
- Once the chocolate has cooled, pour it into the Cool Whip and stir to combine.
- Pour the mixture into the prepared baking pan and spread it into an even layer.
- Place it in the freezer for 30 minutes so that it can set enough to cut.
- Remove the chocolate mixture from the pan, and set on the cutting board. Cut into 6 rows, then another 6 rows, so that you have 36 squares.
- Arrange the squares on your prepared baking sheet or tray and transfer it to the freezer for 30 minutes.
- Line another baking sheet or tray with parchment paper.
- Melt the chocolate wafers in a microwave safe bowl just like you did the chocolate chips.
- Dip the candies into the chocolate using a fork or two, and set on the prepared baking sheet or tray. Top with sprinkles immediately.
- Repeat until they’re all made.
- Cover and freeze until ready to serve.
- Enjoy!
Nutrition Information:
Yield: 36 Serving Size: 1Amount Per Serving: Calories: 203Total Fat: 11gSaturated Fat: 7gUnsaturated Fat: 4gCholesterol: 8mgSodium: 29mgCarbohydrates: 22gFiber: 1gSugar: 19gProtein: 3g
This post contains affiliate links. Read our disclosure here.
As an Amazon Associate I earn from qualifying purchases.

Hi! My name is Erin and I have been here since 2016 sharing simple family friendly recipes that can be prepared by any home cook. Get ready to whip up delicious meals in no time!