Grasshopper Pie

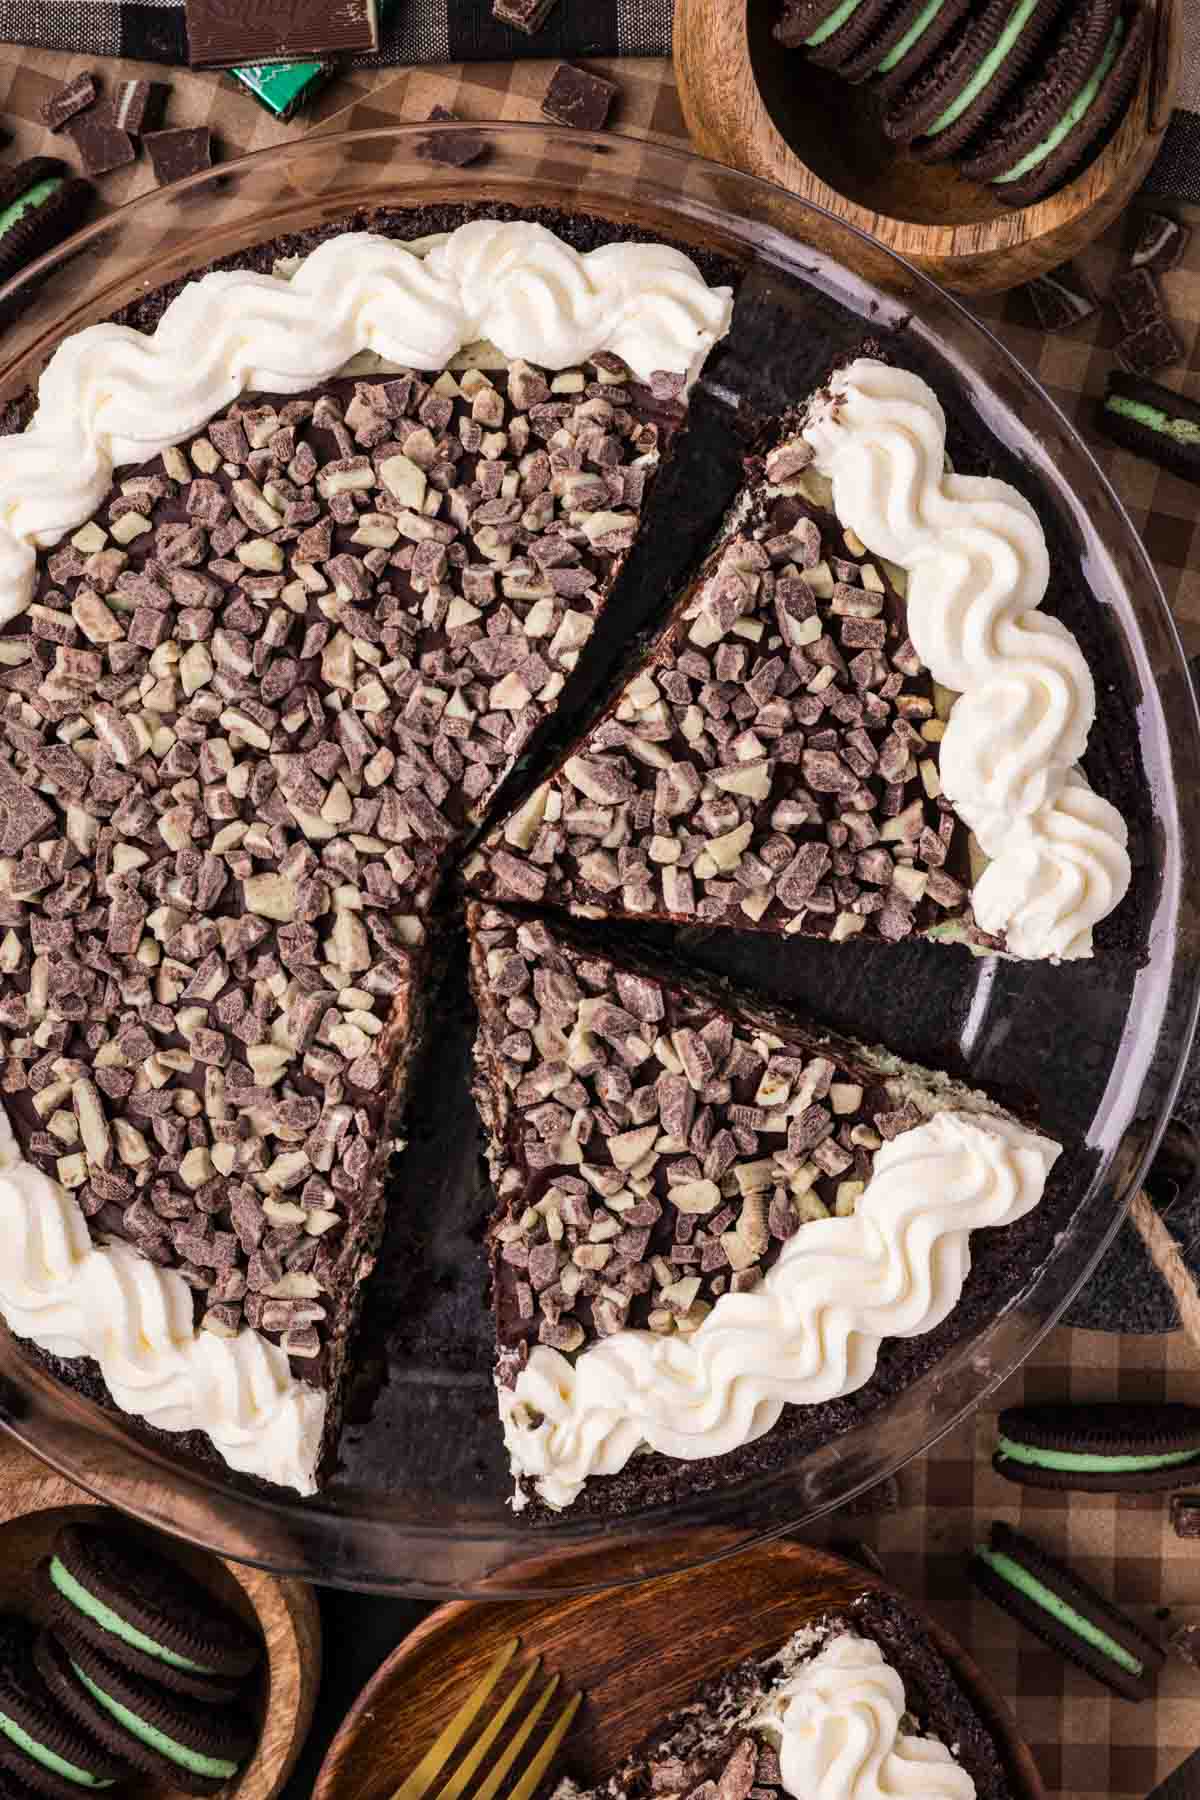
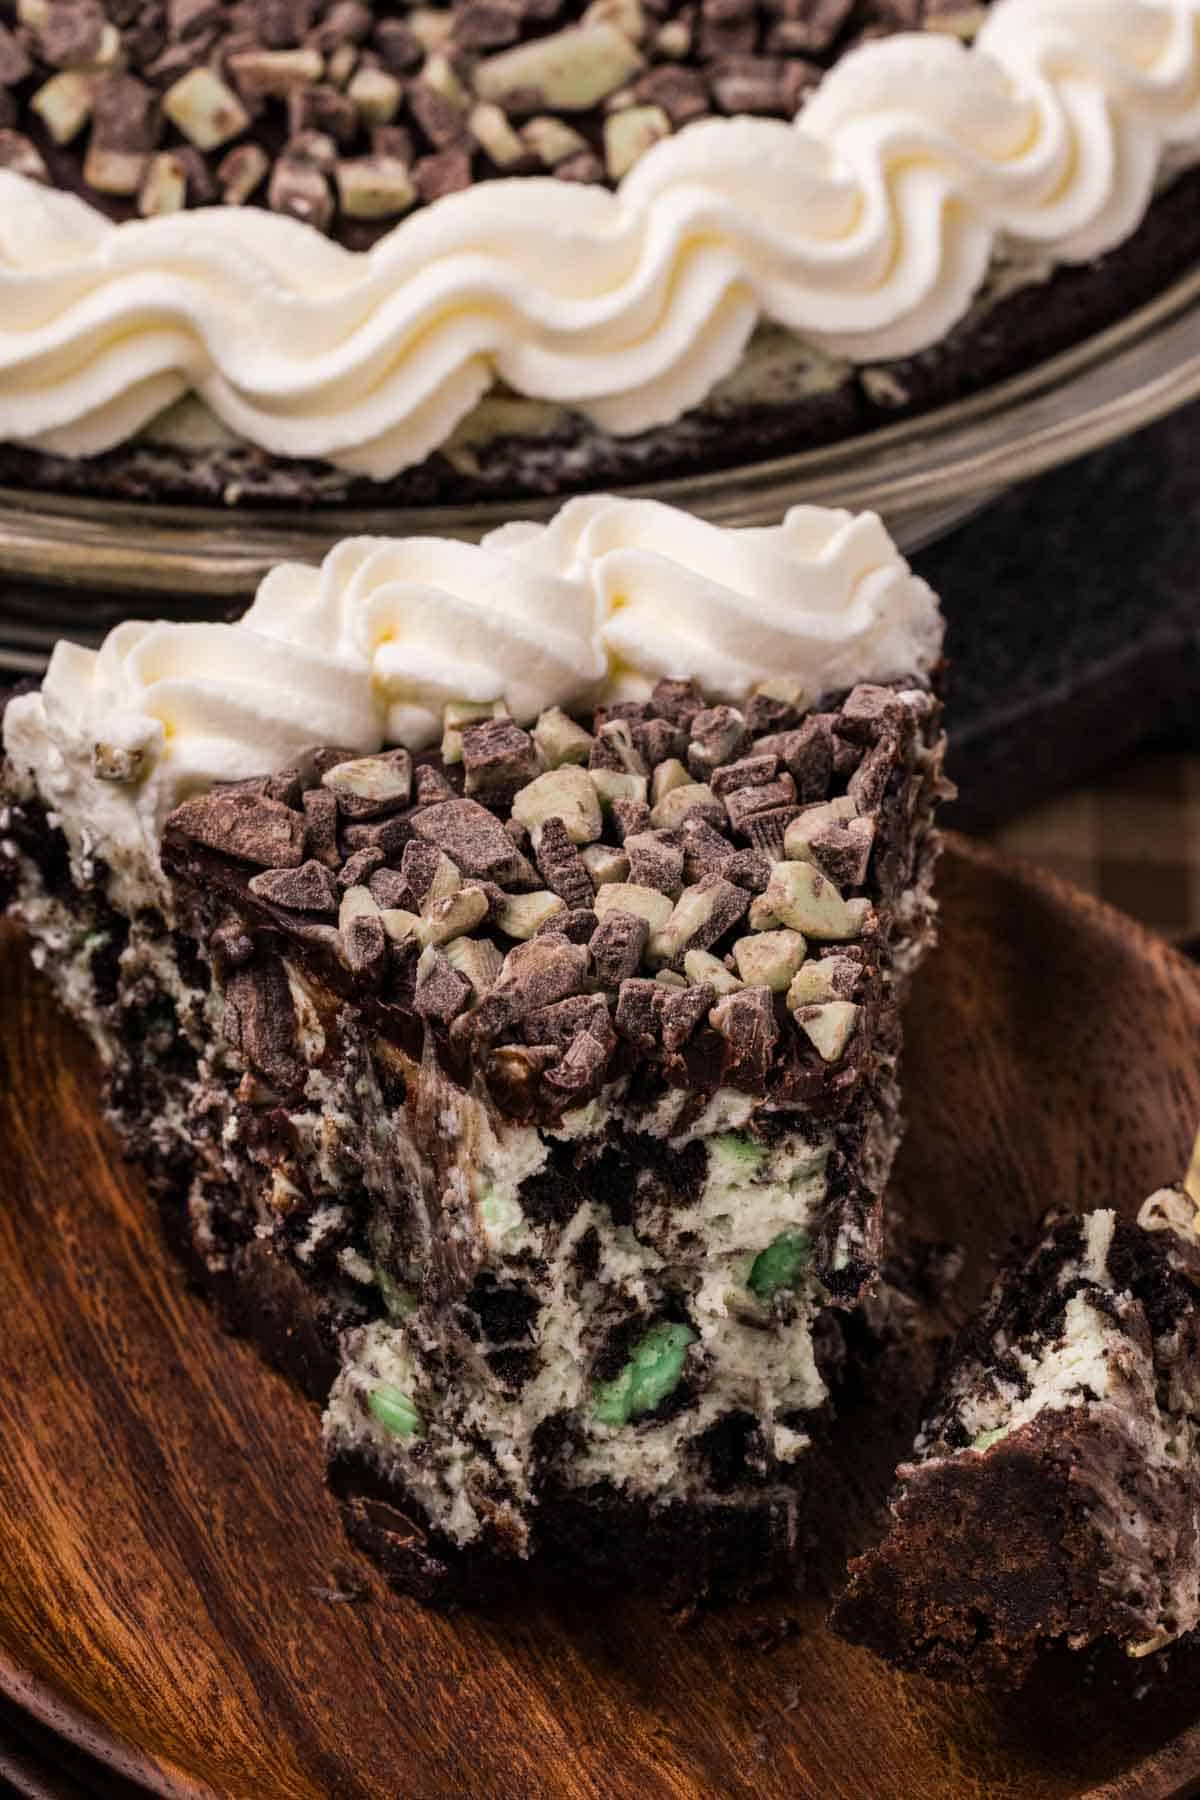
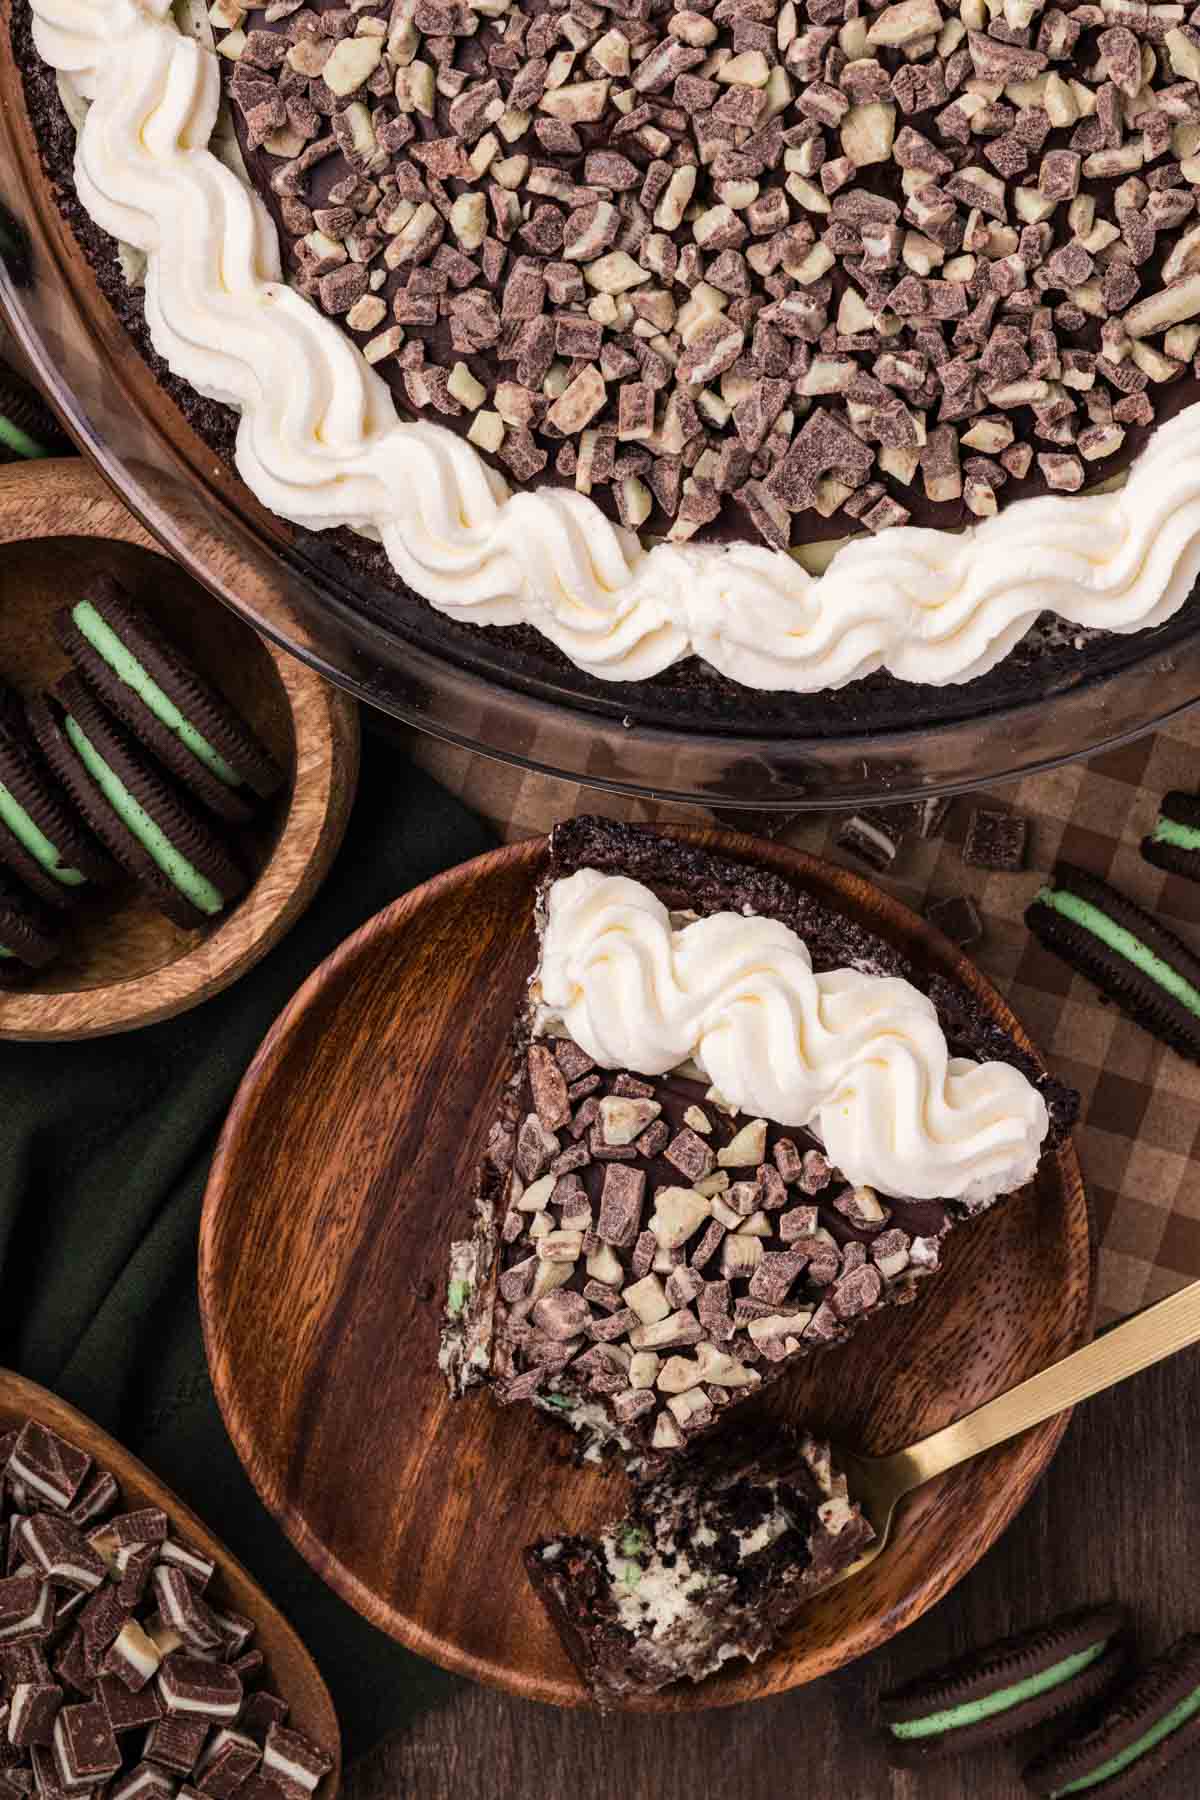
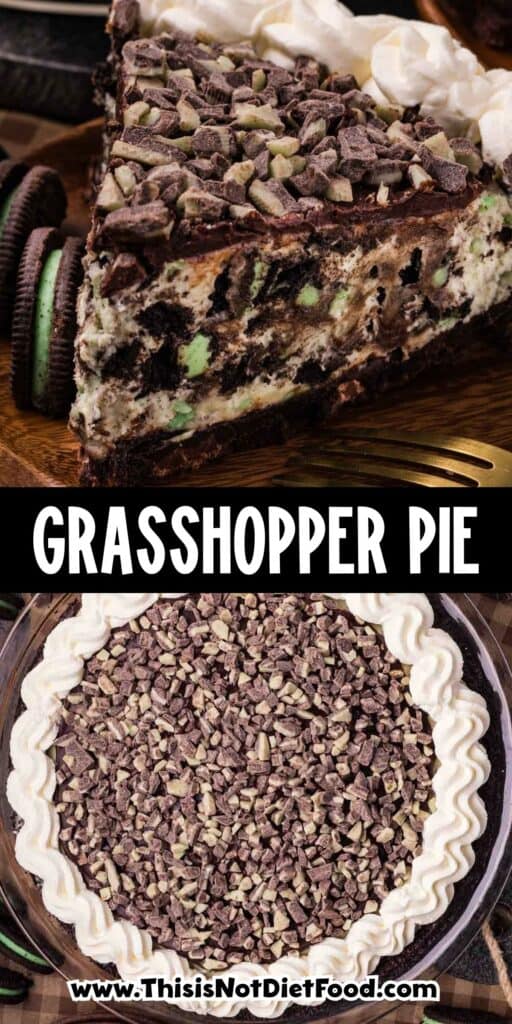
Grasshopper Pie with Brownie Crust is a rich and decadent dessert with a fudgy chocolate brownie base, creamy mint Oreo cheesecake filling and a smooth chocolate mint ganache topping.
This easy grasshopper pie recipe uses a boxed brownie mix for the crust and a no-bake cheesecake filling loaded with chopped Mint Oreos and white chocolate.
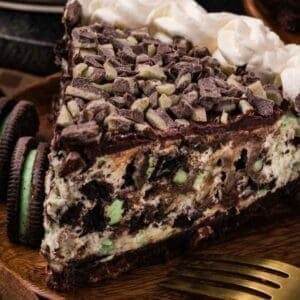
Topped with Andes Mints and fluffy whipped cream, this chocolate mint pie is a showstopping dessert that's perfect for Christmas, St. Patrick's Day and special occasions.
If you love the combination of chocolate and mint, this indulgent brownie crust pie is sure to satisfy your sweet tooth!
Why This Recipe is a Winner!
- Easy Boxed Brownie Shortcut: Using a boxed brownie mix saves time and effort without sacrificing flavour.
- Perfect Make-Ahead Dessert: Prepare this pie ahead of time and keep it chilled until you're ready to serve.
- Beautiful Layered Presentation: The contrast between the dark brownie crust, pretty green mint filling and glossy chocolate topping makes this pie a showstopper.
- Perfect for Holidays and Parties: This festive dessert is a great choice for Christmas, St. Patrick's Day, birthdays and family gatherings.
- A Fun Twist on Classic Grasshopper Pie: Swapping the traditional cookie crust for a fudgy brownie base makes this version extra indulgent.
- Great for Feeding a Crowd: This rich, decadent pie can be sliced into smaller portions, making it ideal for sharing.
- Freezer-Friendly: The cheesecake pie can be prepared in advance and frozen, making holiday entertaining even easier.
Prep Time:
40 minutes
Cook Time:
50 minutes
Yield:
Serves 6-8
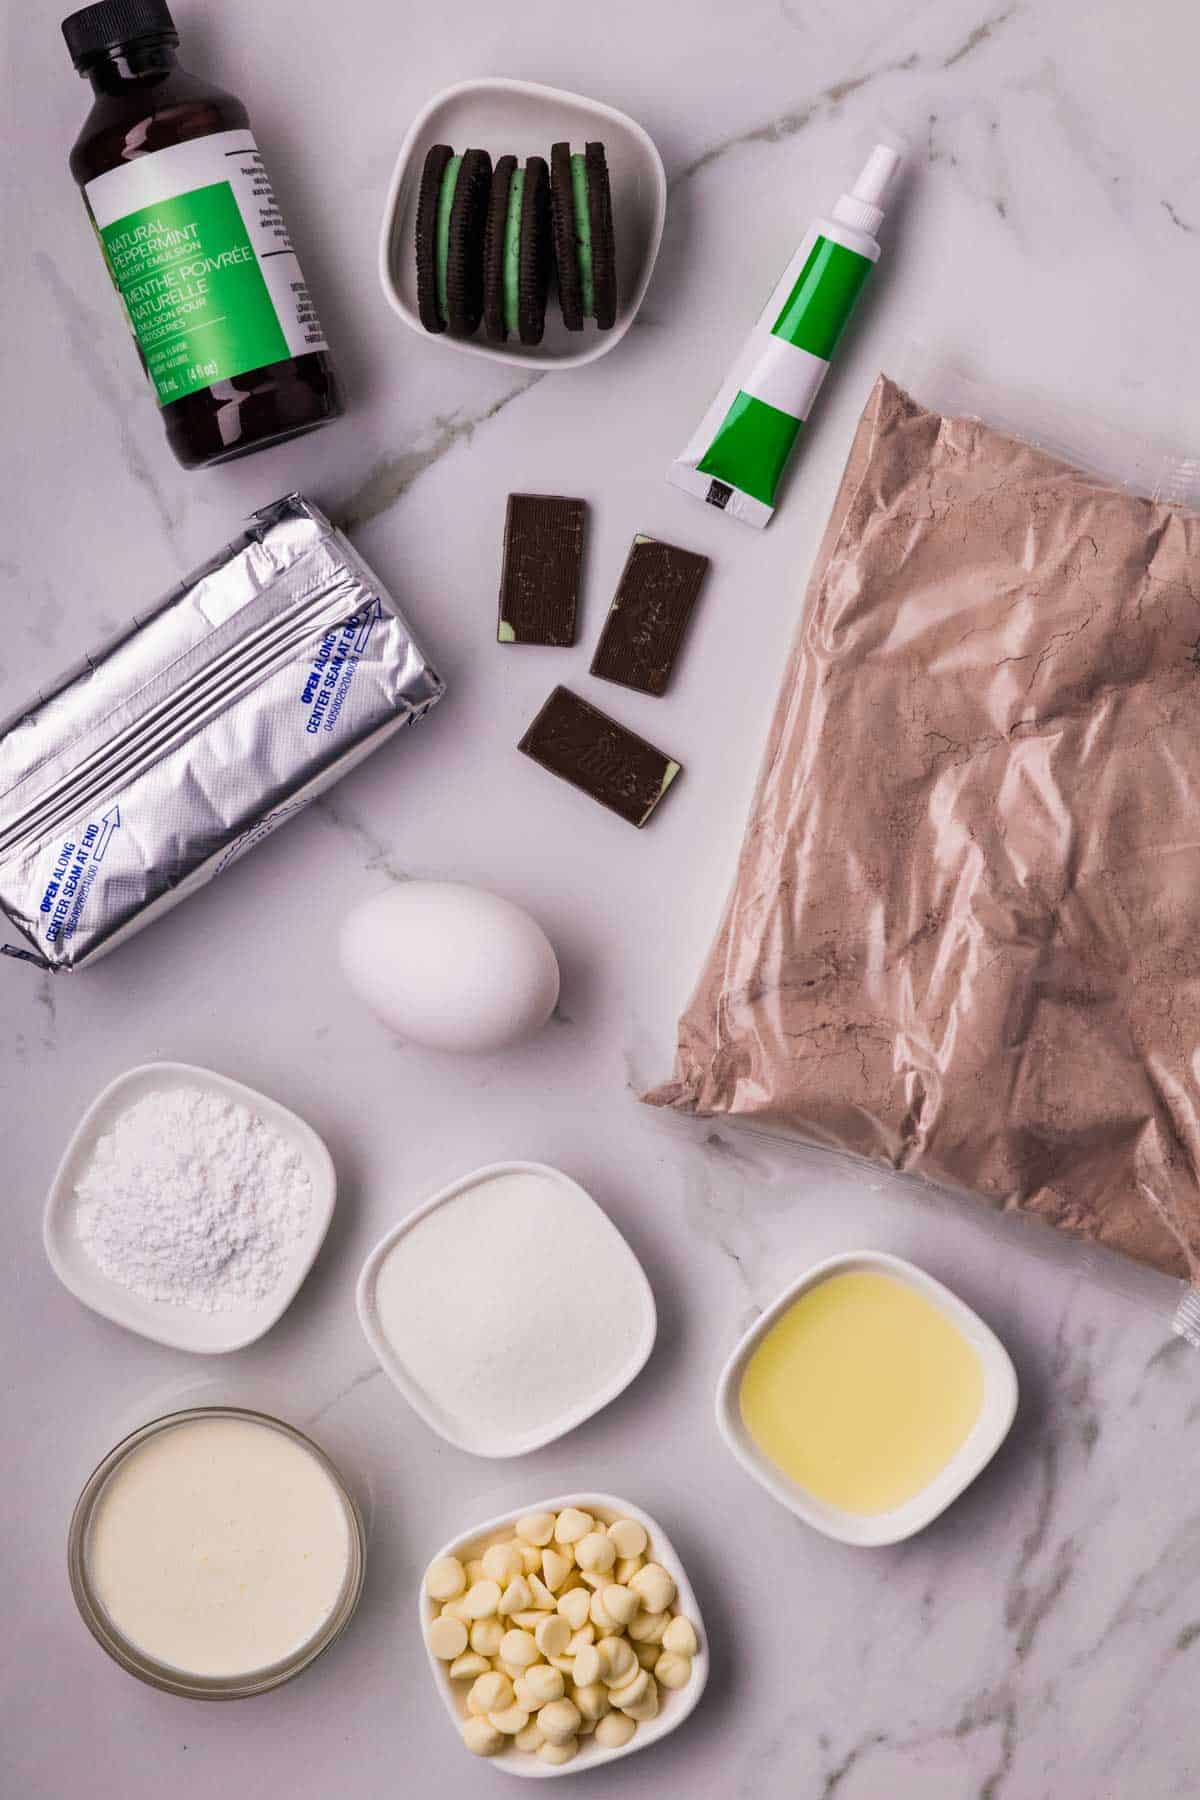
Ingredients You'll Need
- For the Brownie Crust
- Brownie Mix: A boxed brownie mix creates a rich, fudgy chocolate crust. Use a mix designed for an 8x8 or 9x9-inch pan.
- Water: Adds moisture to the brownie batter.
- Vegetable Oil: Keeps the brownie crust soft and chewy.
- Egg: Helps bind the brownie batter together.
- For the Mint Oreo Cheesecake Filling
- White Chocolate: Adds sweetness and helps the cheesecake filling set.
- Cream Cheese: Full-fat brick-style cream cheese creates a rich, creamy filling.
- Granulated Sugar: Sweetens the cheesecake and balances the tangy cream cheese.
- Mint Extract: Gives the filling its refreshing mint flavour.
- Green Food Coloring: Creates the signature green grasshopper pie filling.
- Heavy Cream: Whipped to create a light, fluffy cheesecake texture.
- Powdered Sugar: Sweetens and stabilizes the whipped cream.
- Mint Oreos: Add chocolate mint flavour and crunchy cookie pieces throughout the filling.
- For the Mint Chocolate Ganache
- Andes Mints: Melt into a rich chocolate mint ganache and are also used for decorating.
- Heavy Cream: Creates a smooth, silky chocolate topping.
- For the Whipped Cream Topping
- Heavy Cream: Whipped until fluffy for decorating the pie.
- Powdered Sugar: Sweetens the whipped cream and helps it hold its shape.
Printable Recipe Card with a Full List of Ingredients and Instructions is Located at the Bottom of the Post.
Be sure to read through the entire post so that you don't miss out on any important tips and tricks!
Step By Step Instructions
STEP 1:
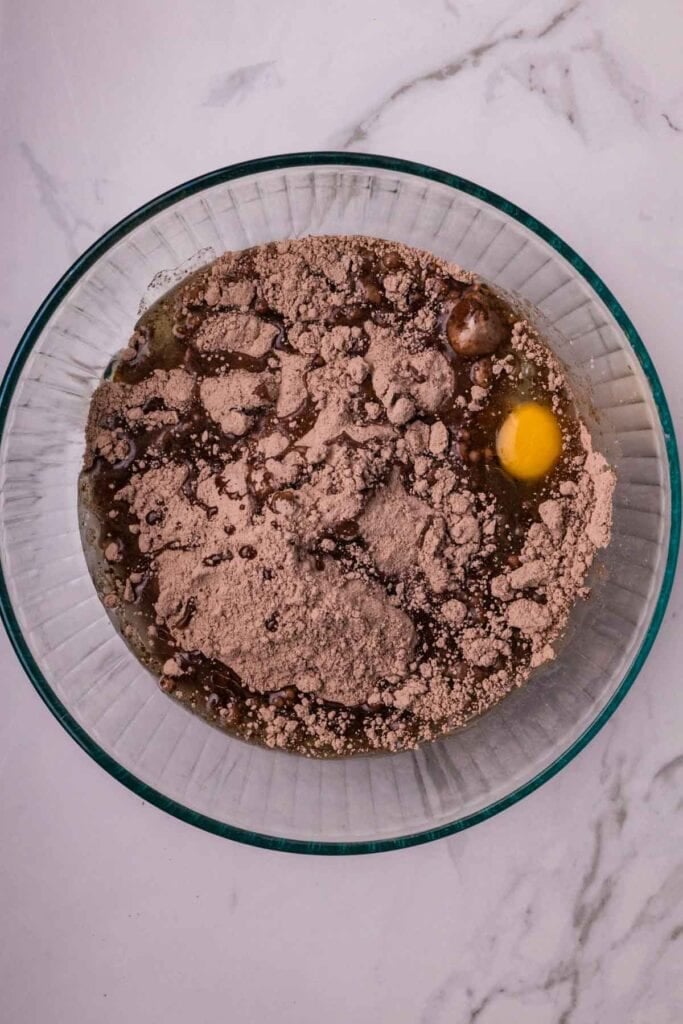
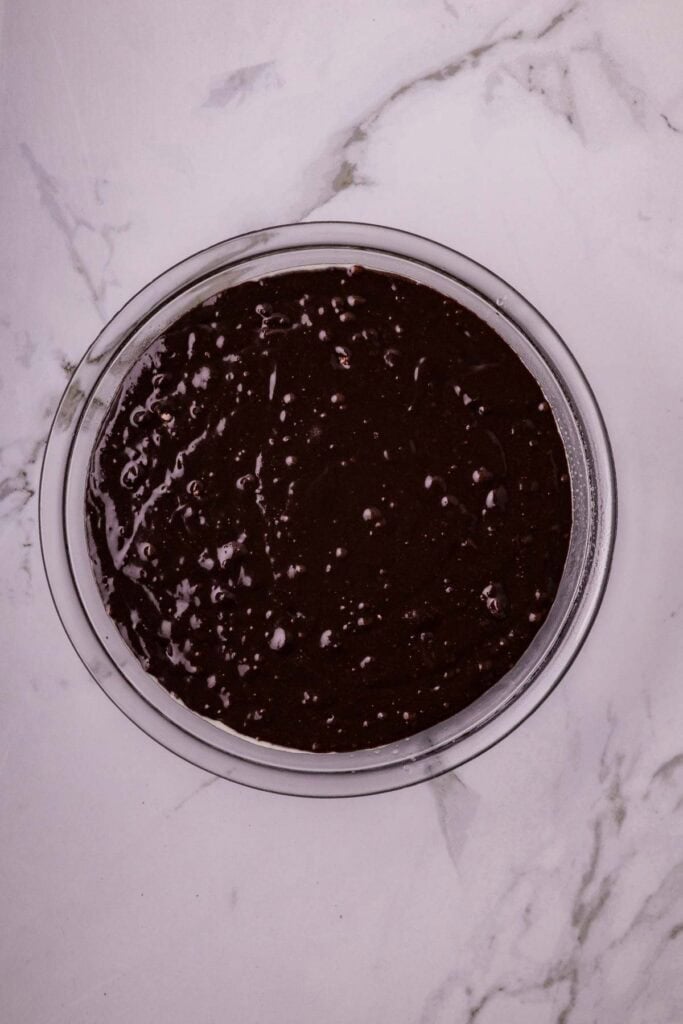
I prepared the brownie mix according to the intructions on the box.
I poured the brownie mix into a greased 9 inch pie plate.
STEP 2:
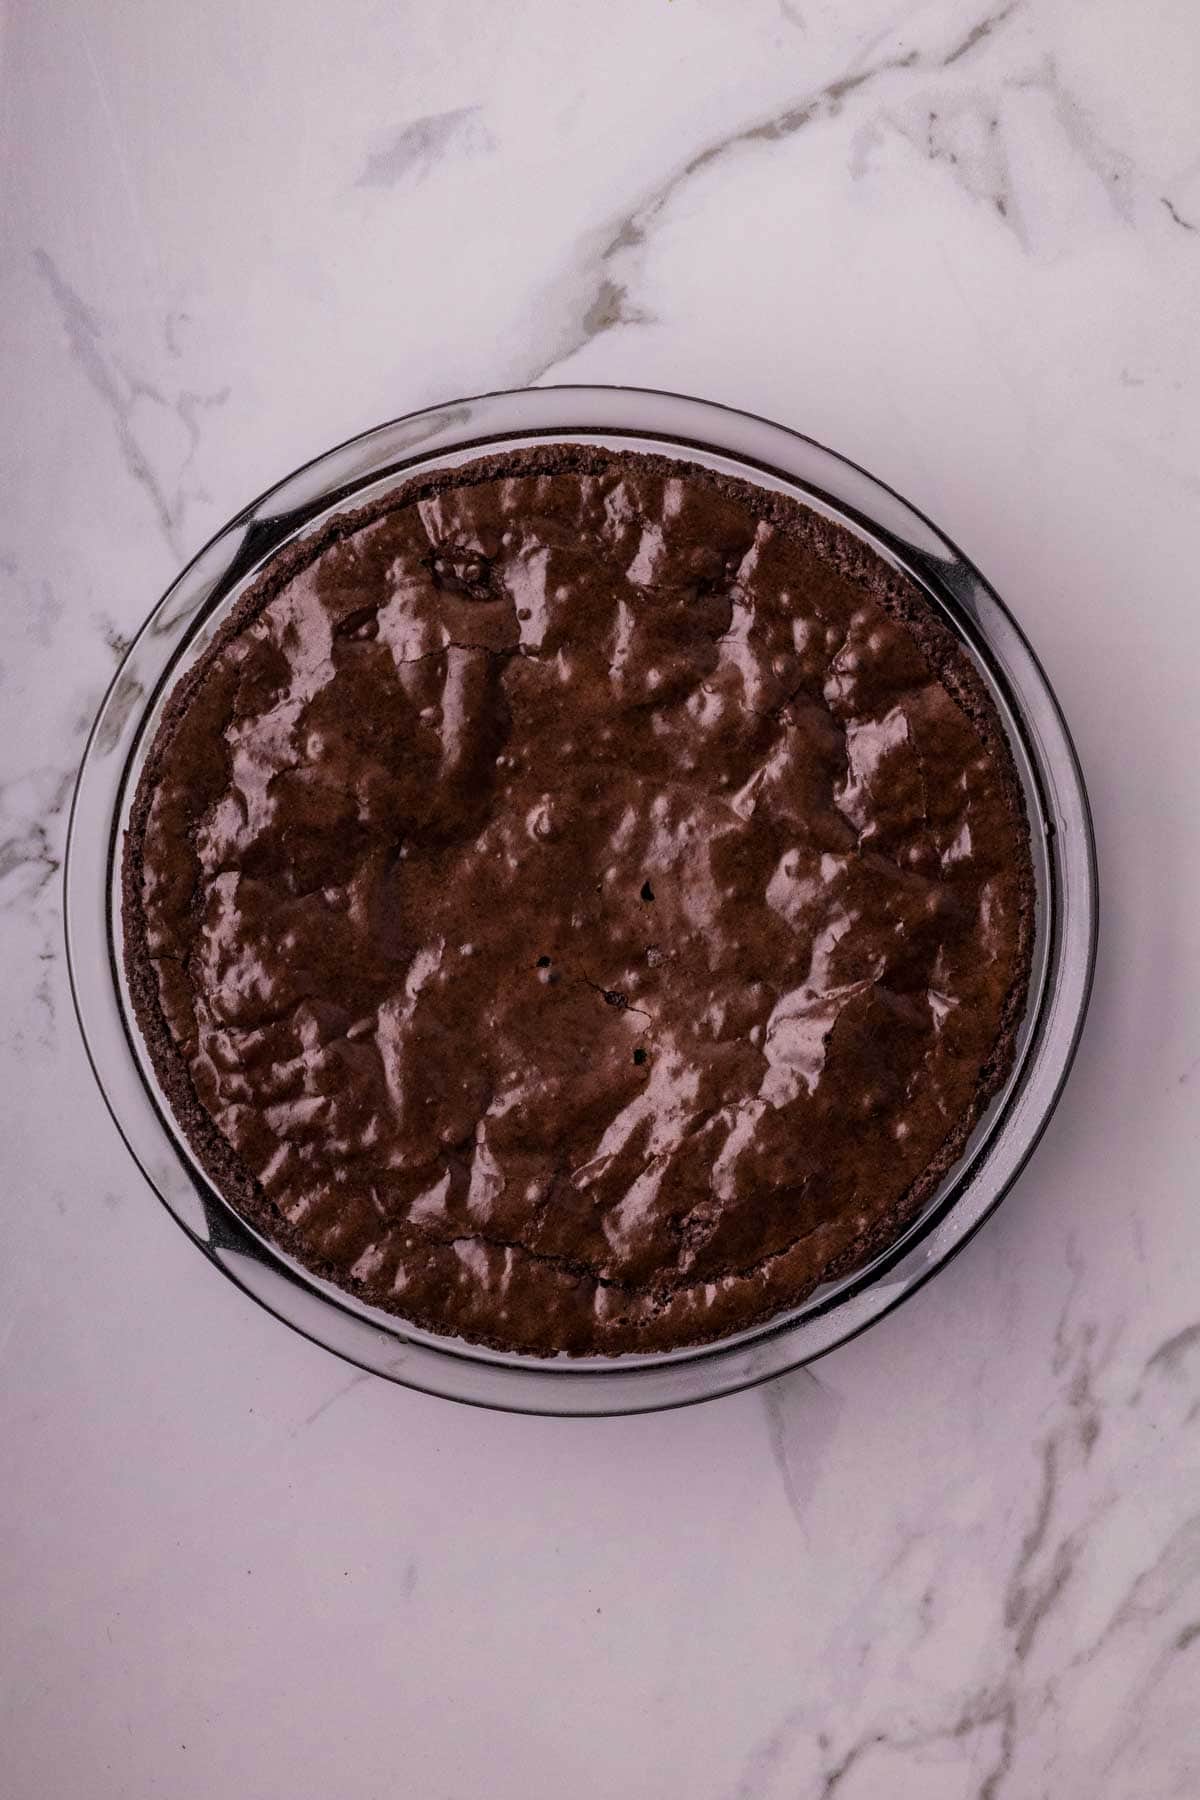
I placed the pie plate in the oven and baked the brownie until a toothpick inserted in the center came up with just a few moist crumbs.
Then I allowed the brownie to cool for 10 minutes.
STEP 3:
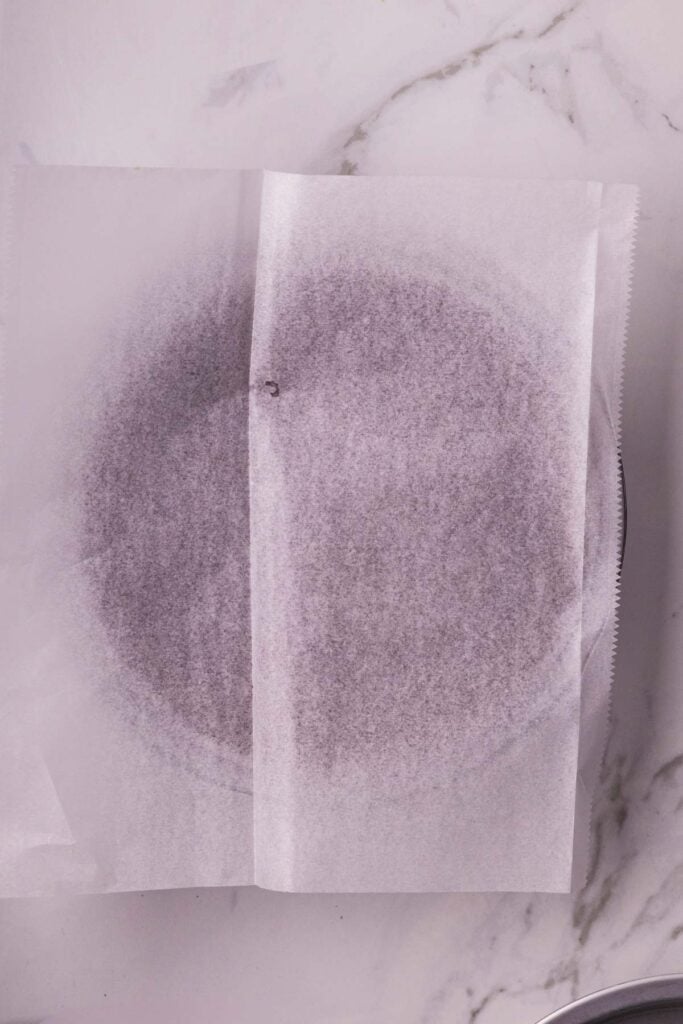
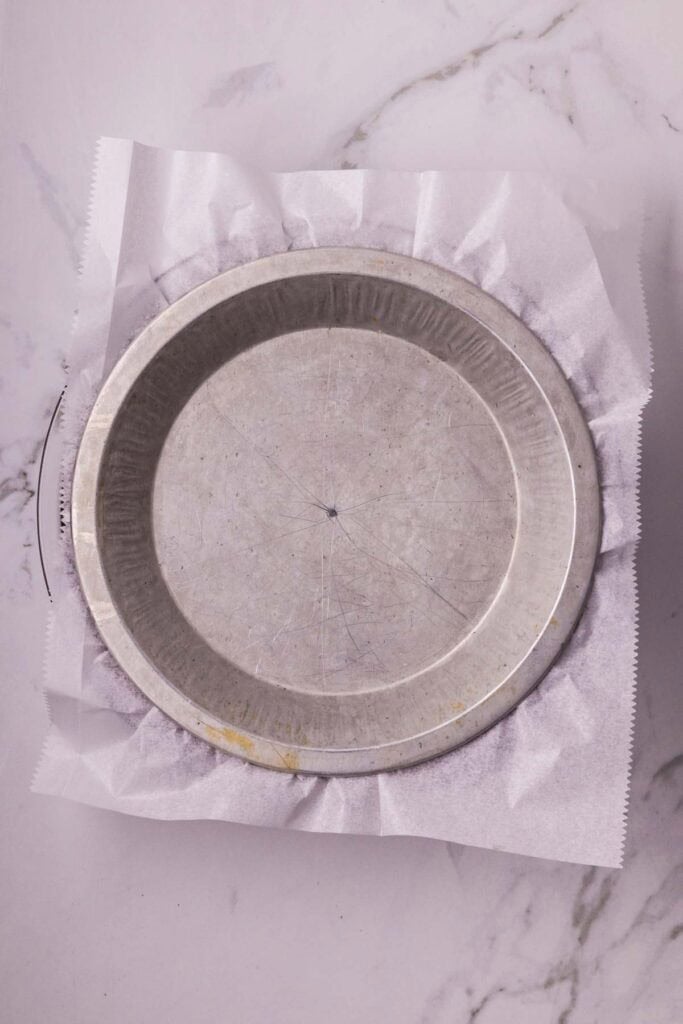
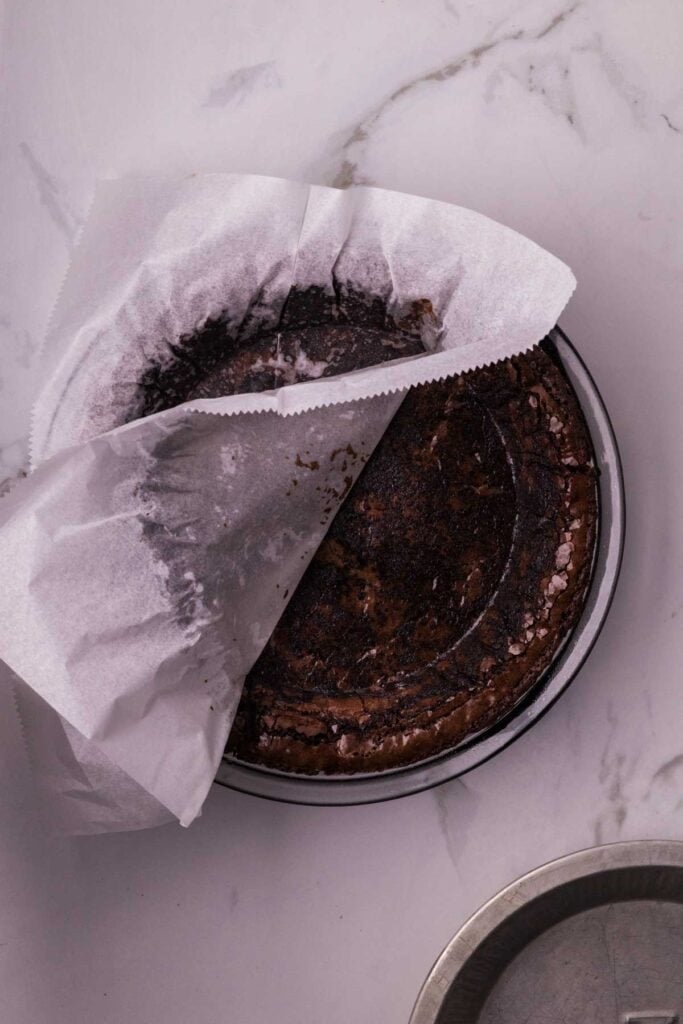
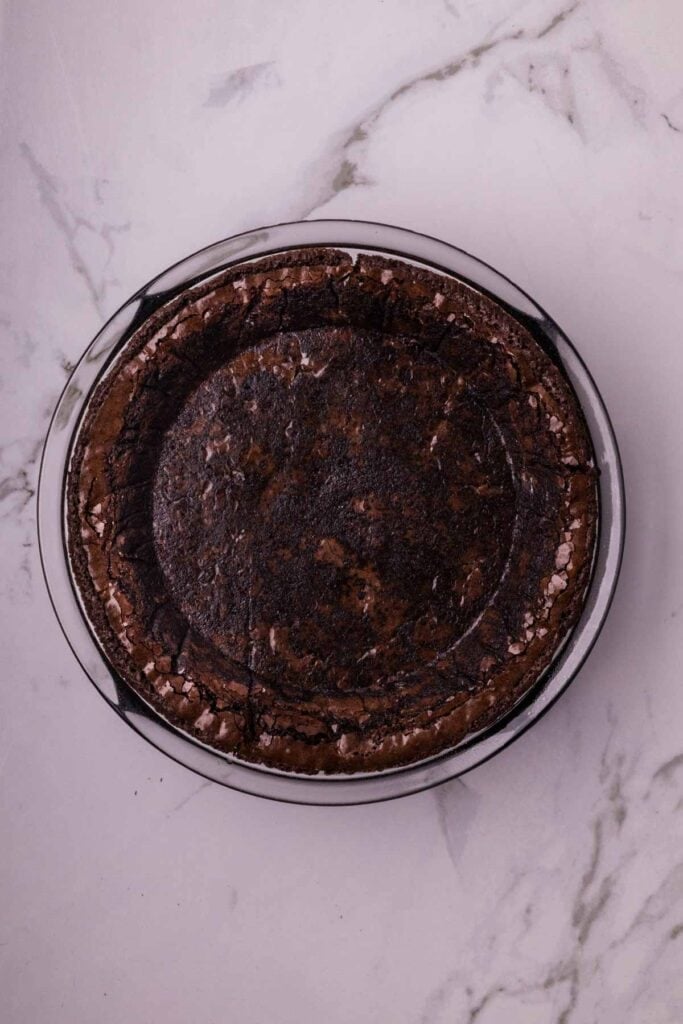
I placed a piece of parchment paper over the brownie and then used an 8 inch pie plate to press down into the brownie and form a crust shape.
STEP 4:
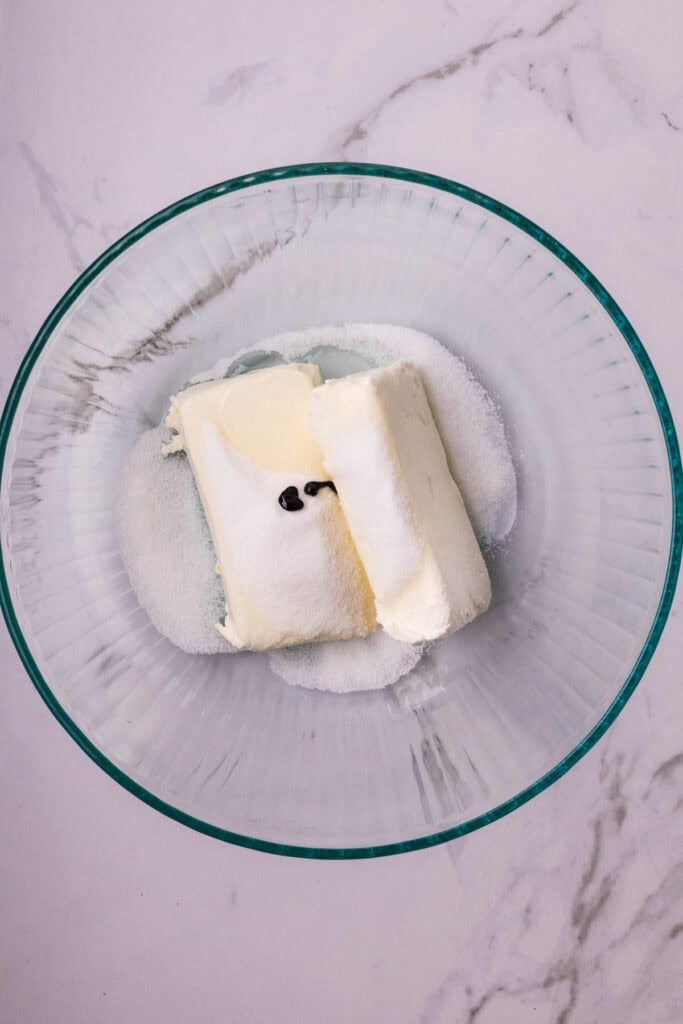
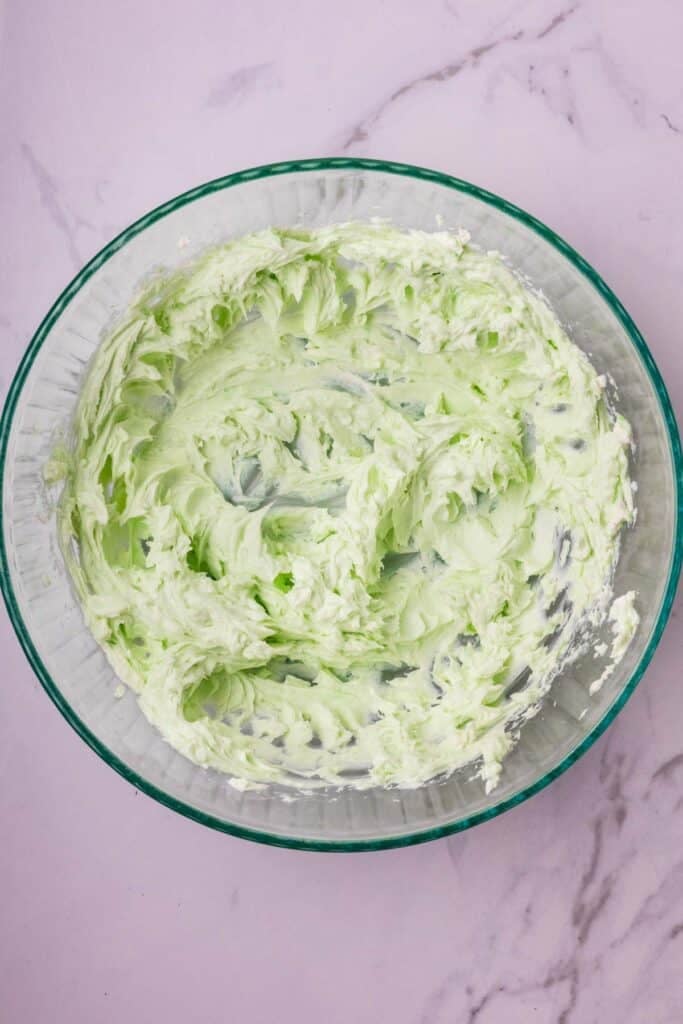
I dropped softened cream cheese, sugar, mint extract and green food colouring into a large mixing bowl.
I used an electric mixer to cream the ingredients together until smooth.
STEP 5:
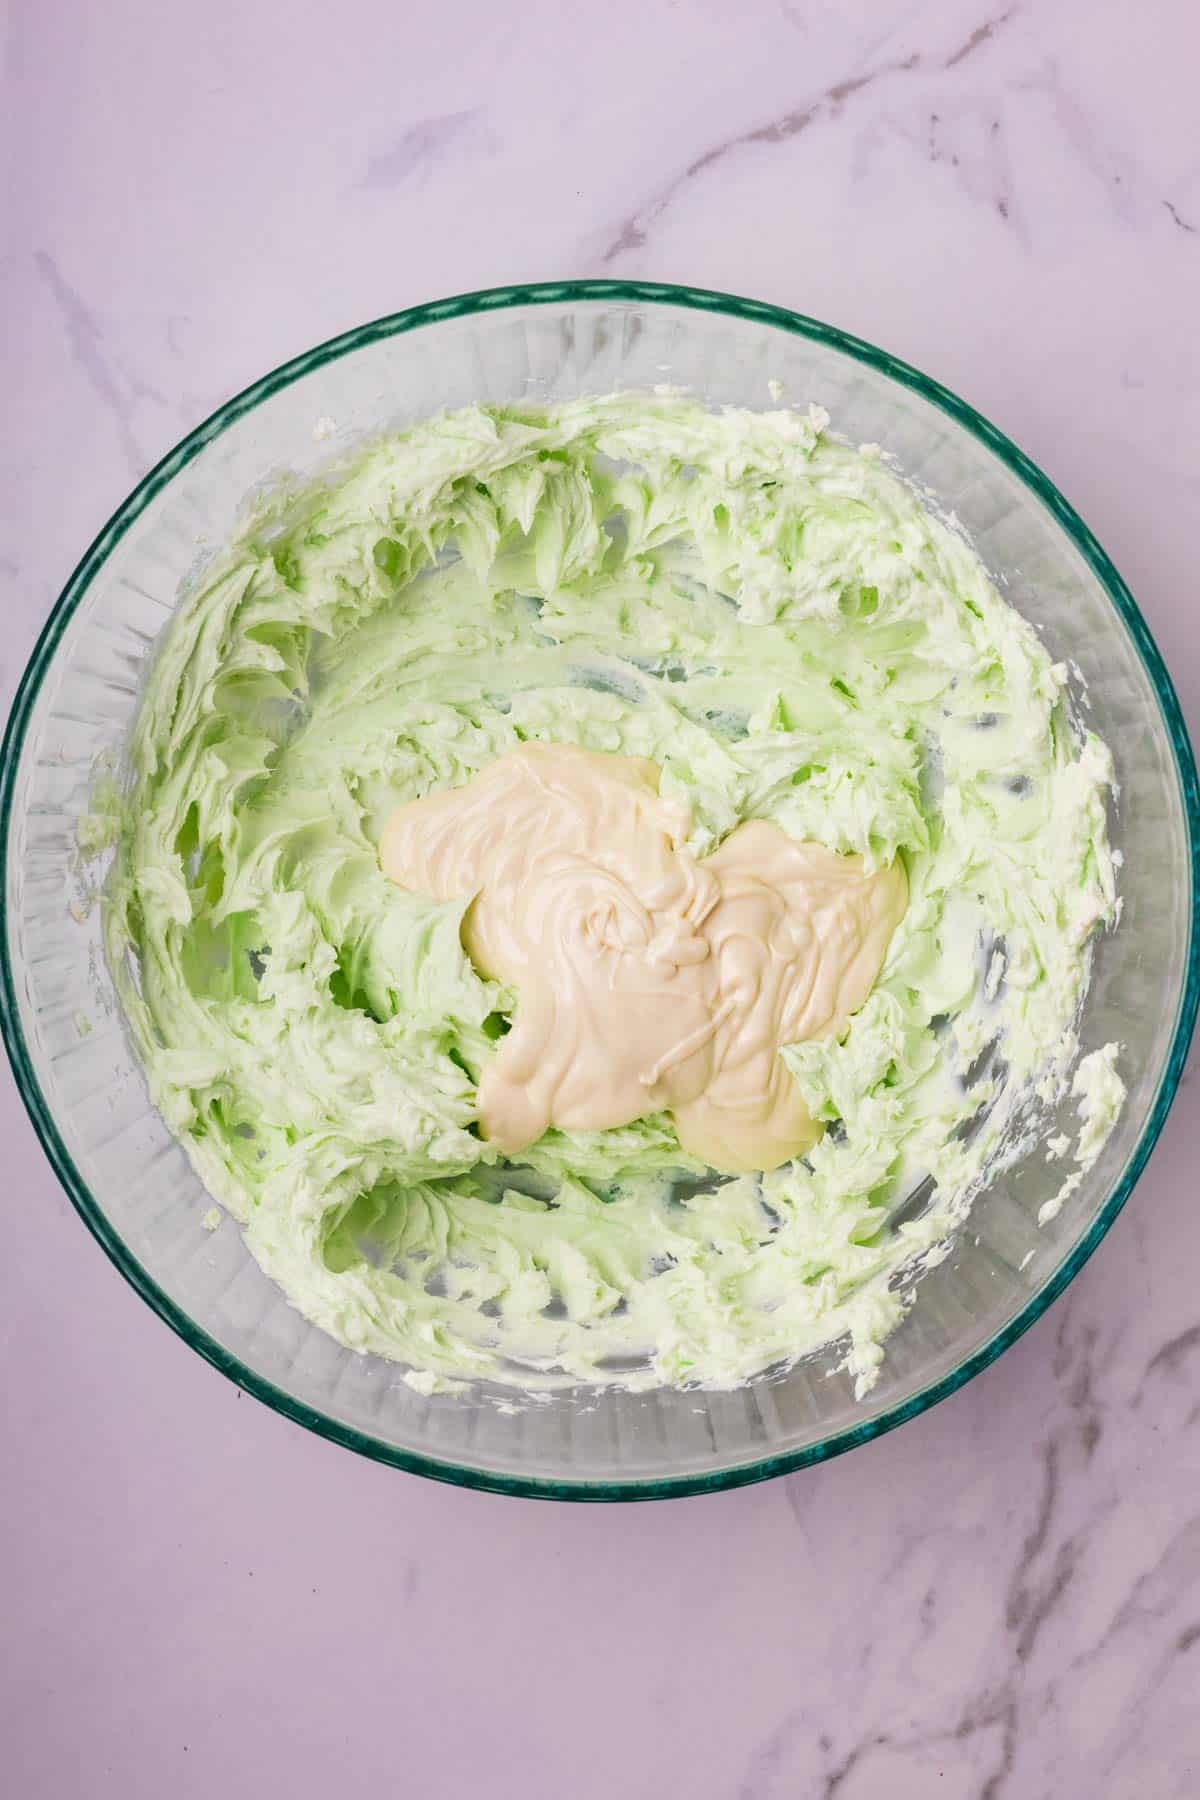
I added some melted white chocolate to the bowl and continued mixing.
STEP 6:
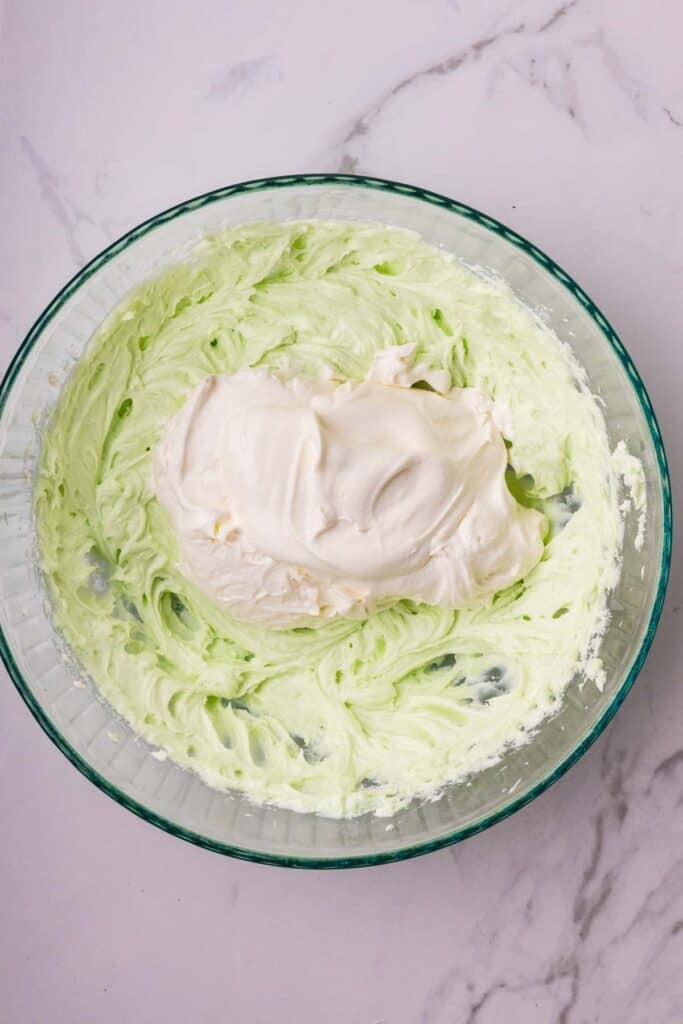
I whipped heavy cream and powdered sugar together at high speed until firm peaks formed.
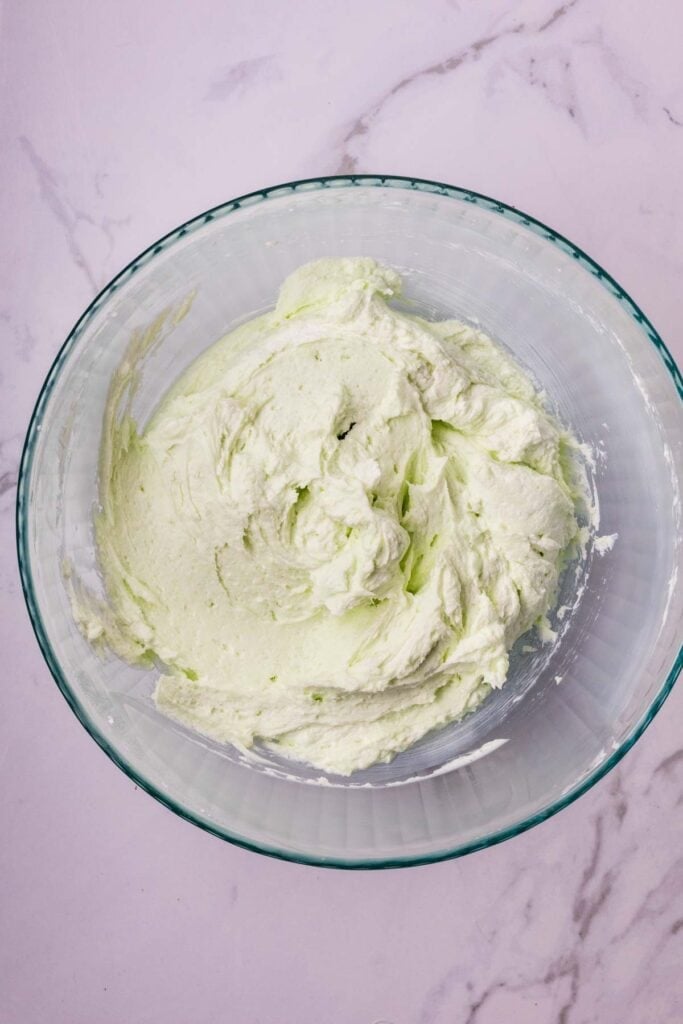
I folded the whipped cream into the cream cheese mixture.
STEP 7:
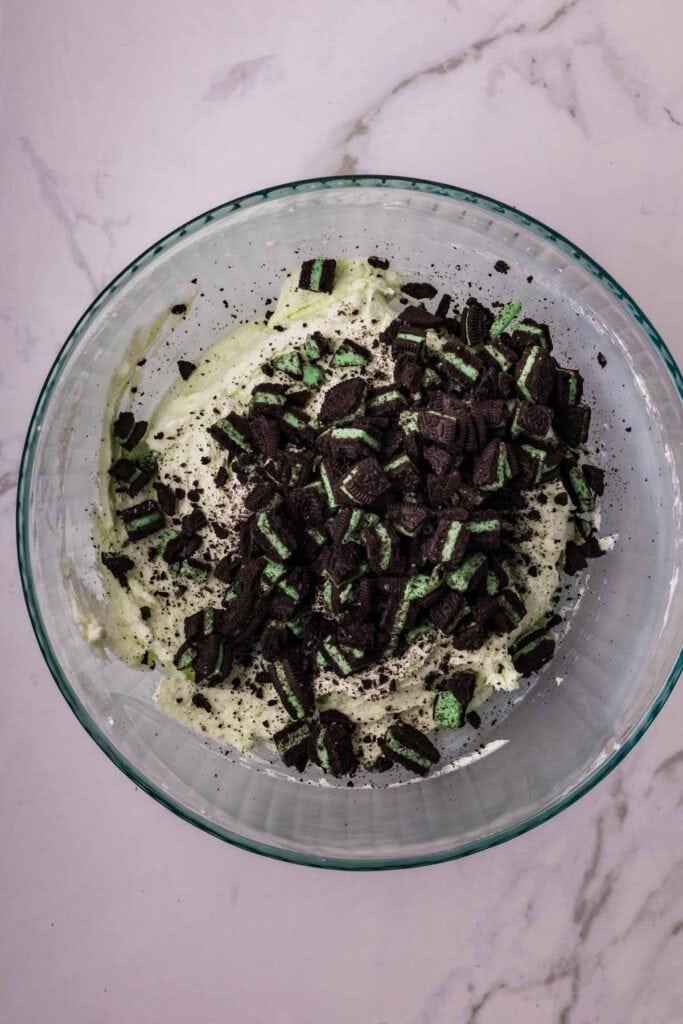
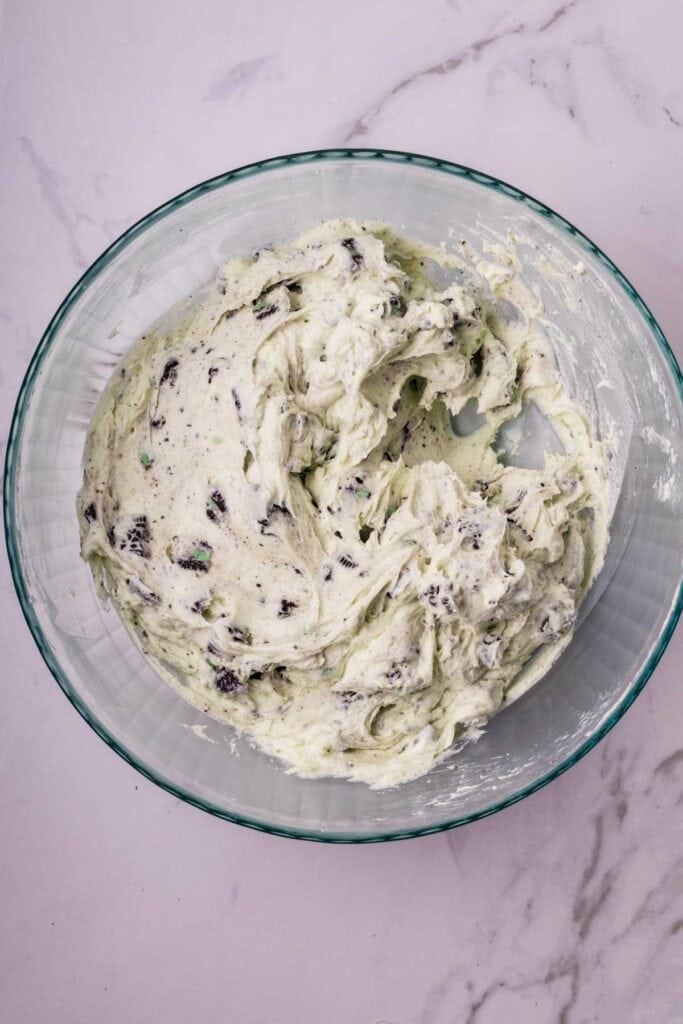
I added chopped mint Oreos to the bowl and folded them into the mixture.
STEP 8:
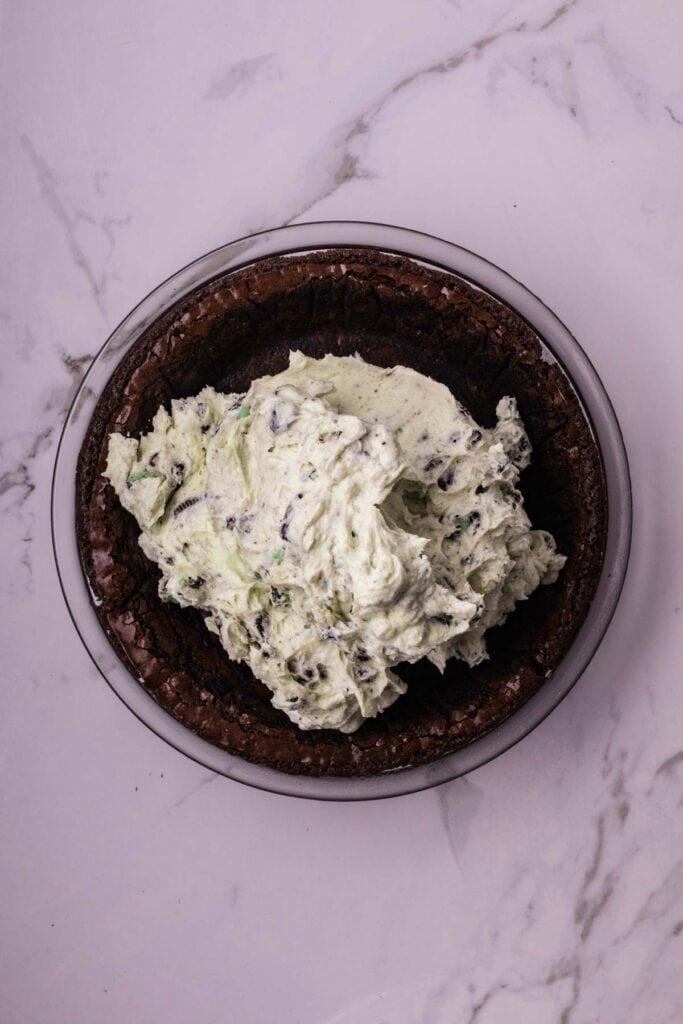
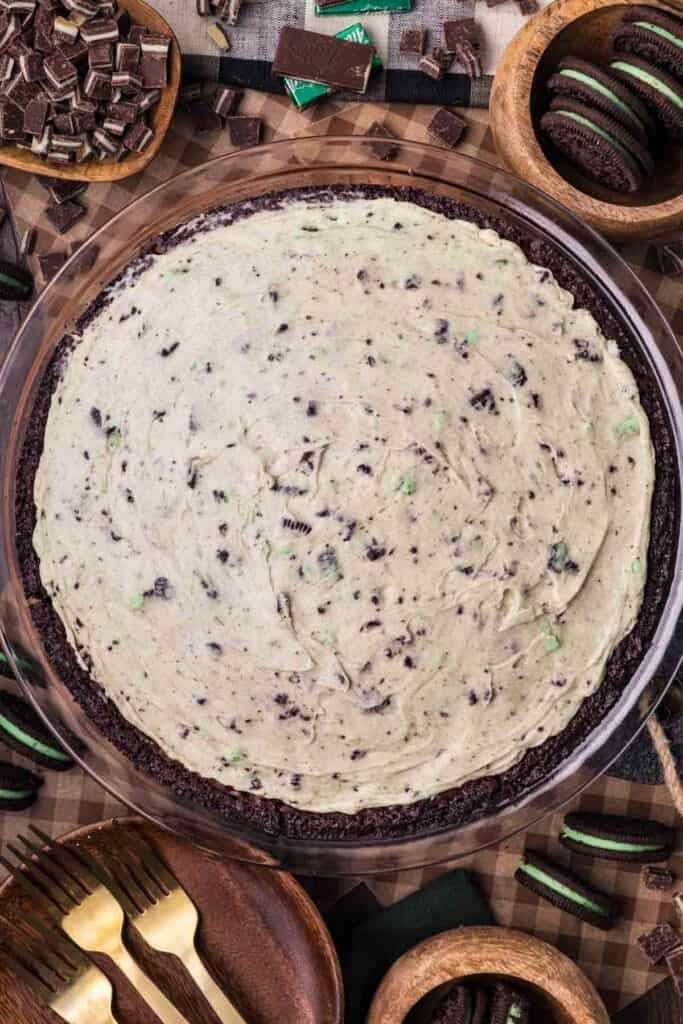
I spooned the mixture into the brownie crust and spread it out evenly making sure not to covering the edges of the crust.
Then I placed the pie in the refrigerator to chill.
STEP 9:
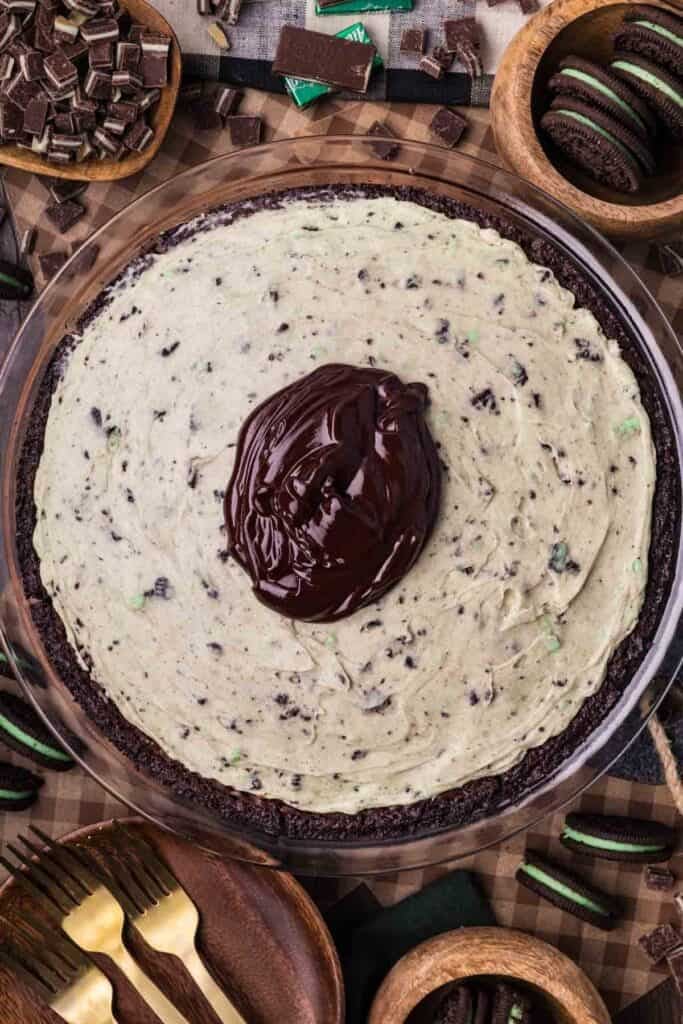
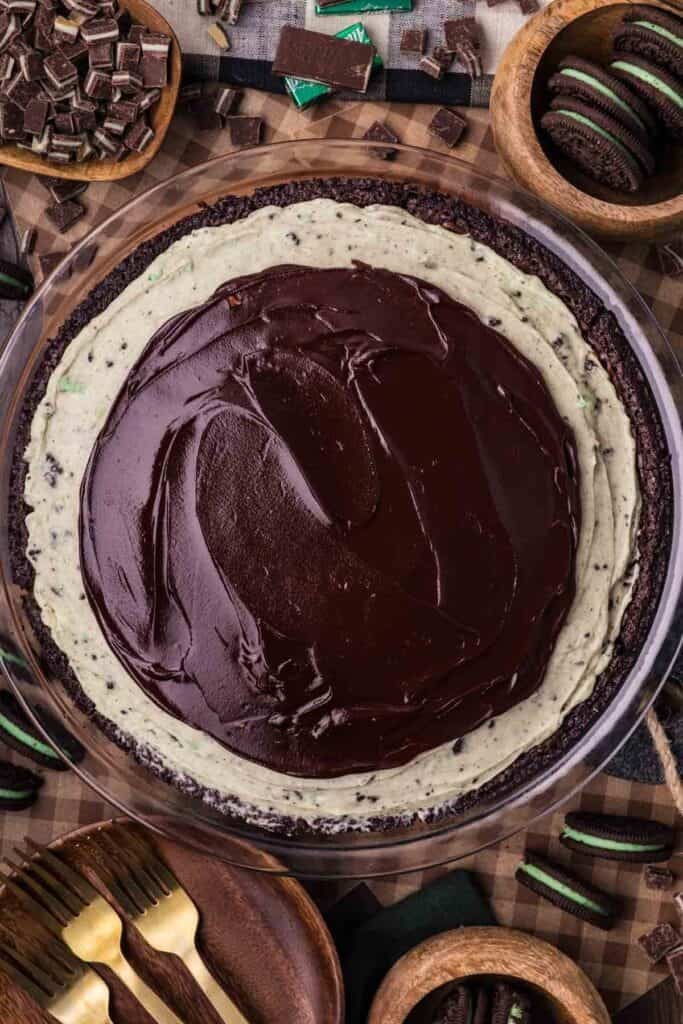
I heated Andes mints and heavy cream in a microwave safe bowl and stirred until smooth.
I poured the mixture on to the pie and spread it evenly leaving some of the green pie filling exposed around the edges.
STEP 10:
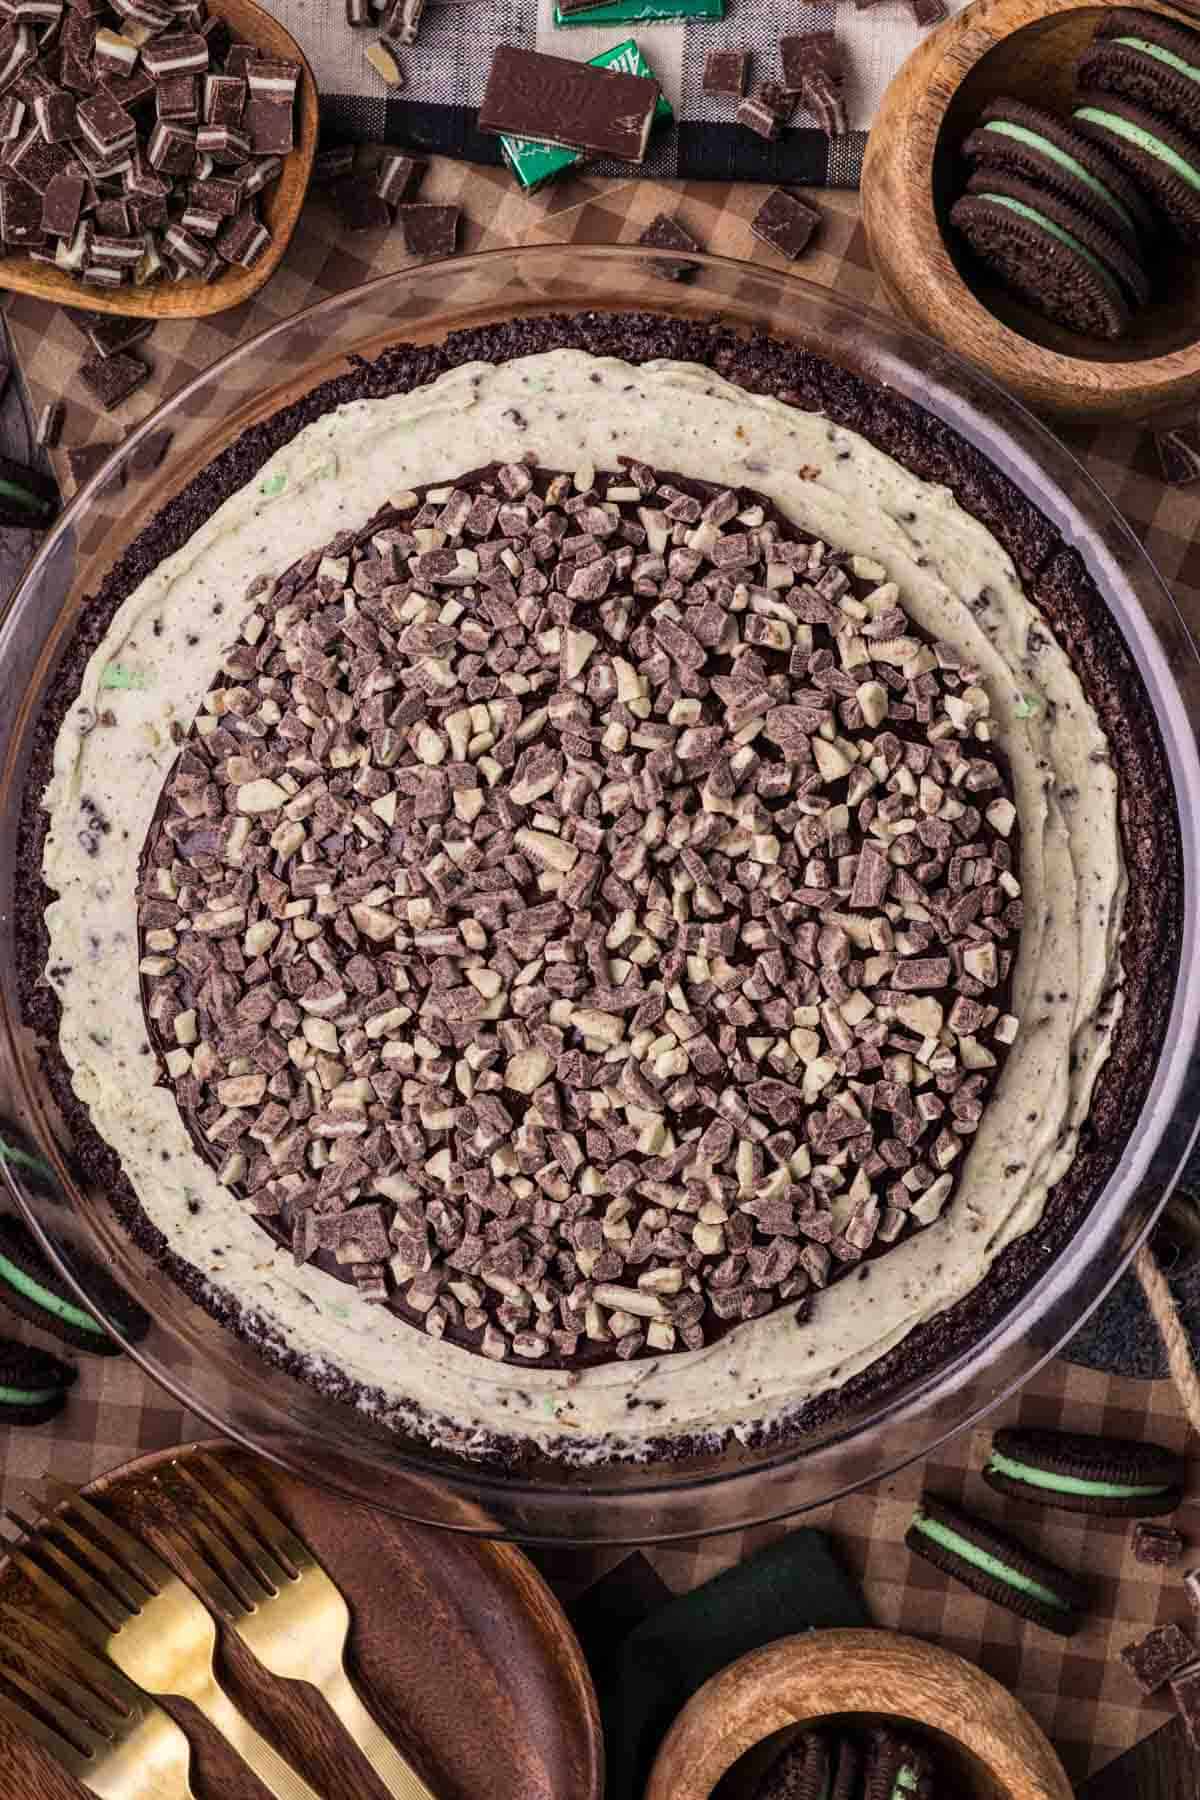
I pressed chopped Andes mints into the soft chocolate and then placed the pie in the refrigerator to set.
STEP 11:
Once the chocolate had set I piped whipped cream around the edges of the pie.
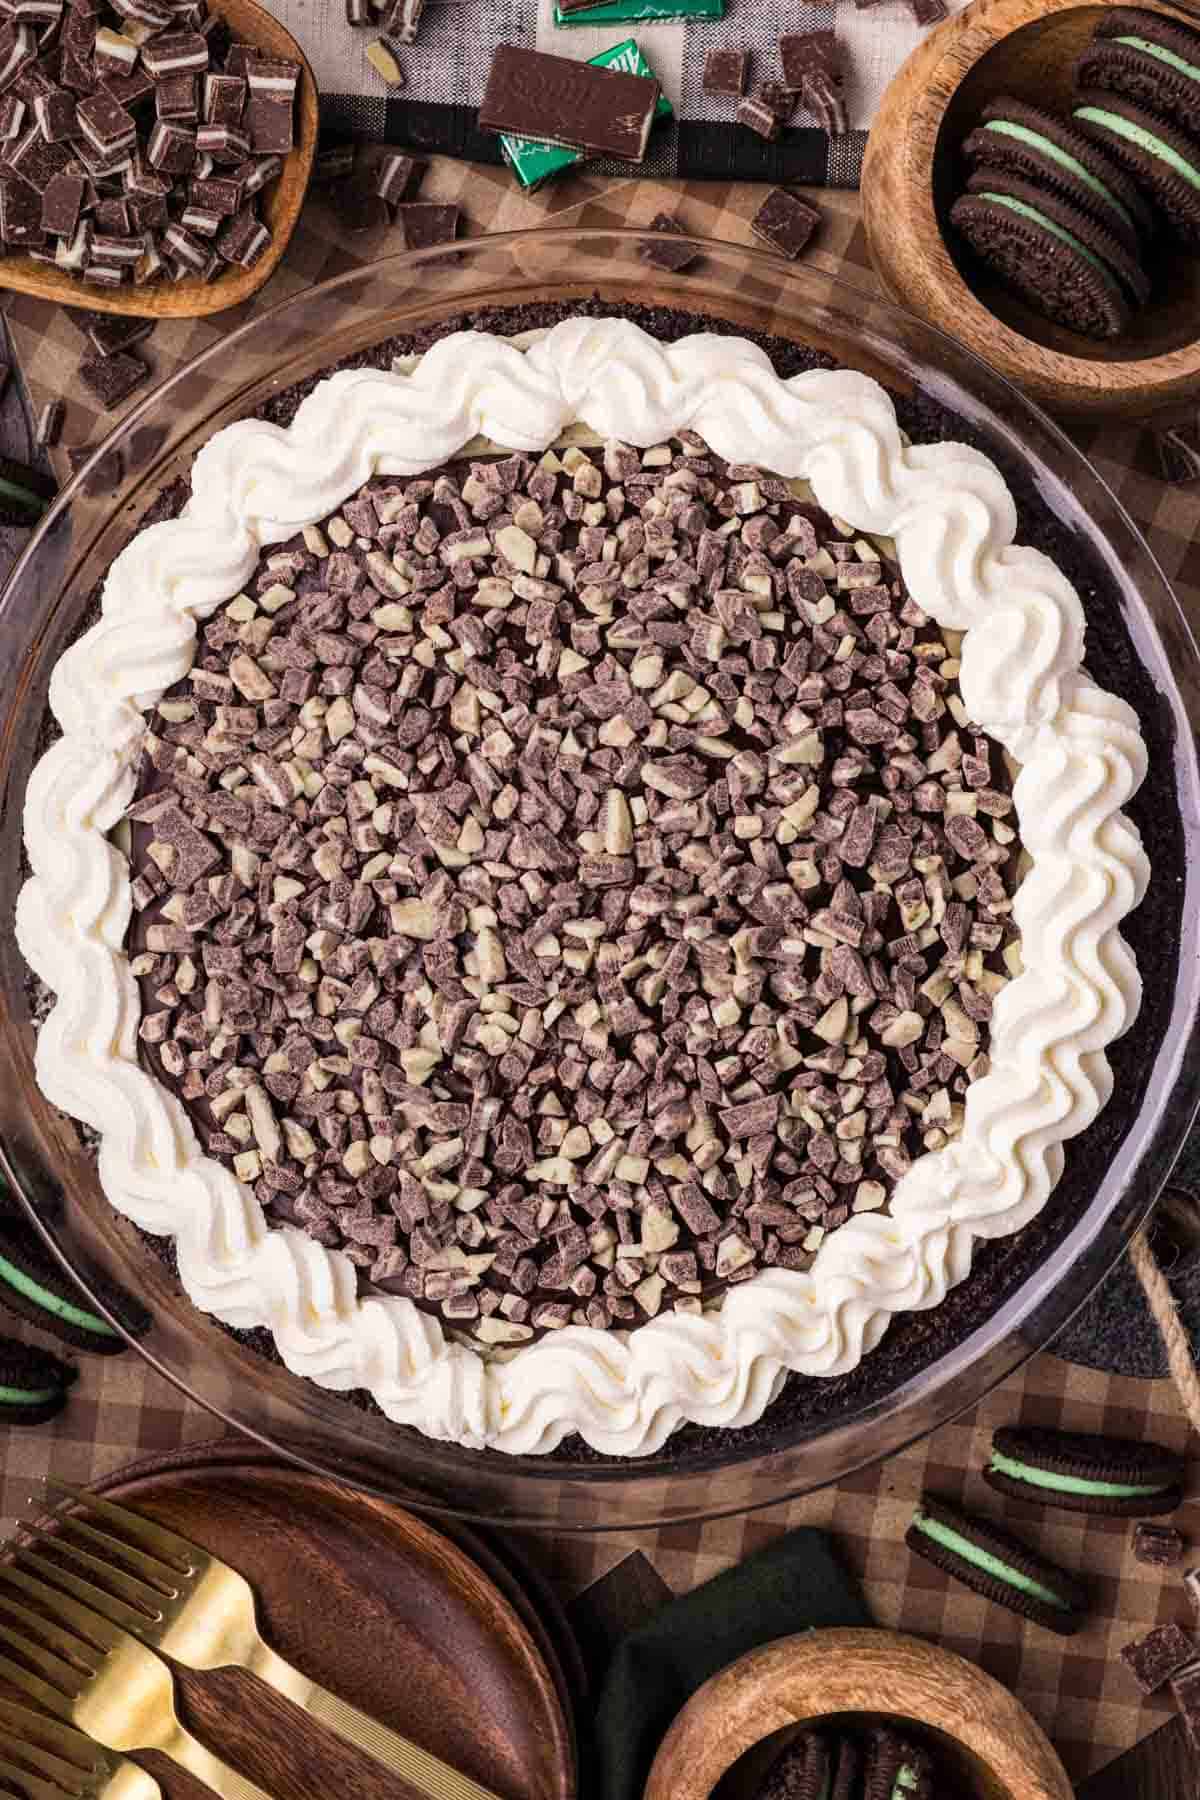
Every bite of this Grasshopper Pie is a delicious combination of rich, fudgy brownie crust, cool and creamy mint Oreo cheesecake, and silky chocolate mint ganache with just the right amount of crunch.
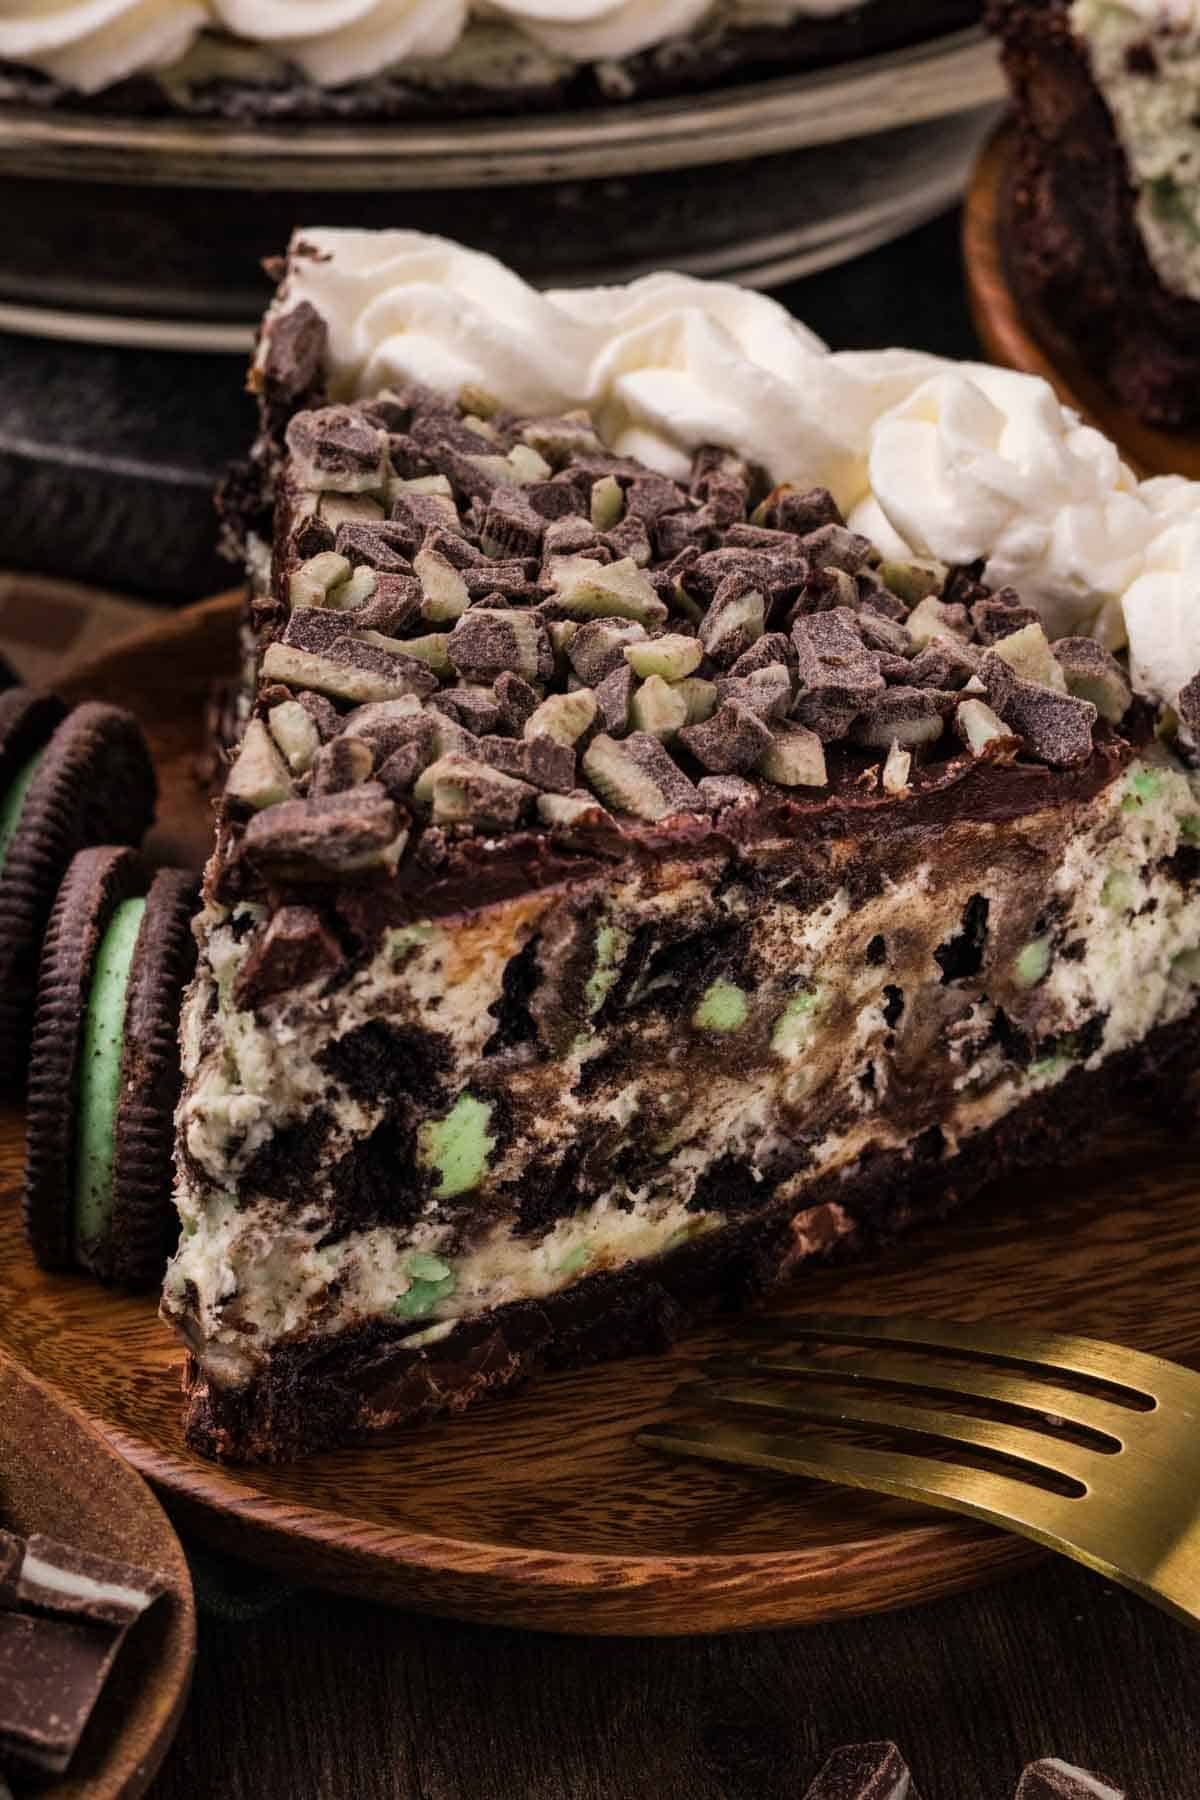
The refreshing mint flavour balances the decadent chocolate perfectly, making it nearly impossible to stop at just one slice!
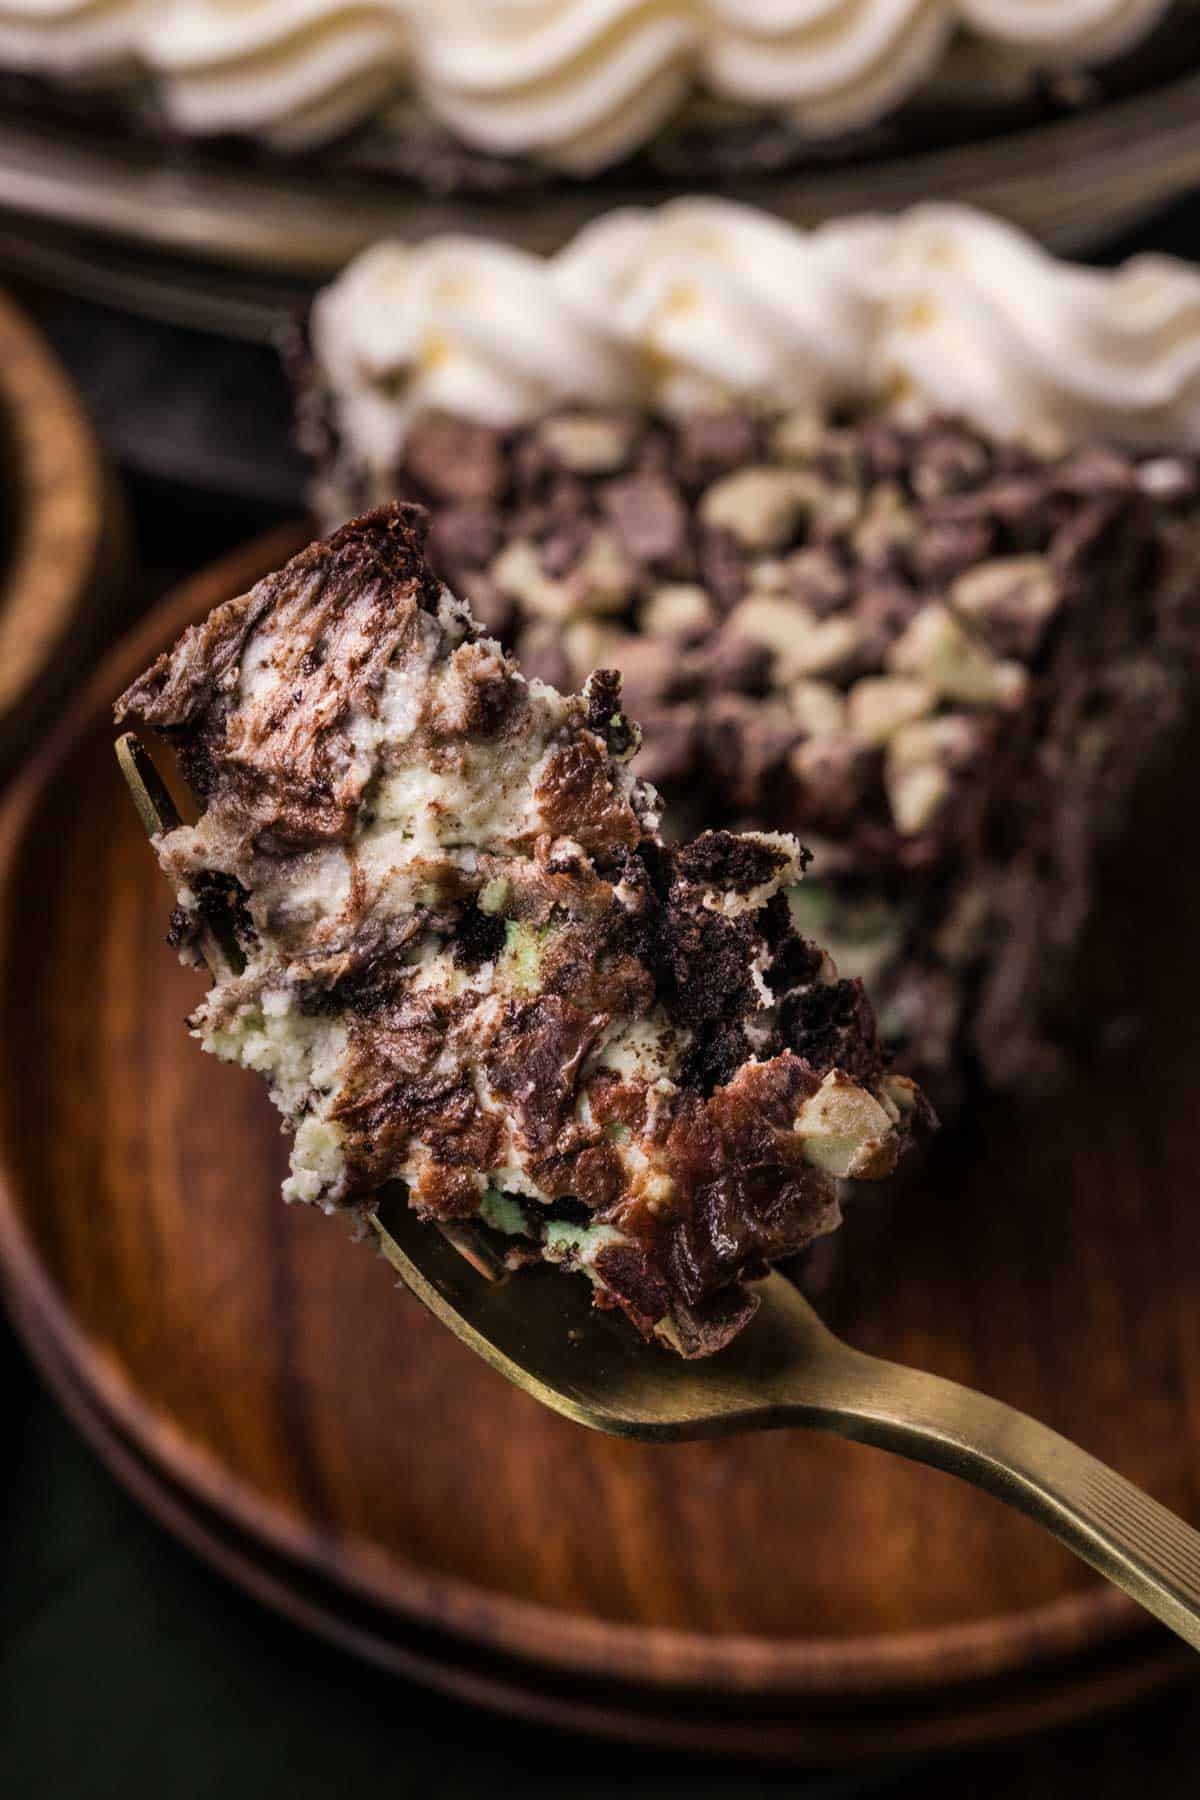
If you are looking for a decadent mint chocolate dessert that's sure to impress, then you need to try this Grasshopper Pie!

Erin's Tips for the Best Grasshopper Pie
- Use a Fudgy Brownie Mix: Choose a brownie mix designed for an 8x8 or 9x9-inch pan. A rich, fudgy brownie makes the perfect base for the creamy cheesecake filling.
- Shape the Crust While It's Warm: Allow the brownies to cool for 10–15 minutes before pressing them into a crust using parchment paper and a smaller pie plate. Warm brownies are easier to shape without cracking.
- Don't Overbake the Brownies: The brownie crust should be fully baked but still fudgy. A toothpick inserted into the centre should come out with a few moist crumbs.
- Soften the Cream Cheese: Bring your cream cheese to room temperature before mixing to ensure a smooth, creamy cheesecake filling without lumps.
- Use Quality White Chocolate: Choose real white chocolate containing cocoa butter to help the no-bake cheesecake filling set properly.
- Keep the Heavy Cream Cold: Cold heavy cream whips up faster and creates a fluffier, more stable cheesecake filling.
- Fold Gently: Carefully fold the whipped cream into the cheesecake mixture to maintain its light, airy texture.
- Don't Crush the Oreos Too Finely: Coarsely chop the Mint Oreos so you get delicious little chunks of chocolate cookies in every bite.
- Chill Before Adding Ganache: Refrigerate the cheesecake for at least 60 minutes or freeze for 30 minutes before pouring on the chocolate ganache to prevent the layers from mixing.
- Let the Ganache Cool Slightly: Allow the melted chocolate mixture to cool a little before pouring it over the cheesecake so it doesn't soften the filling.
- Use a Warm Knife for Clean Slices: Dip a sharp knife in warm water and wipe it clean between cuts for neat slices that show off the beautiful layers.
- Let It Sit Before Slicing: Allow the chilled pie to sit at room temperature for 5–10 minutes to make the fudgy brownie crust easier to cut.
- Make It Ahead: Prepare the pie a day in advance and refrigerate overnight to give the cheesecake plenty of time to set before serving.
- Keep It Refrigerated: Store the finished pie in the refrigerator until you're ready to serve to keep the cheesecake filling firm and the whipped cream fresh.
Substitutions and Variations
- Homemade Brownie Crust: Swap the boxed brownie mix for your favourite homemade fudgy brownie recipe. Just make sure the brownies are dense enough to support the cheesecake filling.
- Chocolate Oreo Crust: Replace the brownie crust with a classic Oreo cookie crust made with crushed chocolate sandwich cookies and melted butter for an easier alternative.
- Regular Oreos: If you can't find Mint Oreos, use regular Oreo cookies. You may want to slightly increase the mint extract to maintain that refreshing chocolate mint flavour.
- Chocolate Chip Mint Filling: Stir mini chocolate chips into the cheesecake filling along with the chopped Oreos for extra chocolate flavour and a little crunch.
- Different Mint Chocolates: Swap the Andes Mints for chopped peppermint patties, mint chocolate chips or your favourite chocolate mint candy.
- Dark Chocolate Ganache: Use high-quality dark or semi-sweet chocolate instead of Andes Mints for a richer chocolate topping that balances the sweet cheesecake filling.
- Peppermint Extract: Substitute peppermint extract for mint extract if you prefer a stronger peppermint flavour. Start with a small amount and adjust to taste.
- Skip the Food Coloring: Leave out the green food coloring for a more natural-looking cheesecake filling with specks of chocolate Oreo cookies throughout.
- Extra Chocolate Topping: Drizzle melted chocolate over the whipped cream or sprinkle with chocolate shavings for an even more decadent dessert.
- Mini Grasshopper Pies: Make individual servings in small dessert cups or mini pie pans for parties and holiday gatherings. Adjust the baking time if making individual brownie crusts.
- Grasshopper Pie Bars: Prepare the brownie crust in a square baking pan and spread the mint cheesecake filling and ganache over top. Chill until firm, then slice into bars for easy serving.
- Chocolate Whipped Cream: Add a little cocoa powder to the whipped cream topping for an extra layer of chocolate flavour.
- Festive Christmas Version: Top the pie with crushed candy canes, chocolate curls or festive sprinkles for a fun Christmas dessert.
- St. Patrick's Day Version: Add a few extra drops of green food coloring and decorate with green sprinkles or chocolate shamrocks for a festive St. Patrick's Day treat.
- Frozen Grasshopper Pie: Freeze the cheesecake pie for a refreshing frozen dessert. Let it soften slightly before serving, since the brownie crust will be quite firm when frozen.
Frequently Asked Questions
What is Grasshopper Pie?
- Grasshopper Pie is a classic mint chocolate dessert traditionally made with a chocolate cookie crust and a creamy mint filling. This version takes things up a notch with a rich, fudgy brownie crust, no-bake mint Oreo cheesecake filling and decadent Andes Mint chocolate ganache.
How long does Grasshopper Pie need to chill?
- The cheesecake filling needs at least 60 minutes in the refrigerator or 30 minutes in the freezer before adding the ganache. For the best results and cleanest slices, refrigerating the finished pie overnight is a great option.
How should I store leftover Grasshopper Pie?
- Store leftover pie covered with plastic wrap in the refrigerator for up to 4 days. Keep it chilled to maintain the creamy cheesecake texture and prevent the whipped cream topping from softening.
Can I freeze Grasshopper Pie?
- Yes! You can freeze the pie for up to 3 months after adding the cheesecake filling to the brownie crust. Wrap it tightly in plastic wrap and add the chocolate ganache and whipped cream decorations after thawing.

Grasshopper Pie
This Grasshopper Pie with a Brownie Crust is a chocolate-mint lover’s dream!
A rich, fudgy brownie crust holds a cool, no-bake mint Oreo cheesecake filling topped with a ganache and chunks of Andes Mint for a refreshing, decadent dessert that’s perfect for the holidays or any special occasion.
Ingredients
Brownie Mix Crust:
- 1 box brownie mix (mix according to box)
- ⅓ cup water
- ⅓ cup oil
- 1 egg
No-Bake Mint Oreo Cheesecake:
- 6 ounces (170g) quality white chocolate
- 2 (8-ounce) packages full-fat cream cheese, room temperature
- ¼ cup (49.5g) granulated sugar
- 2-3 teaspoons mint extract
- 2-3 drops green food coloring
- 1 cup (227g) heavy cream
- ¼ cup (28g) powdered sugar
- 20 Mint Oreo cookies, coarsely chopped
Mint Ganache:
- 4 ounces Andes Mints or quality dark chocolate
- 2 Tablespoons heavy cream
- Andes Mints, chopped
Stabilized Whipped Cream:
- ½ cup heavy cream
- 2 Tablespoons powdered sugar
Instructions
- Make brownie mix according to the directions on the box.
- Pour into 9 inch pie plate prepared with non-stick spray.
- Bake at 325°F for 45-50 minutes, until a toothpick comes out with a few moist crumbs. Cool for 10 to 15 minutes.
- Place parchment paper on top of the brownie, then press an 8-inch pie plate into the brownies to form a brownie crust. Use fingers and parchment paper to press further as needed to evenly fit the pie plate.
- In a microwave-safe bowl, microwave the white chocolate for 1 minute. Stir until smooth. Microwave for up to 15 seconds more if the chocolate still needs to melt. Stir and set aside to cool slightly.
- In a large bowl, add the cream cheese, sugar, mint extract, and green food coloring. Using a hand mixer, beat the ingredients until smooth. Add the melted white chocolate and beat again on medium speed until combined.
- In a medium bowl, add the heavy cream, then the powdered sugar. Whip at high speed until firm peaks form.
- Fold the whipped cream into the cream cheese mixture.
- Fold in the coarsely chopped Oreos until evenly distributed.
- Spoon the cheesecake mixture into the prepared crust. It will be domed. Carefully spread it, without covering the edges of the brownie crust, until the top is smooth.
- Freeze the cheesecake for 30 minutes or refrigerate for 60 minutes.
- When the cheesecake has chilled, make the chocolate ganache by adding the Andes Mints and 2 Tablespoons of heavy cream to a microwave-safe bowl. Microwave for 30 seconds. Stir until smooth. If needed, heat the chocolate mixture for 15 seconds to melt the chocolate. Let cool slightly.
- Pour the ganache over the cheesecake pie, leaving some of the “green” edges exposed. Press chopped Andes Mints into the soft chocolate.
- Chill in the refrigerator until the chocolate is set, 5 to 10 minutes.
- Make Stabilized Whipped Cream by whipping heavy cream and powdered sugar until stiff peaks form. Using a disposable decorating bag and a Wilton IM tip, decorate with stabilized whipped cream.
- Chill in the refrigerator until ready to serve.
- Serve and enjoy!
Nutrition Information:
Yield: 8 Serving Size: 1Amount Per Serving: Calories: 668Total Fat: 46gSaturated Fat: 21gUnsaturated Fat: 25gCholesterol: 99mgSodium: 181mgCarbohydrates: 58gFiber: 2gSugar: 45gProtein: 6g
This post contains affiliate links. Read our disclosure here.
As an Amazon Associate I earn from qualifying purchases.

Hi! My name is Erin and I have been here since 2016 sharing simple family friendly recipes that can be prepared by any home cook. Get ready to whip up delicious meals in no time!