

M&M cookies are soft, chewy and loaded with regular M&Ms and mini M&Ms.

These delicious homemade cookies will please both kids and adults.

Printable Recipe Card with a Full List of Ingredients and Instructions is Located at the Bottom of the Post.
Be sure to read through the entire post so that you don’t miss out on any important tips and tricks!
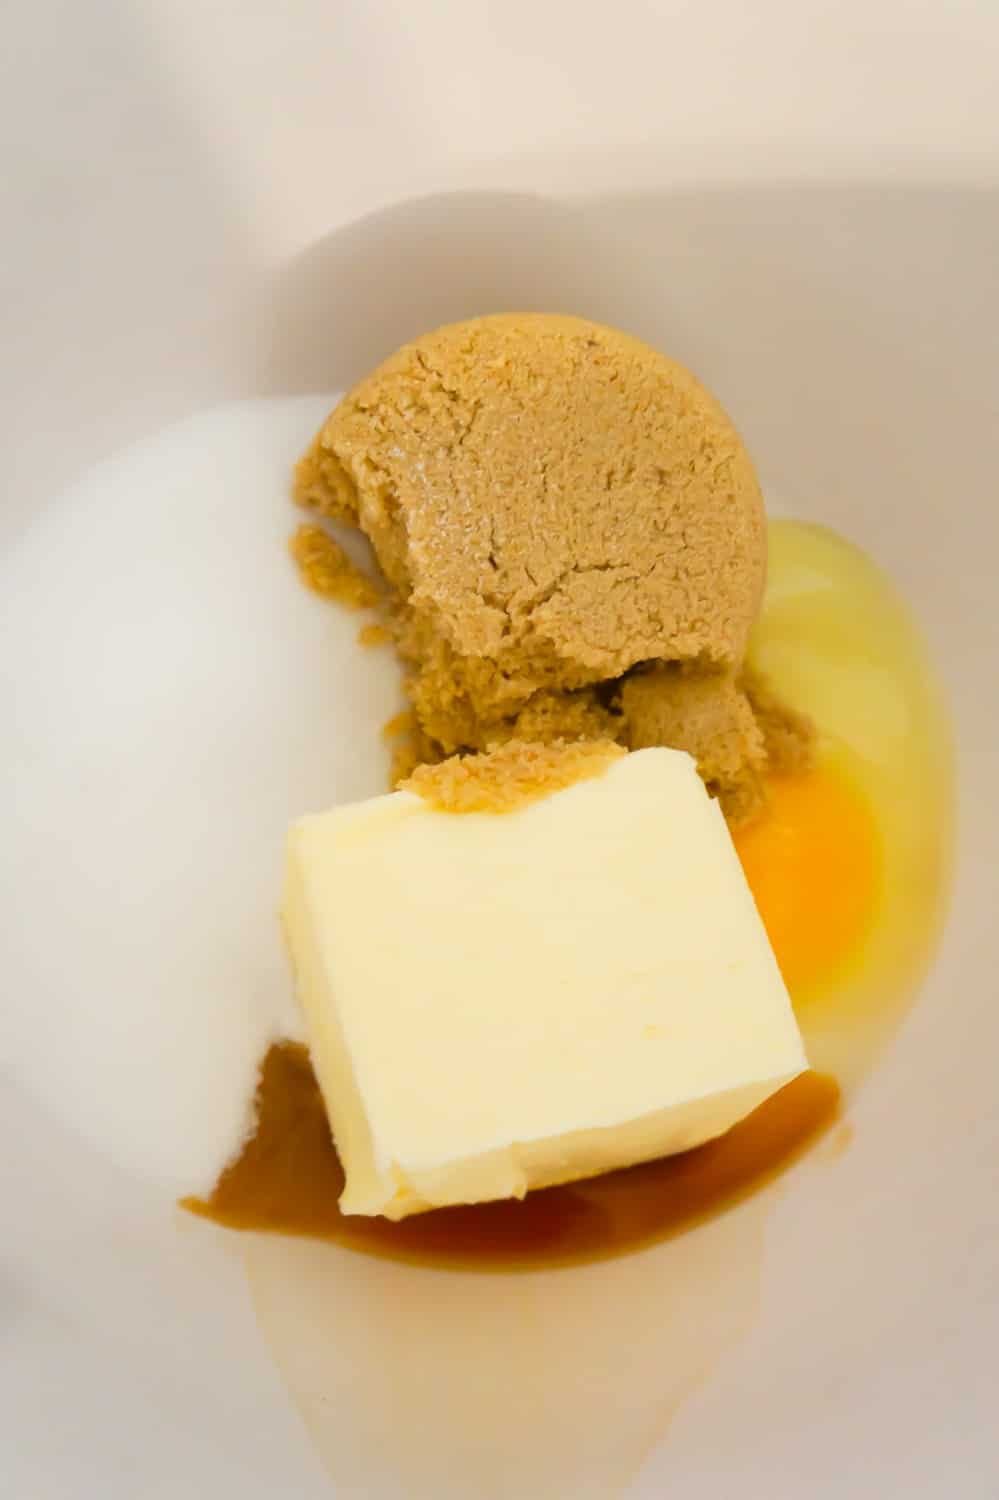
To make these M&M cookies, I started by dumping some softened butter, light brown sugar, granulated sugar, vanilla extract and an egg into a large mixing bowl.
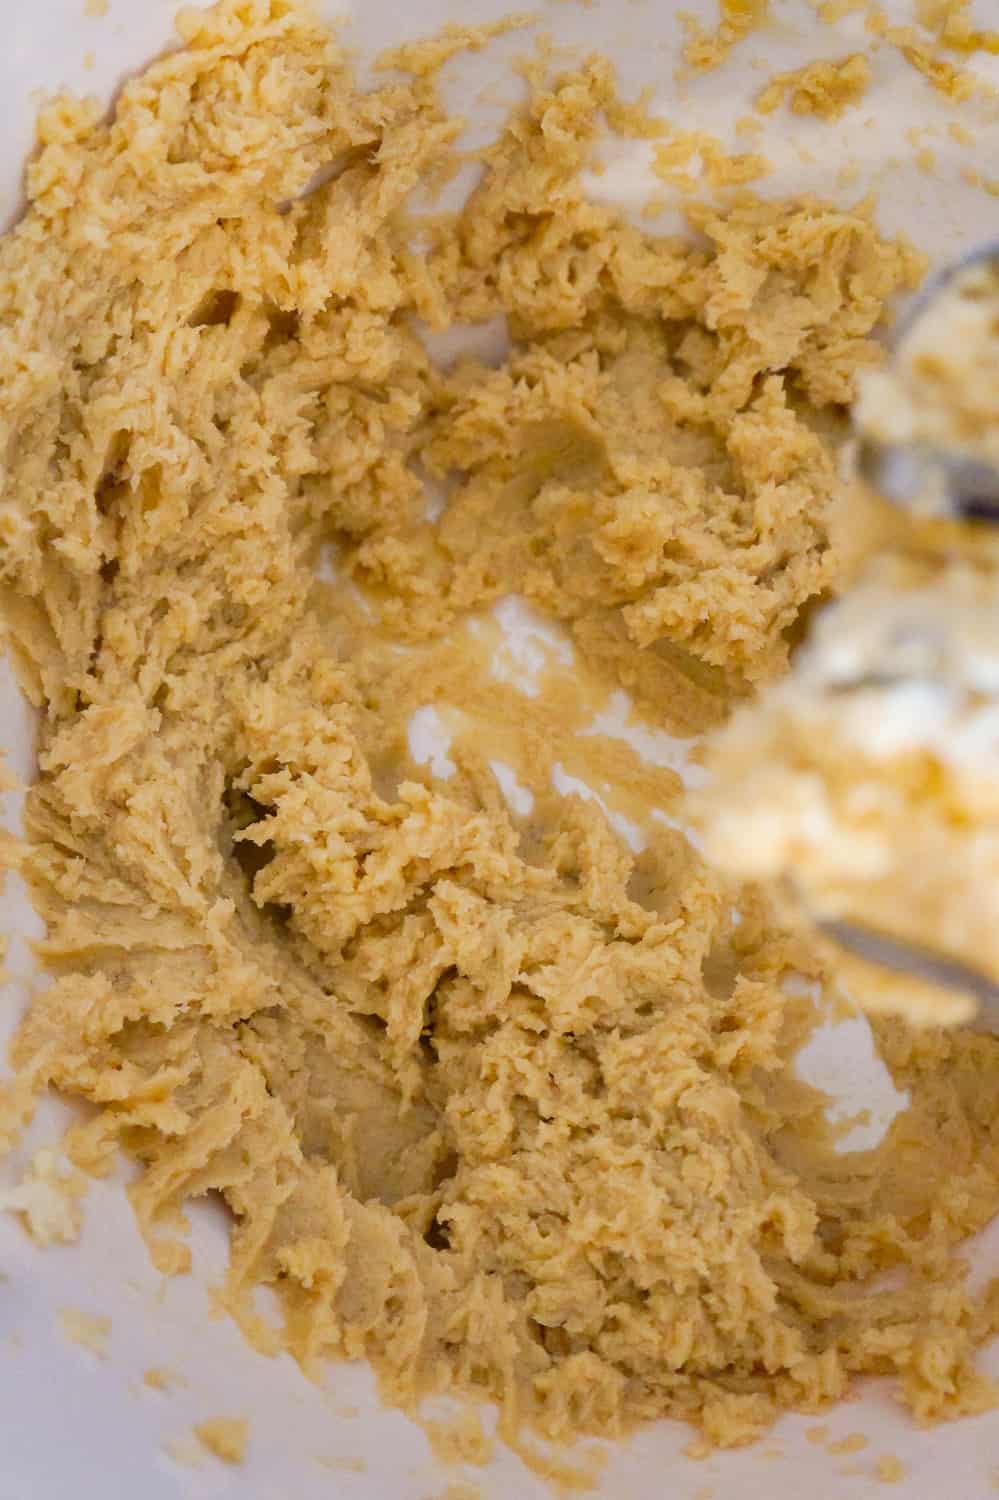
I used an electric mixer to cream the ingredients together until smooth.
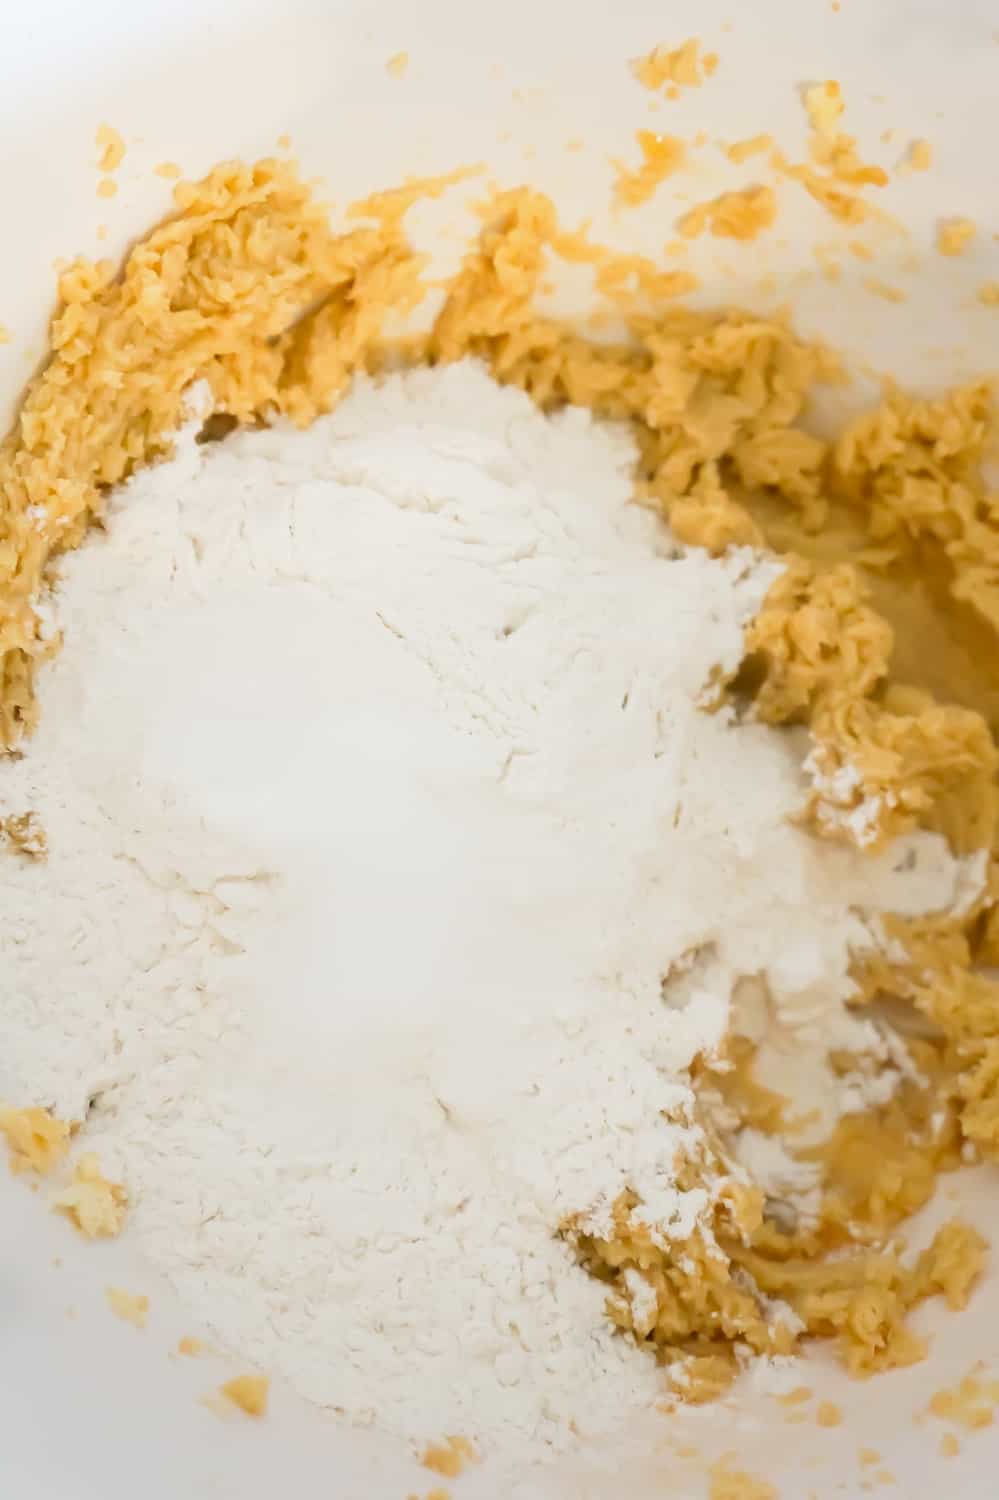
Then I add some all purpose flour, salt and baking soda to the bowl.
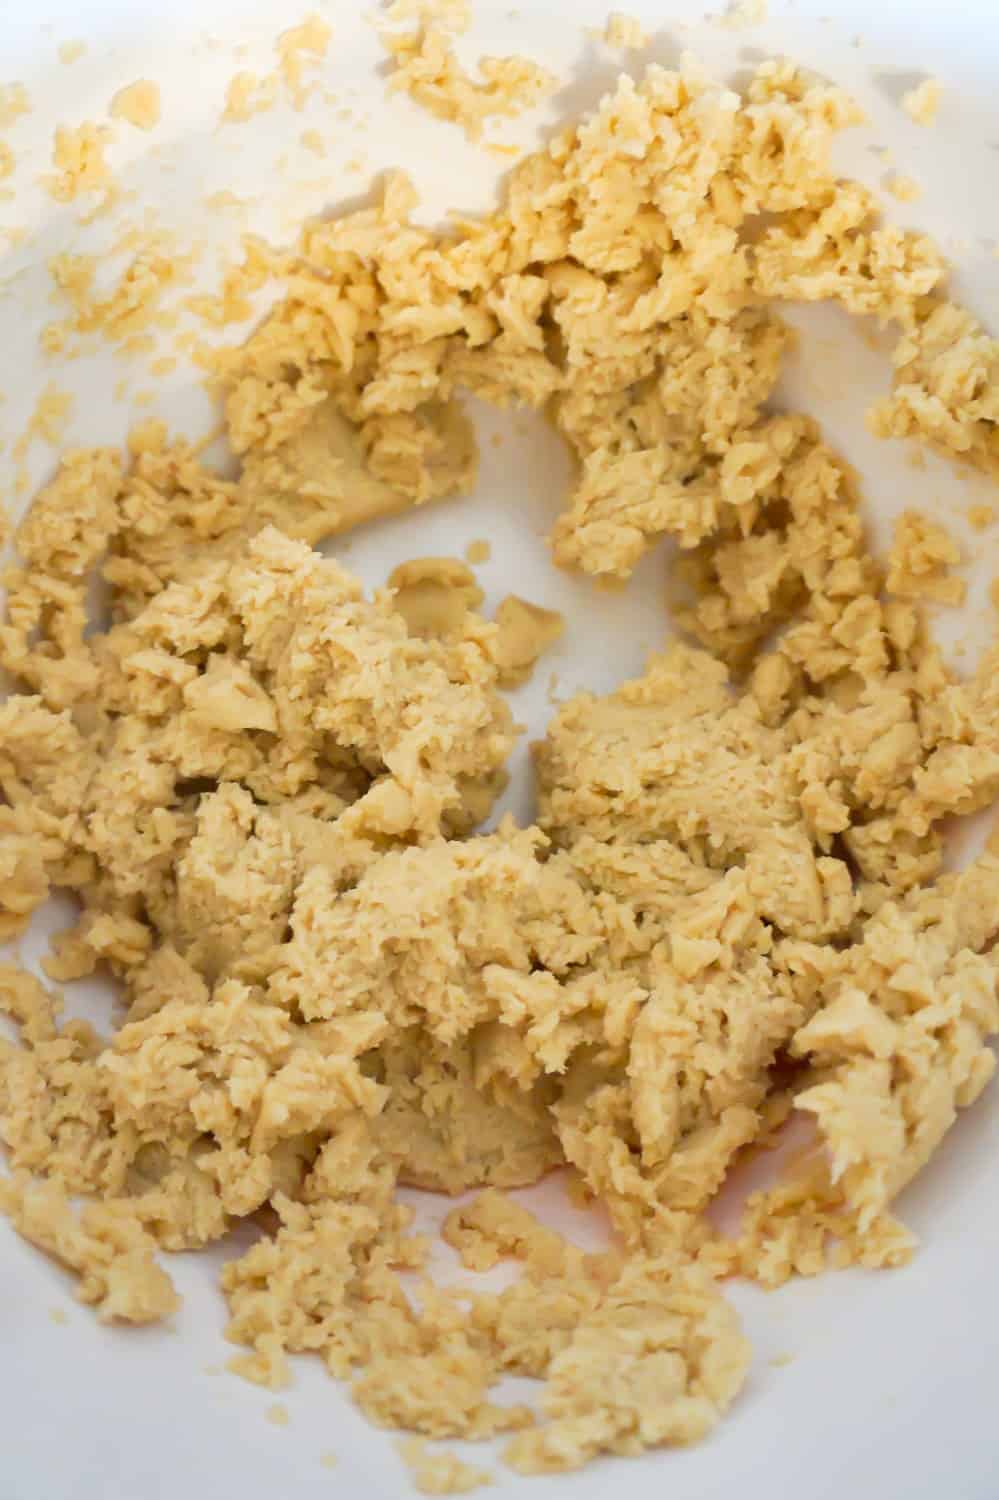
I continued mixing with the electric mixer until a sticky dough formed.
Then I added some regular M&Ms and mini M&Ms to the bowl with the cookie dough.
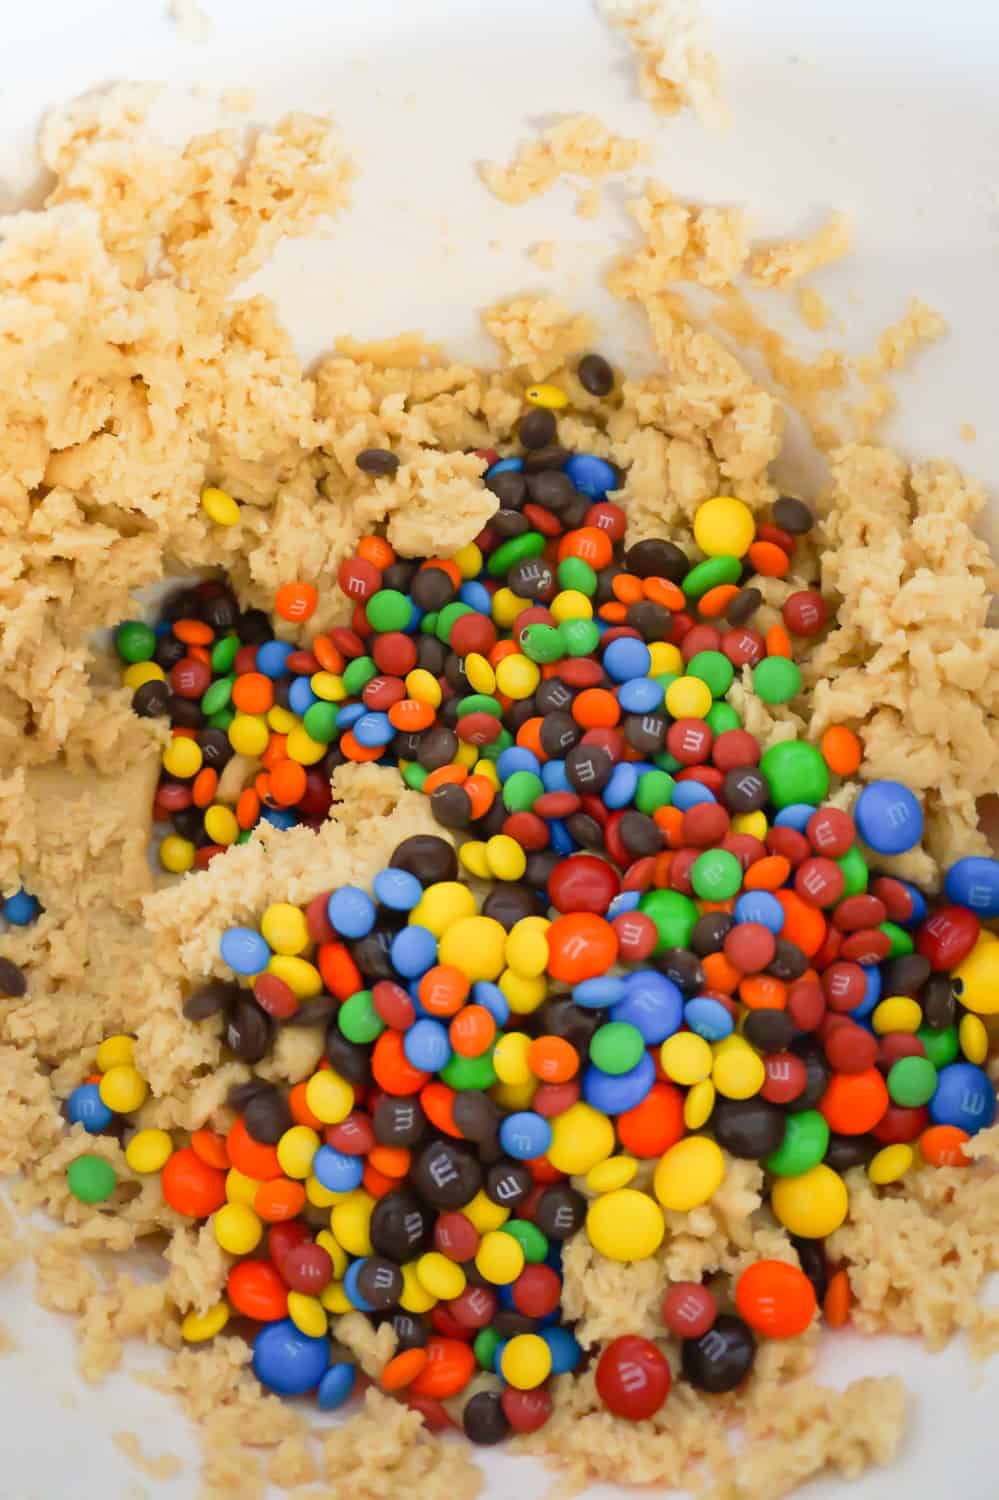
I stirred the M&Ms into the dough.
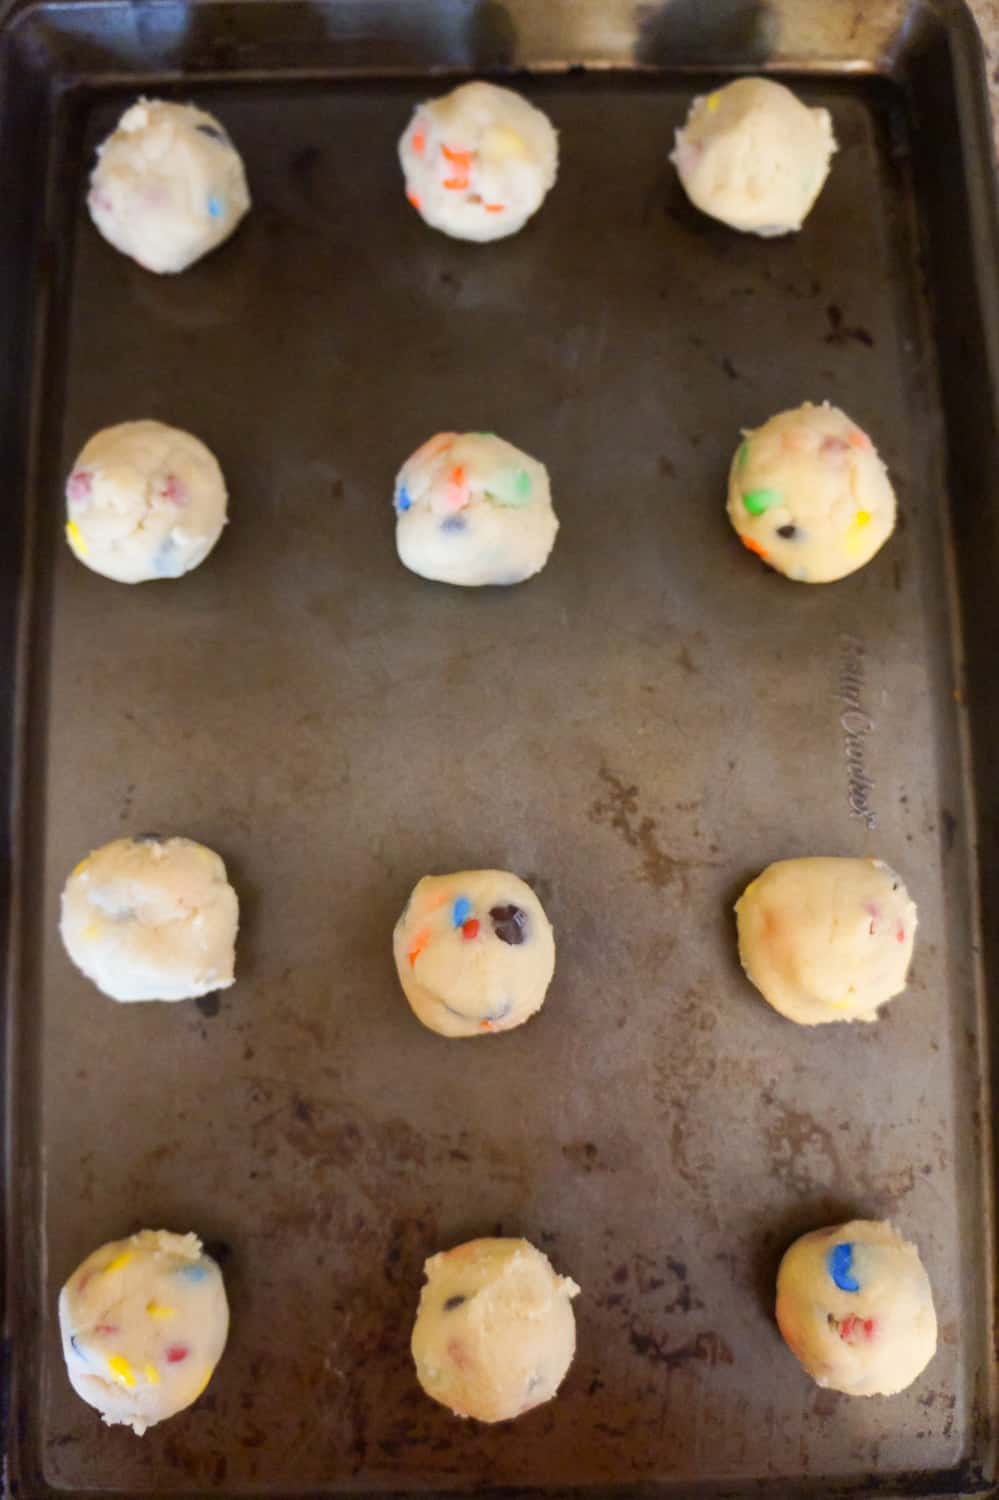
Then I rolled the cookie dough into balls approximately an inch and a half in diameter and placed them on a nonstick baking sheet.
I placed the baking sheet in the oven and baked the cookies until they were golden brown around the edges.
I removed the cookies from the oven and allowed them to cool on the baking sheet for a few minutes before using a spatula to transfer them to some parchment paper on the counter to finish cooling off.

This easy M&M cookie recipe produces 24 cookies.

If you are looking for a delicious chewy cookie recipe, then you need to try these M&M Cookies!


⇒ Click Here And Follow Me On Pinterest ⇐
[mailpoet_form id=”2″]

M&M Cookie Recipe
M&M cookies are soft, chewy and loaded with regular M&Ms and mini M&Ms. These delicious homemade cookies will please both kids and adults.
Ingredients
- 1 cup salted butter, softened
- 1 cup light brown sugar, lightly packed
- ½ cup granulated sugar
- 1 egg, large
- 2 teaspoon vanilla extract
- 2 cups all-purpose flour
- 1 ½ teaspoon salt
- ½ teaspoon baking soda
- 1 cup M&Ms
- ½ cup mini M&Ms
Instructions
- Preheat oven to 350F.
- Dump softened butter, brown sugar, granulated sugar, egg and vanilla extract into a large mixing bowl.
- Use an electric mixer to cream the ingredients together until smooth.
- Add flour, salt and baking soda to the bowl.
- Continue mixing with electric mixer until a sticky dough forms.
- Add the M&Ms and mini M&Ms to the bowl. Stir them into the dough.
- Roll the cookie dough into balls approximately 1 ½ inches in diameter and place them on a nonstick baking sheet. Leave at least 2 inched between the balls of dough.
- Place the baking sheet in the oven and bake the cookies until they are golden brown around the edges. 10-12 minutes.
- Remove the cookies from the oven and allow them to cool of the pan for a few minutes.
- Use a spatula to transfer the cookies to some parchment paper on the counter to finish cooling off.
- Serve and enjoy!
This post contains affiliate links. Read our disclosure here.
As an Amazon Associate I earn from qualifying purchases.

Hi! My name is Erin and I have been here since 2016 sharing simple family friendly recipes that can be prepared by any home cook. Get ready to whip up delicious meals in no time!